🔤 Custom Fonts
The Fonts Collection is where you upload your own font files. Once uploaded, a font appears in the font dropdown of every Text layer, so you can build projects in your own corporate typeface instead of the built-in ones.
Fonts belong to the account that uploaded them: nobody outside your account sees them, and they stay available to every user inside it. Uploading requires the create font permission, so if the buttons are greyed out, check your role under Groups and permissions.
Open the Fonts Collection
- Open Styles & Fonts in the main menu.
- Click Fonts Collection.
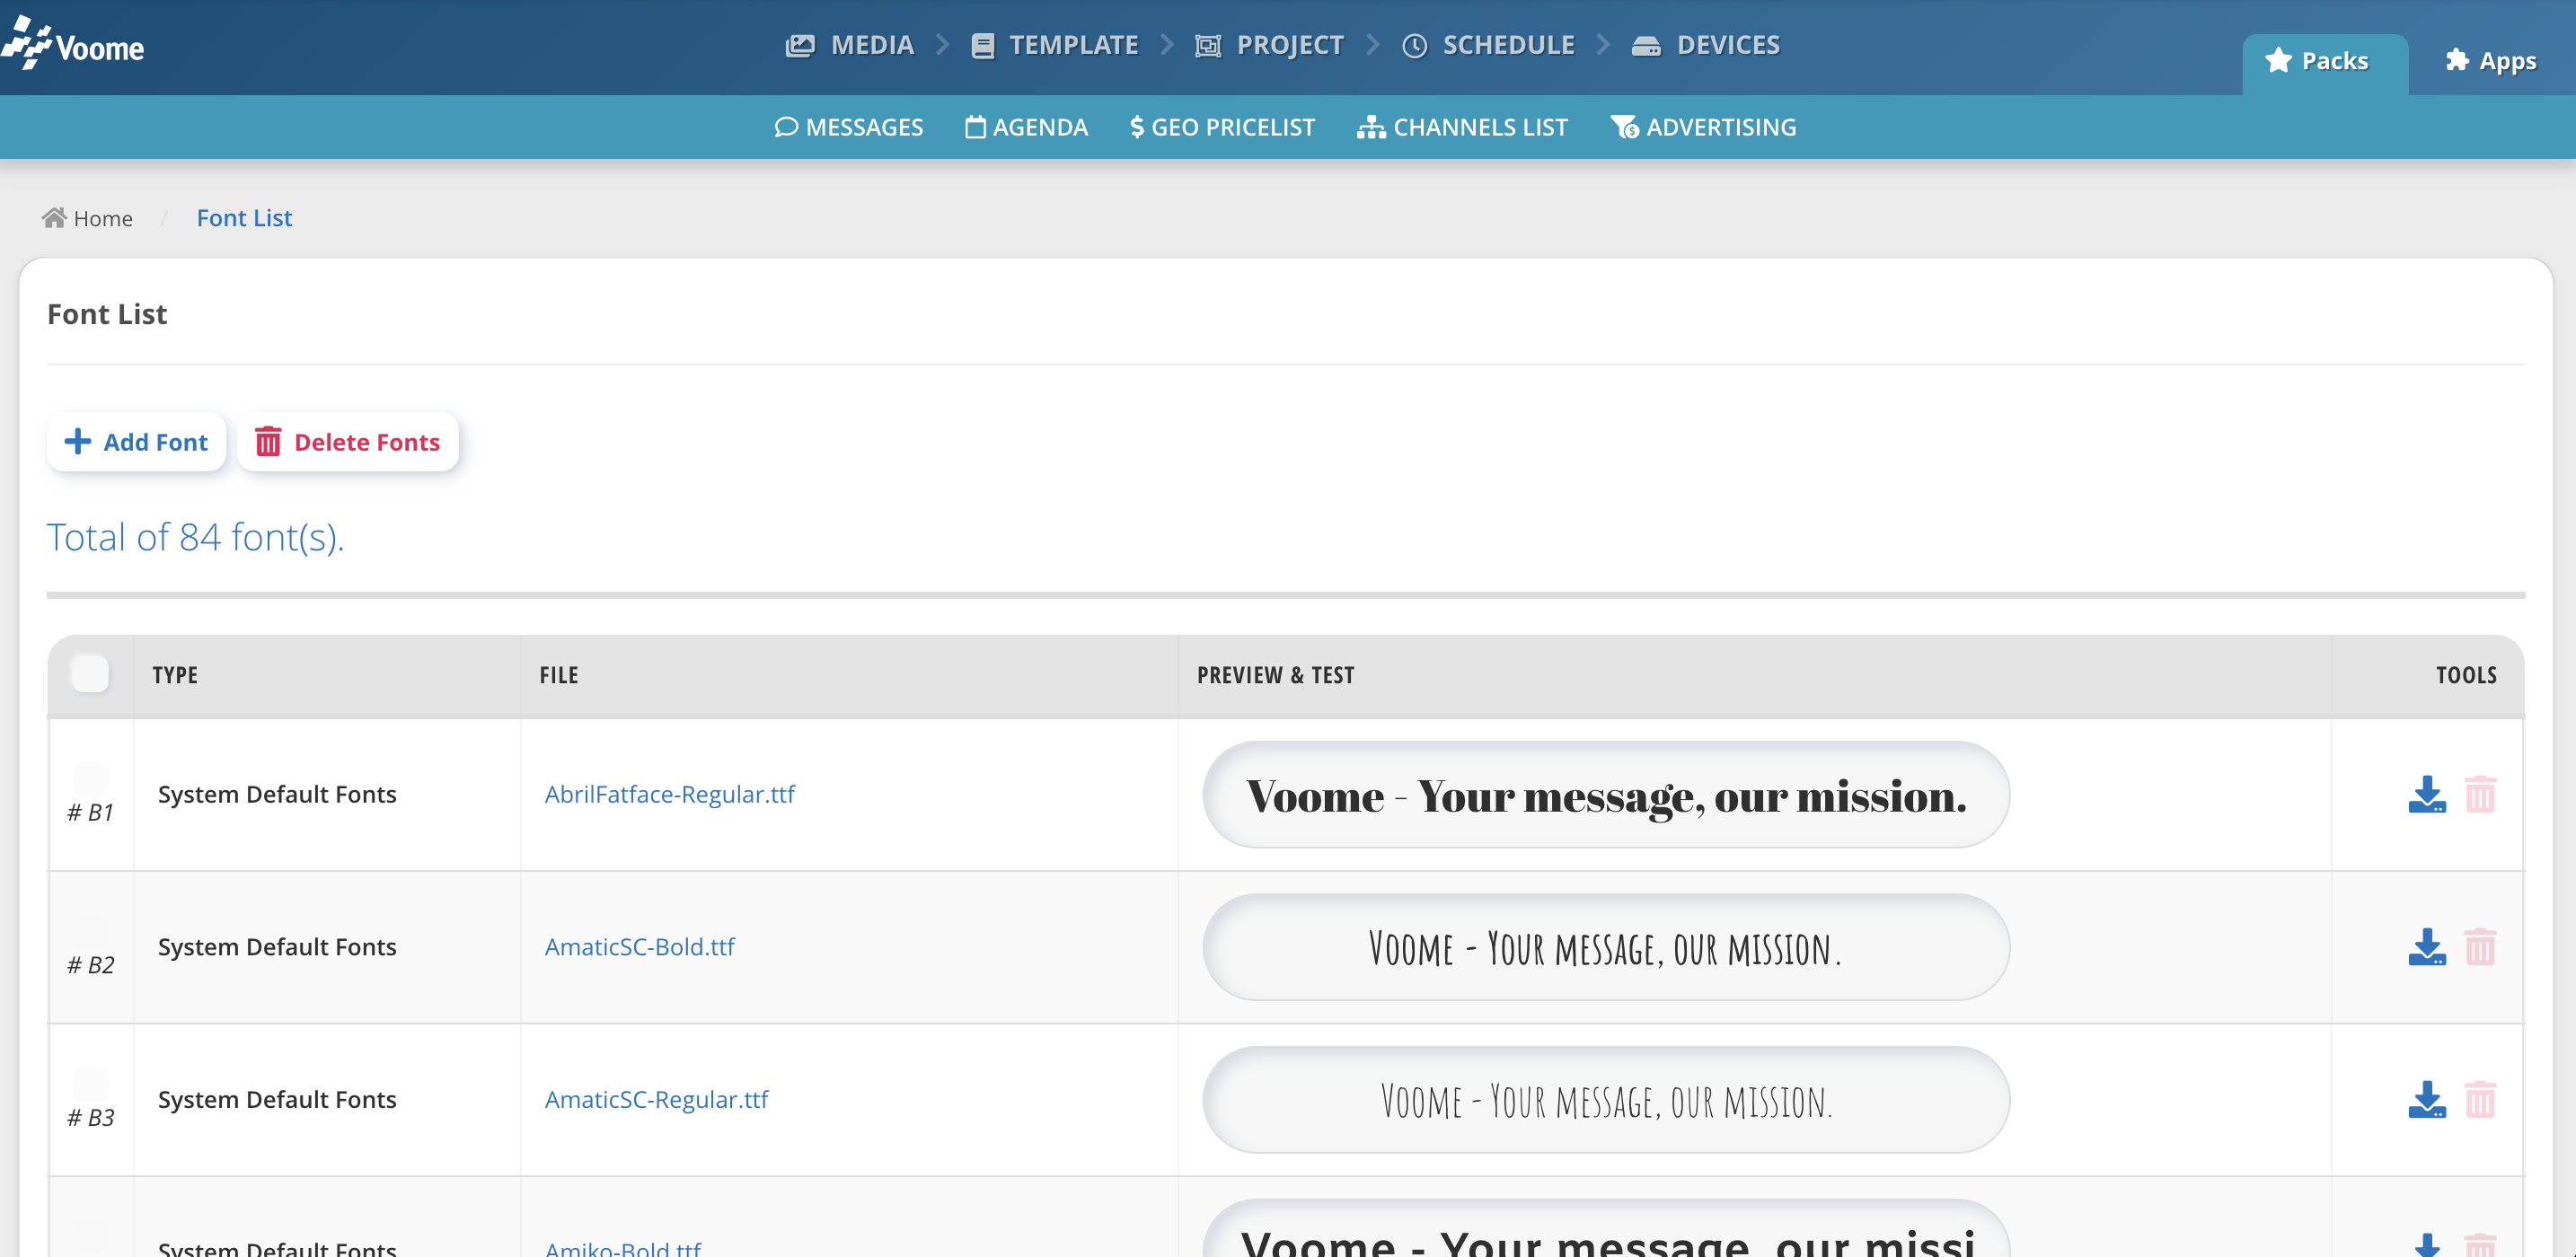
The list shows every font your projects can use, split into three groups:
| Group | Where it comes from | Can you delete it? |
|---|---|---|
| User Account Fonts | Uploaded by your account | Yes |
| System Default Fonts | Shipped with the platform | No |
| Common Web Fonts | Web-safe families already on the players: Arial, Arial Black, Comic Sans MS, Courier New, Georgia, Impact, Times New Roman, Trebuchet MS, Verdana | No |
Each row has a Preview & Test cell that renders sample text in the actual font, which is the quickest way to confirm a file uploaded correctly.
Upload a font
- Click Add Font.
- Click Upload Fonts and select one or more font files. You can select several at once.
- Click Upload & Add.
The page reloads with the new fonts listed under User Account Fonts.
What the upload accepts
- Formats:
.otfand.ttfonly. - Size: roughly 4.7 MB per file.
- Filenames: spaces are replaced with hyphens, so
My Font.ttfis stored asMy-Font.ttf.
Files that do not meet these rules are skipped silently, with no error message. If a font is missing from the list after an upload, that is almost always why.
A font file is one weight and one style. If your projects use regular, bold and italic, upload all three files. There is no synthetic bolding, so a weight you did not upload cannot be selected.
Use the font in a project
- Open a project and select a Text layer.
- Pick your font in the font dropdown.
- Publish the project.
The dropdown lists fonts by their family name, read from inside the file rather than from the filename. A file saved as corporate-v2-final.ttf still appears under the family name its designer set, so look for that name rather than the name you uploaded.
Custom fonts are also selectable in the Room Booking App Styles used by the Booking app.
Delete a font
- Tick the checkbox next to each font you want to remove, or click the bin icon on a single row.
- Click Delete Fonts and confirm.
Deleting removes the file from your account immediately. Check that no project still uses the font first: a project that references a deleted font falls back to a default typeface the next time it is published.
🙋🏼 Common Issues
The font uploaded but the text on screen is unchanged
Fonts reach the device as part of the publish, not on upload. A device keeps its current fonts until the project is published again, so publish once more after adding a font.
The font is missing from the dropdown
Check the Fonts Collection list first. If the file is not there, the upload was rejected for one of the reasons above: wrong format, or too large. If the file is there, look for its family name rather than its filename.
Some characters show as empty boxes
The file does not include those glyphs. This is common with accented characters and currency symbols in display or decorative fonts. Test the exact text you need in the Preview & Test cell before building a project around the font.
I am not sure I am allowed to use this font
Uploading a font to Voome distributes it to your players, so you need a licence that covers that use, and desktop licences frequently do not. Check the terms with whoever supplied the font before uploading it.