👥 User Groups
A user group defines what its members can do in Booking, through a role, and which branches they can book in. Every user belongs to exactly one group, picked on the Users page, so it is worth creating your groups first.
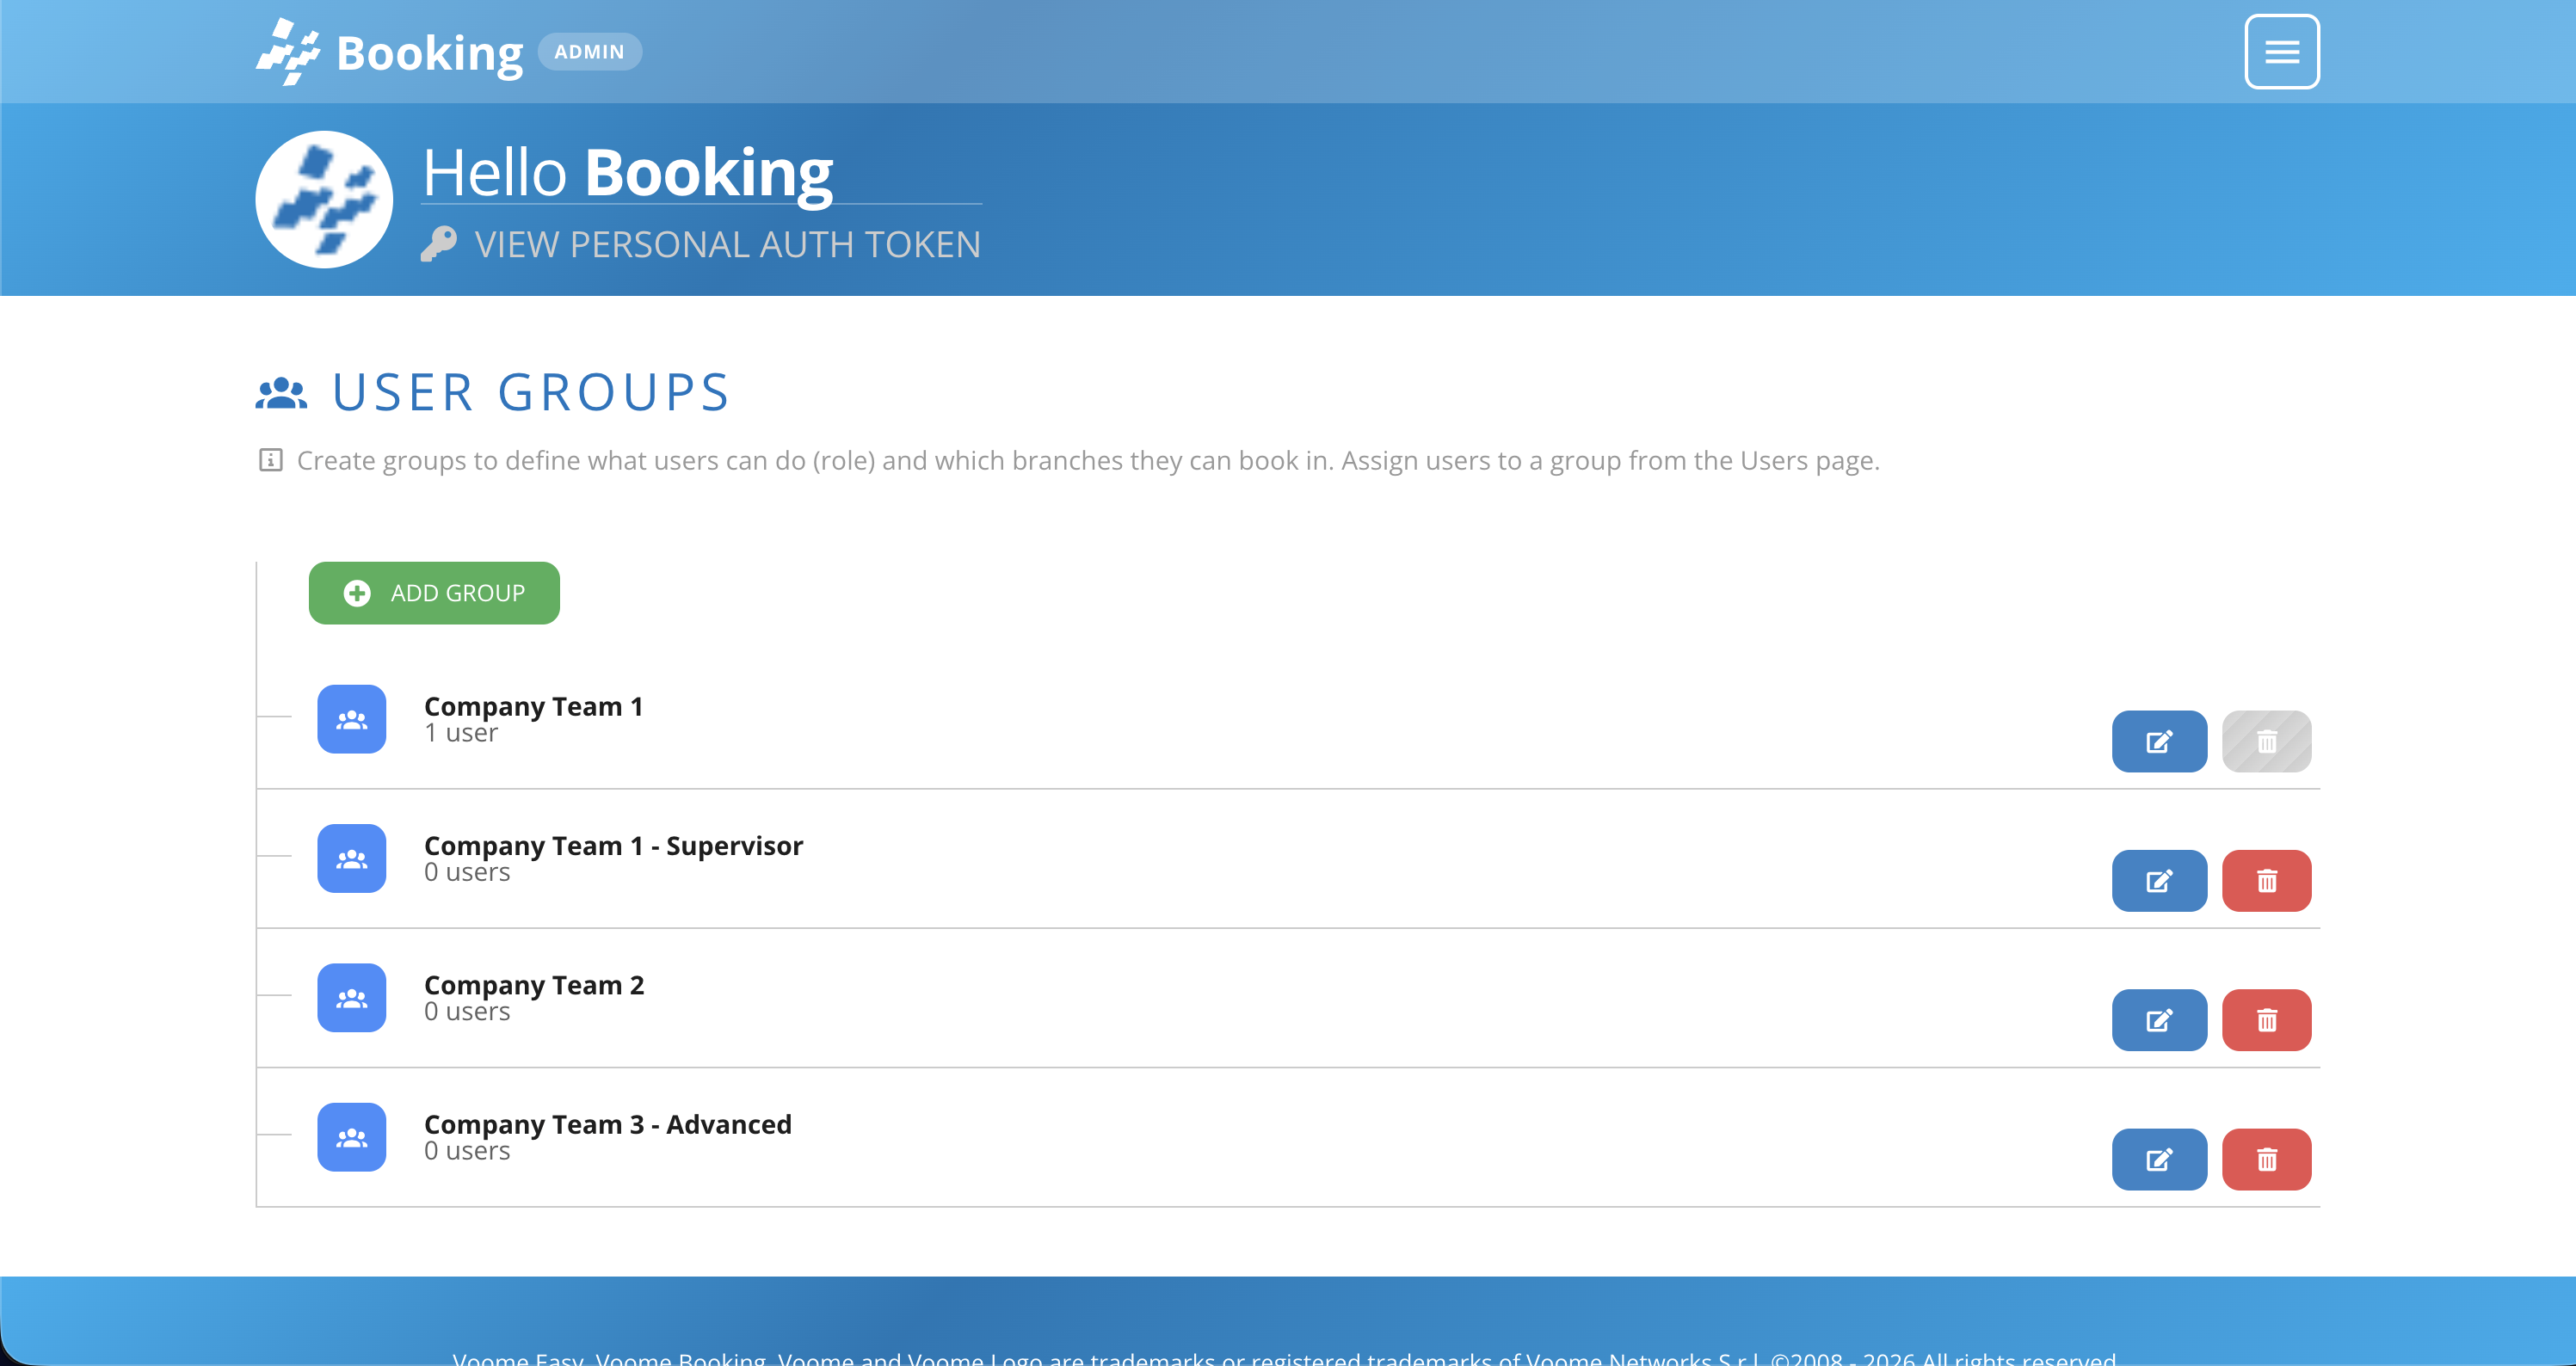
The list shows every group with the number of users in it. Press Add Group to create one, or use the pencil and bin icons on a row to edit or delete an existing group. The bin is greyed out on any group that still has users, so a group can only be deleted once it is empty.
✏️ Create or edit a group
- Press Add Group, or the pencil icon on an existing group. The Edit Group form opens.
- Type a Group Name in the General section.
- Choose the Role that members of this group get.
- Set the Branch Access for the group.
- Press Save Group.
🏷️ General
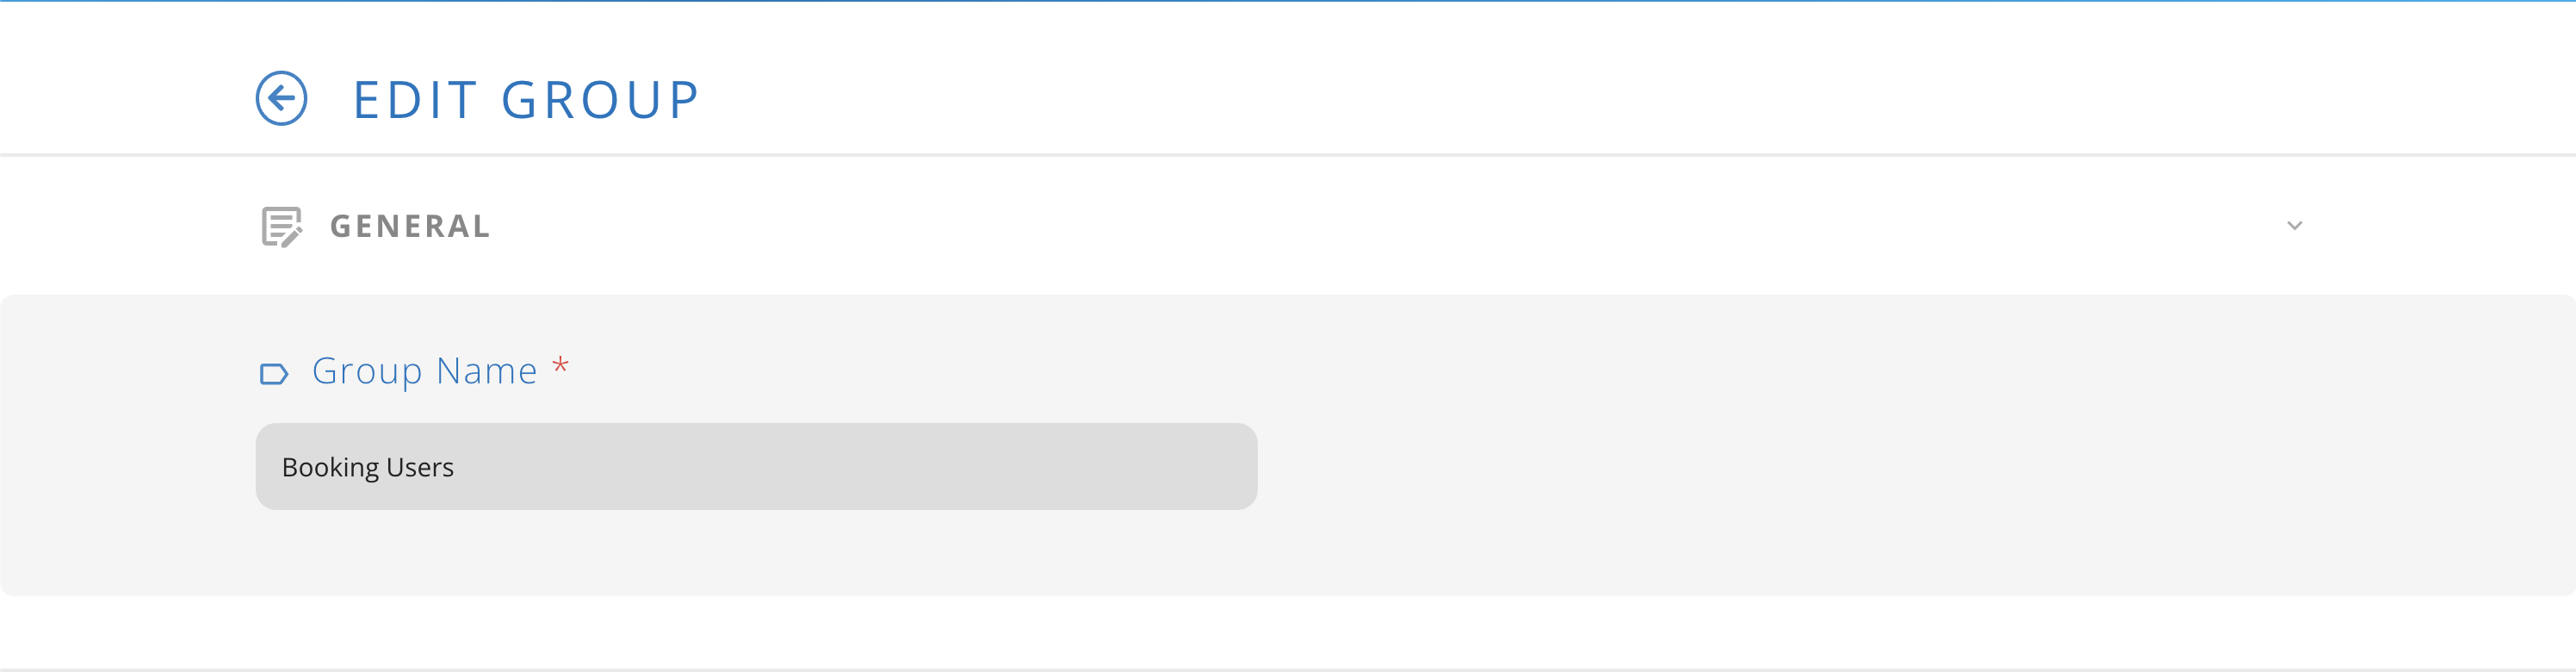
Group Name (required) is how the group appears in this list and in the User Group dropdown when you create a user. Name it after what the group is allowed to do, for example "Milan office" or "Facility managers".
🛡️ Role
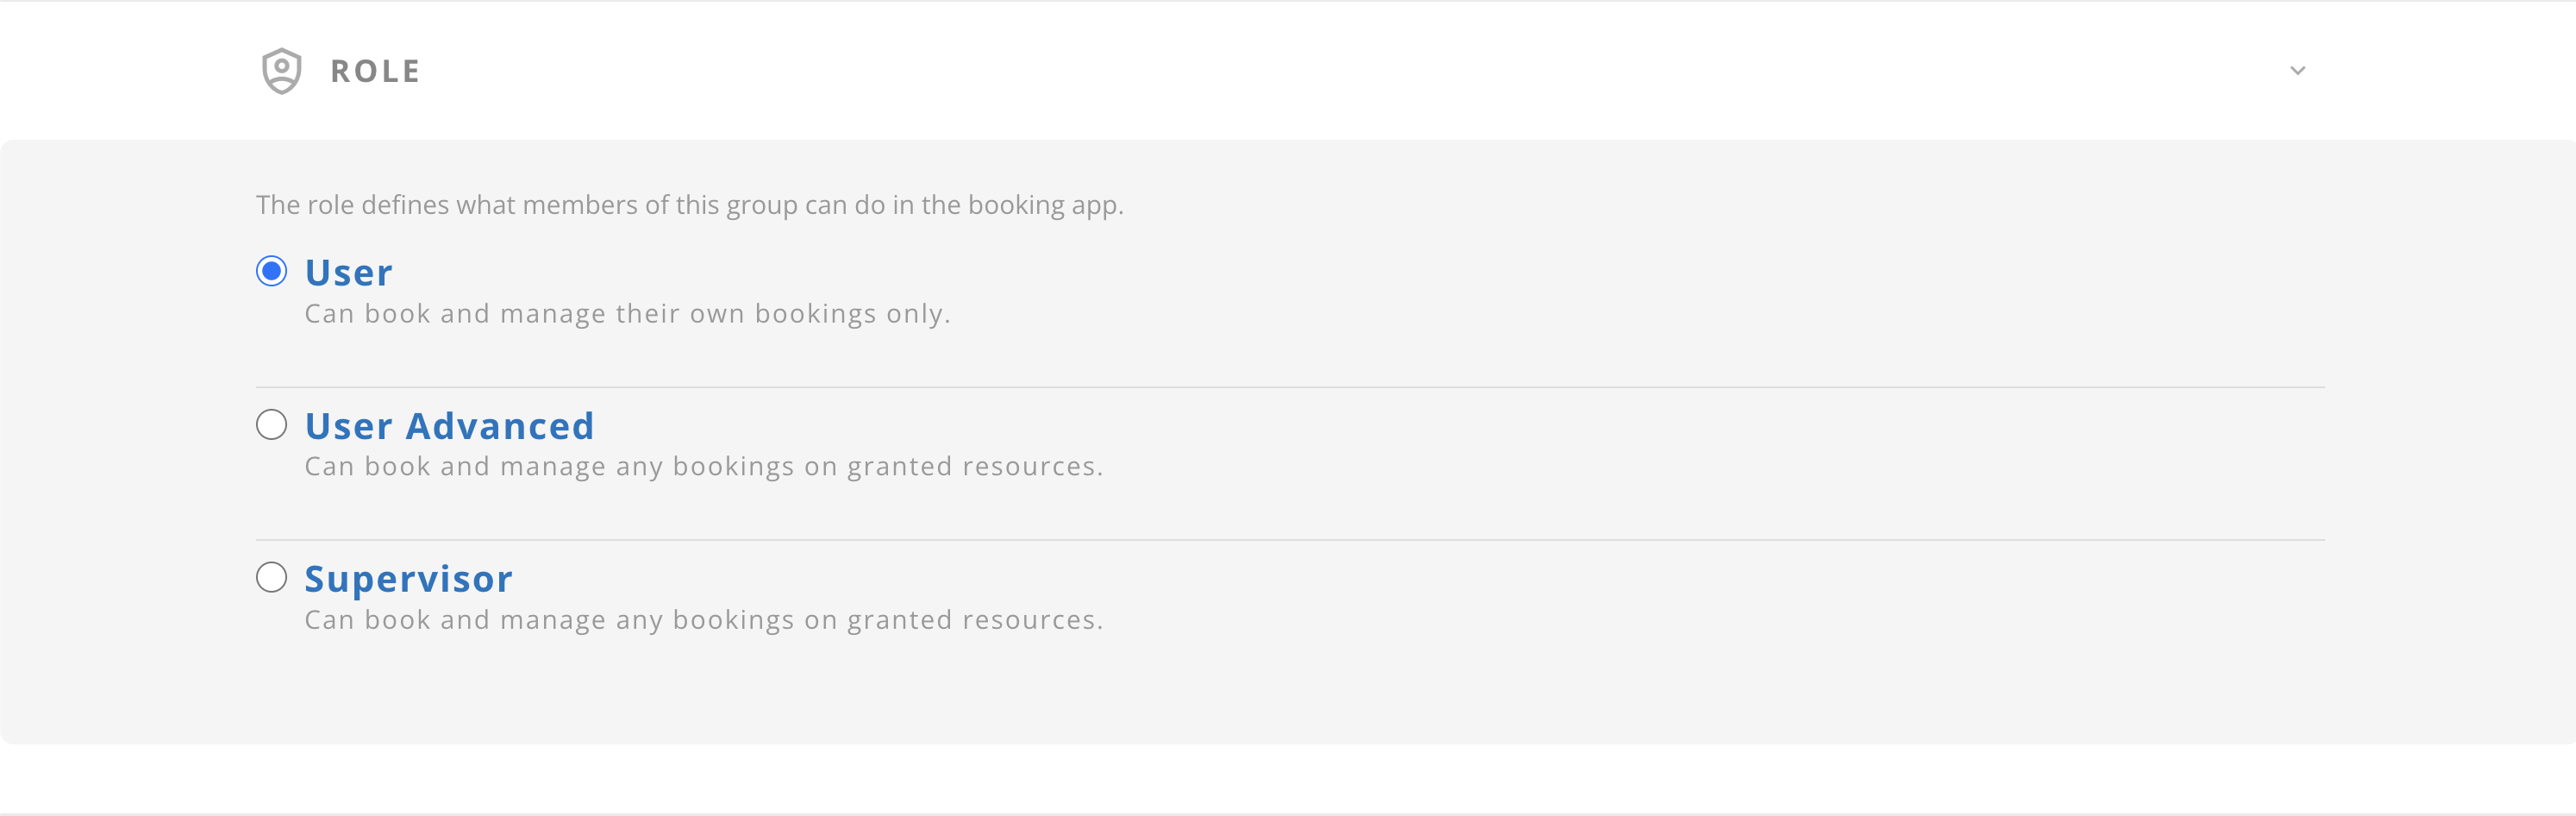
The role defines what members of this group can do in the booking app. Pick one of the three:
| What the role can do | User | User Advanced | Supervisor |
|---|---|---|---|
| 🗓️ Book and manage their own bookings, on granted resources | ✅ | ✅ | ✅ |
| ✏️ Manage bookings made by other people, on granted resources | ❌ | ✅ | ✅ |
| 👤 Administer users | ❌ | ❌ | ✅ |
| 📃 See advanced reports | ❌ | ❌ | ✅ |
Each role includes everything the one before it can do, so pick the lowest role that covers what the group actually needs.
🏢 Branch access
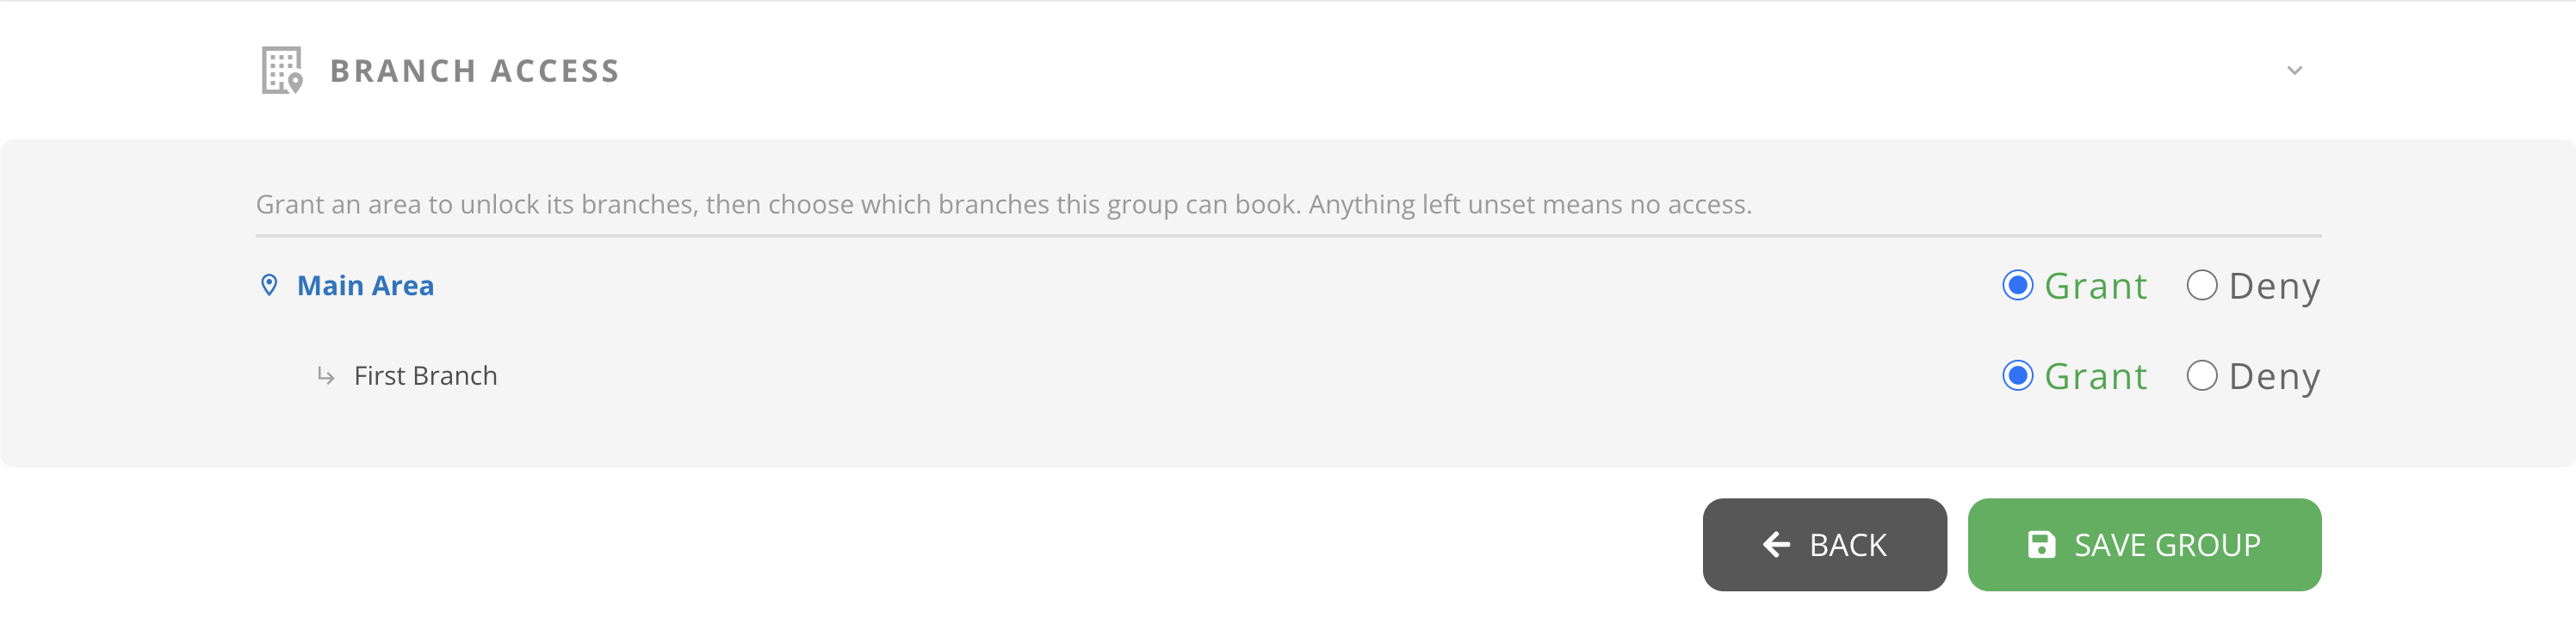
Branch access decides which resources members of the group can book, so a group with no branch granted cannot book anything.
- Set an area to Grant. Its branches appear underneath.
- Set each branch to Grant or Deny.
Anything left unset means no access.