👤 Users
The Users page of the admin panel is where you manage the people who can browse availability and make reservations. Everyone who signs in to Booking needs an account here.
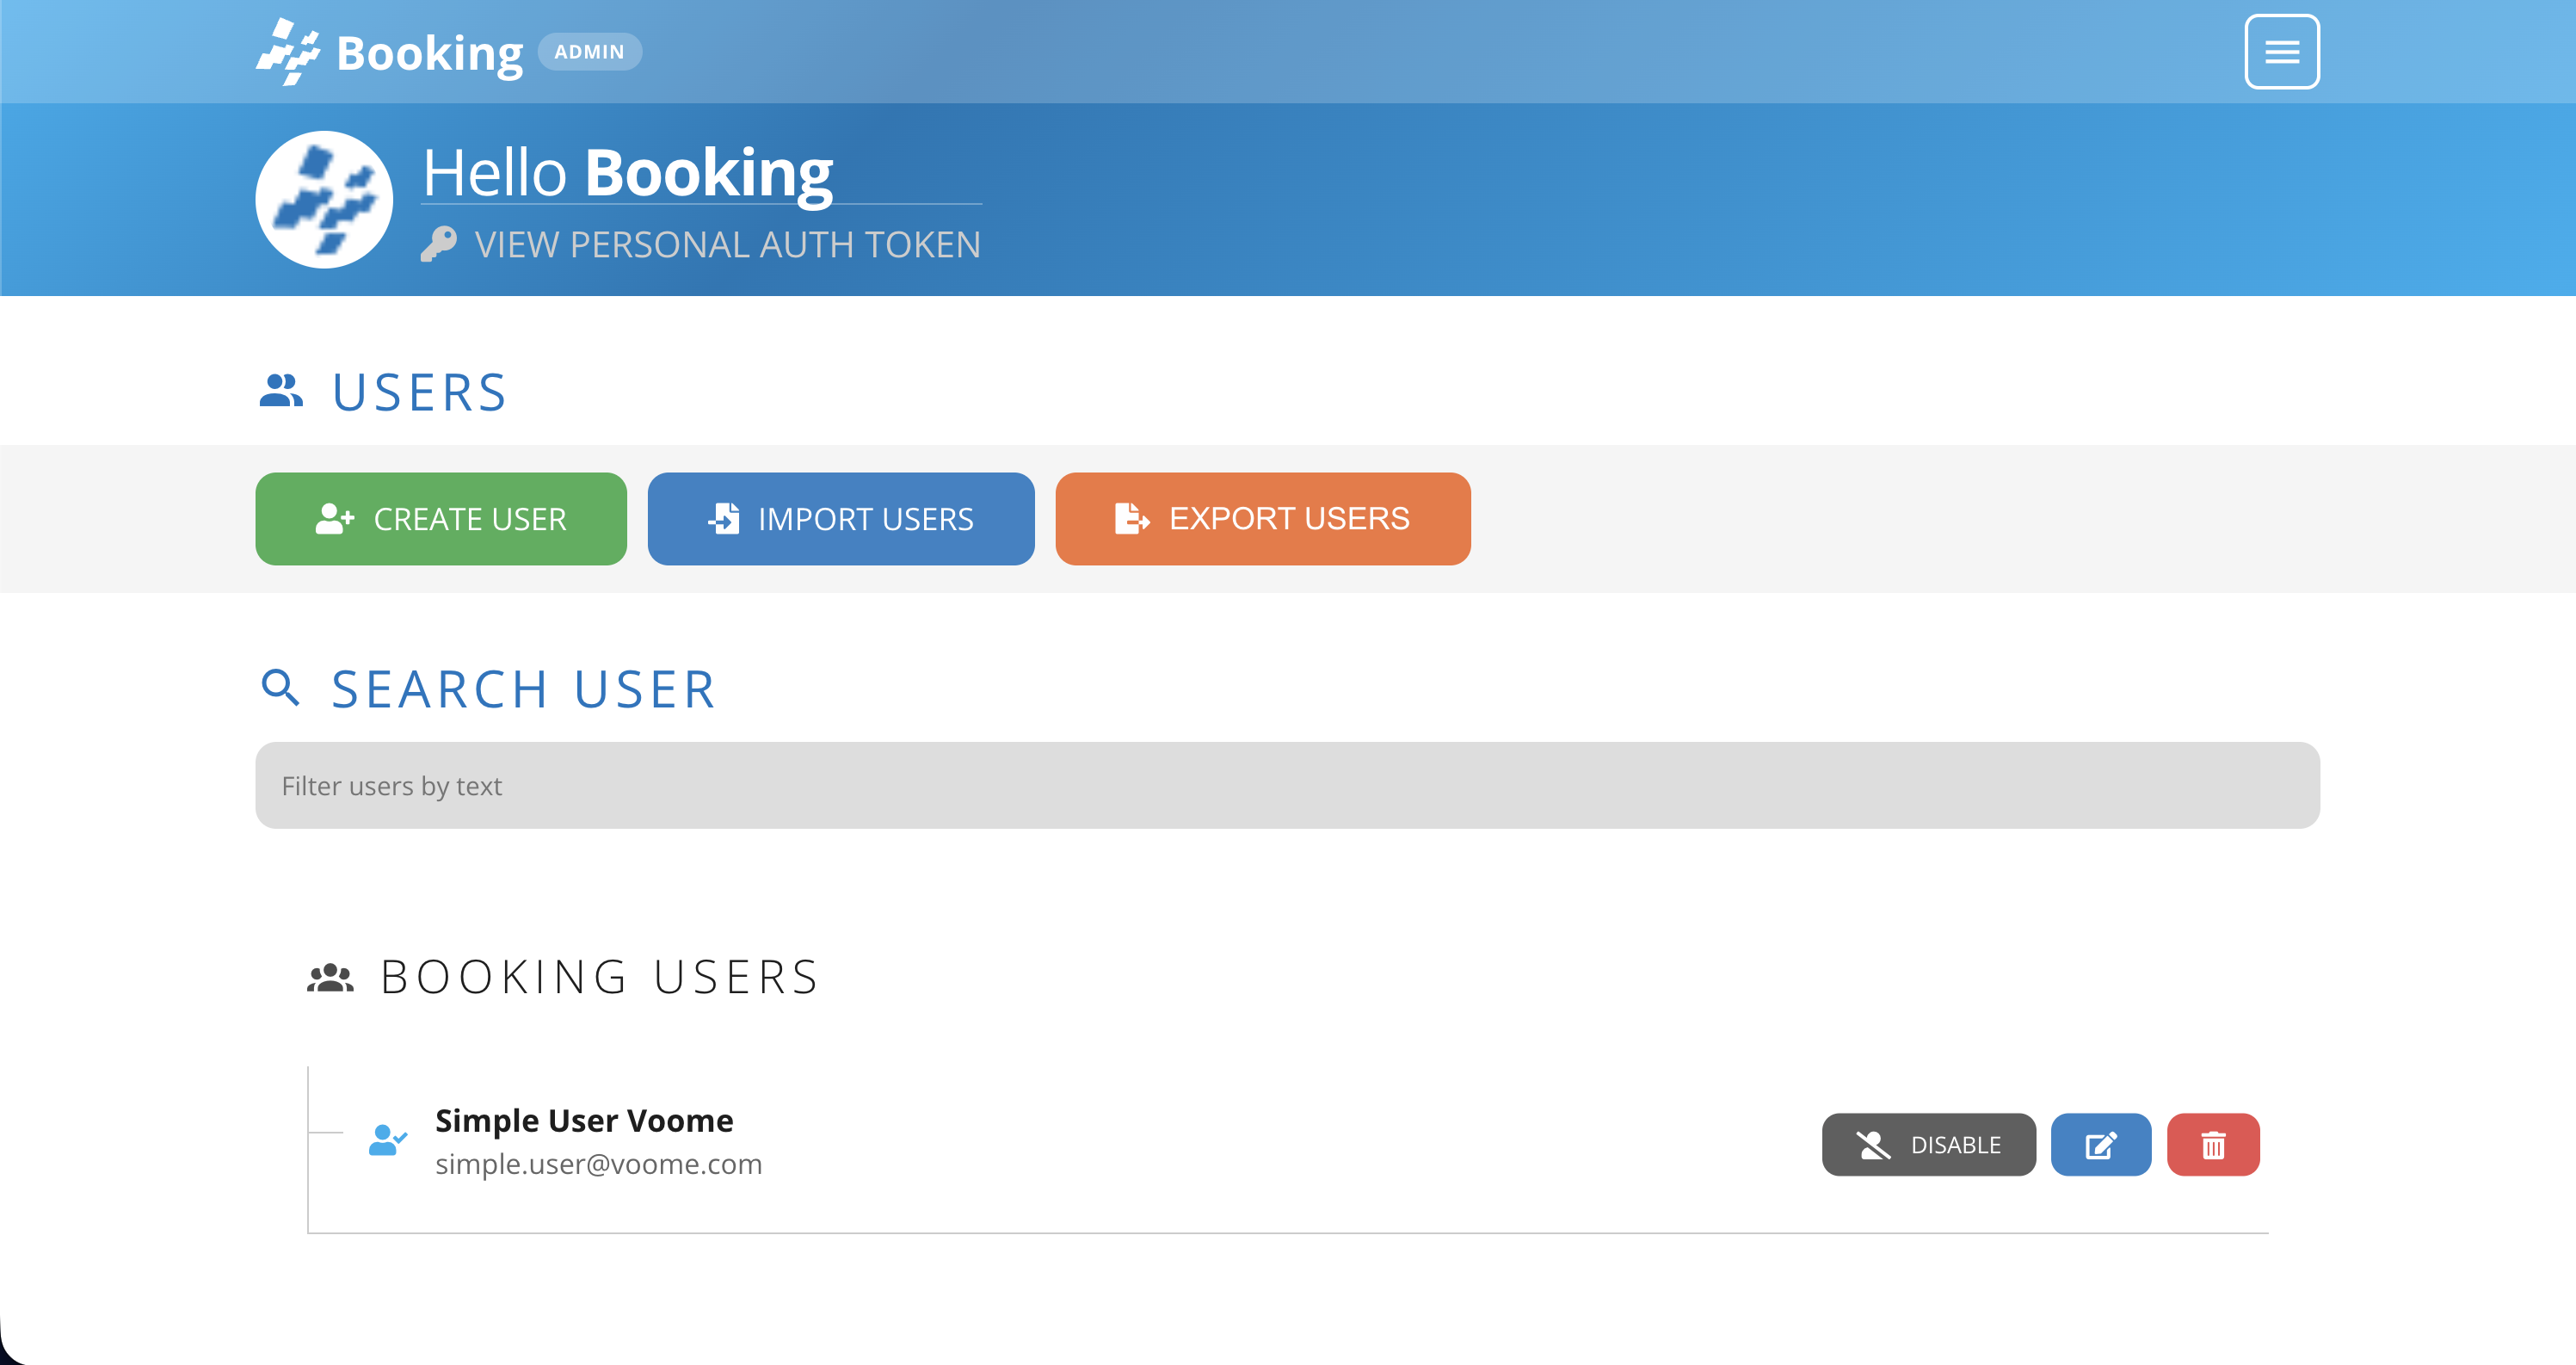
From this page you can:
- Create User: add one account at a time.
- Import Users: create many accounts at once from a CSV file.
- Export Users: download the current list as a CSV file.
- Search User: filter the list by text, for example a name or an email address.
- Per user: edit, disable, or delete the account.
➕ Create a user
- Press Create User. The Manage User form opens.
- Fill in the User Detail section. The fields marked with a red asterisk are required.
- Open Advanced Settings and pick the user group the person belongs to. If the group you need does not exist yet, create it first in User Groups.
- Press Save User. The new account appears in the Booking Users list.
🔍 User detail
- First Name and Last Name (required): how the person is identified in the user list and on their reservations.
- Email (required): where confirmation emails, calendar invites, and authorization codes are sent.
- Username: between 6 and 50 characters, using only letters (a-z), digits (0-9) and
-_.@. Since@is allowed, the person's email address works as a username. - Password and Confirm Password (required): the two fields must match.
- Language (required): the language of the Booking interface for this user.
- Timezone (required): the timezone the user works in.
- Badge Number: a unique badge code for quick check-in and check-out via NFC at an outdoor panel. Leave it empty if your site does not use badges.
The main supported badge technology is MIFARE, and the value to enter is the badge code in hexadecimal.
Encryption and formatting differ from one company's badges to another, so always test a few of your real badges with your hardware. Contact the Voome team if you need a hand.
👥 Advanced settings
- User Group (required): decides which resources the user sees while booking, based on the branches granted to that group. See User Groups.
- Working Branch: if set, resources from this branch are offered first during the booking process. Useful when someone can book across several sites but normally works from one of them.
- Auto Assign A Spot: when enabled, the first available spot inside the user's group branches, or inside the selected working branch, is assigned automatically.
📥 Import users from a CSV file
Use an import when you are onboarding a whole team or office instead of a handful of people.
- Press Import Users.
- Select your CSV file.
- Confirm the import. The imported accounts are added to the Booking Users list.
Press Export Users first and use the downloaded file as your template. It already has the columns the import expects, so you only need to add one row per new user.
📤 Export users
Press Export Users to download the current list as a CSV file. This is useful as a backup, as an import template, or to review who has access outside the admin panel.
✏️ Edit, disable, or delete a user
Every row in the Booking Users list has its own actions on the right:
- Disable revokes access without removing the account. The button turns into Enable, so you can restore access later. Use this for people who are temporarily away or who have left.
- Edit (pencil icon) reopens the same Manage User form, with every field described above available for changes. Leave the password fields empty to keep the current password.
- Delete (bin icon) removes the account permanently. Prefer Disable when you may need the account again.