✅ Book Now
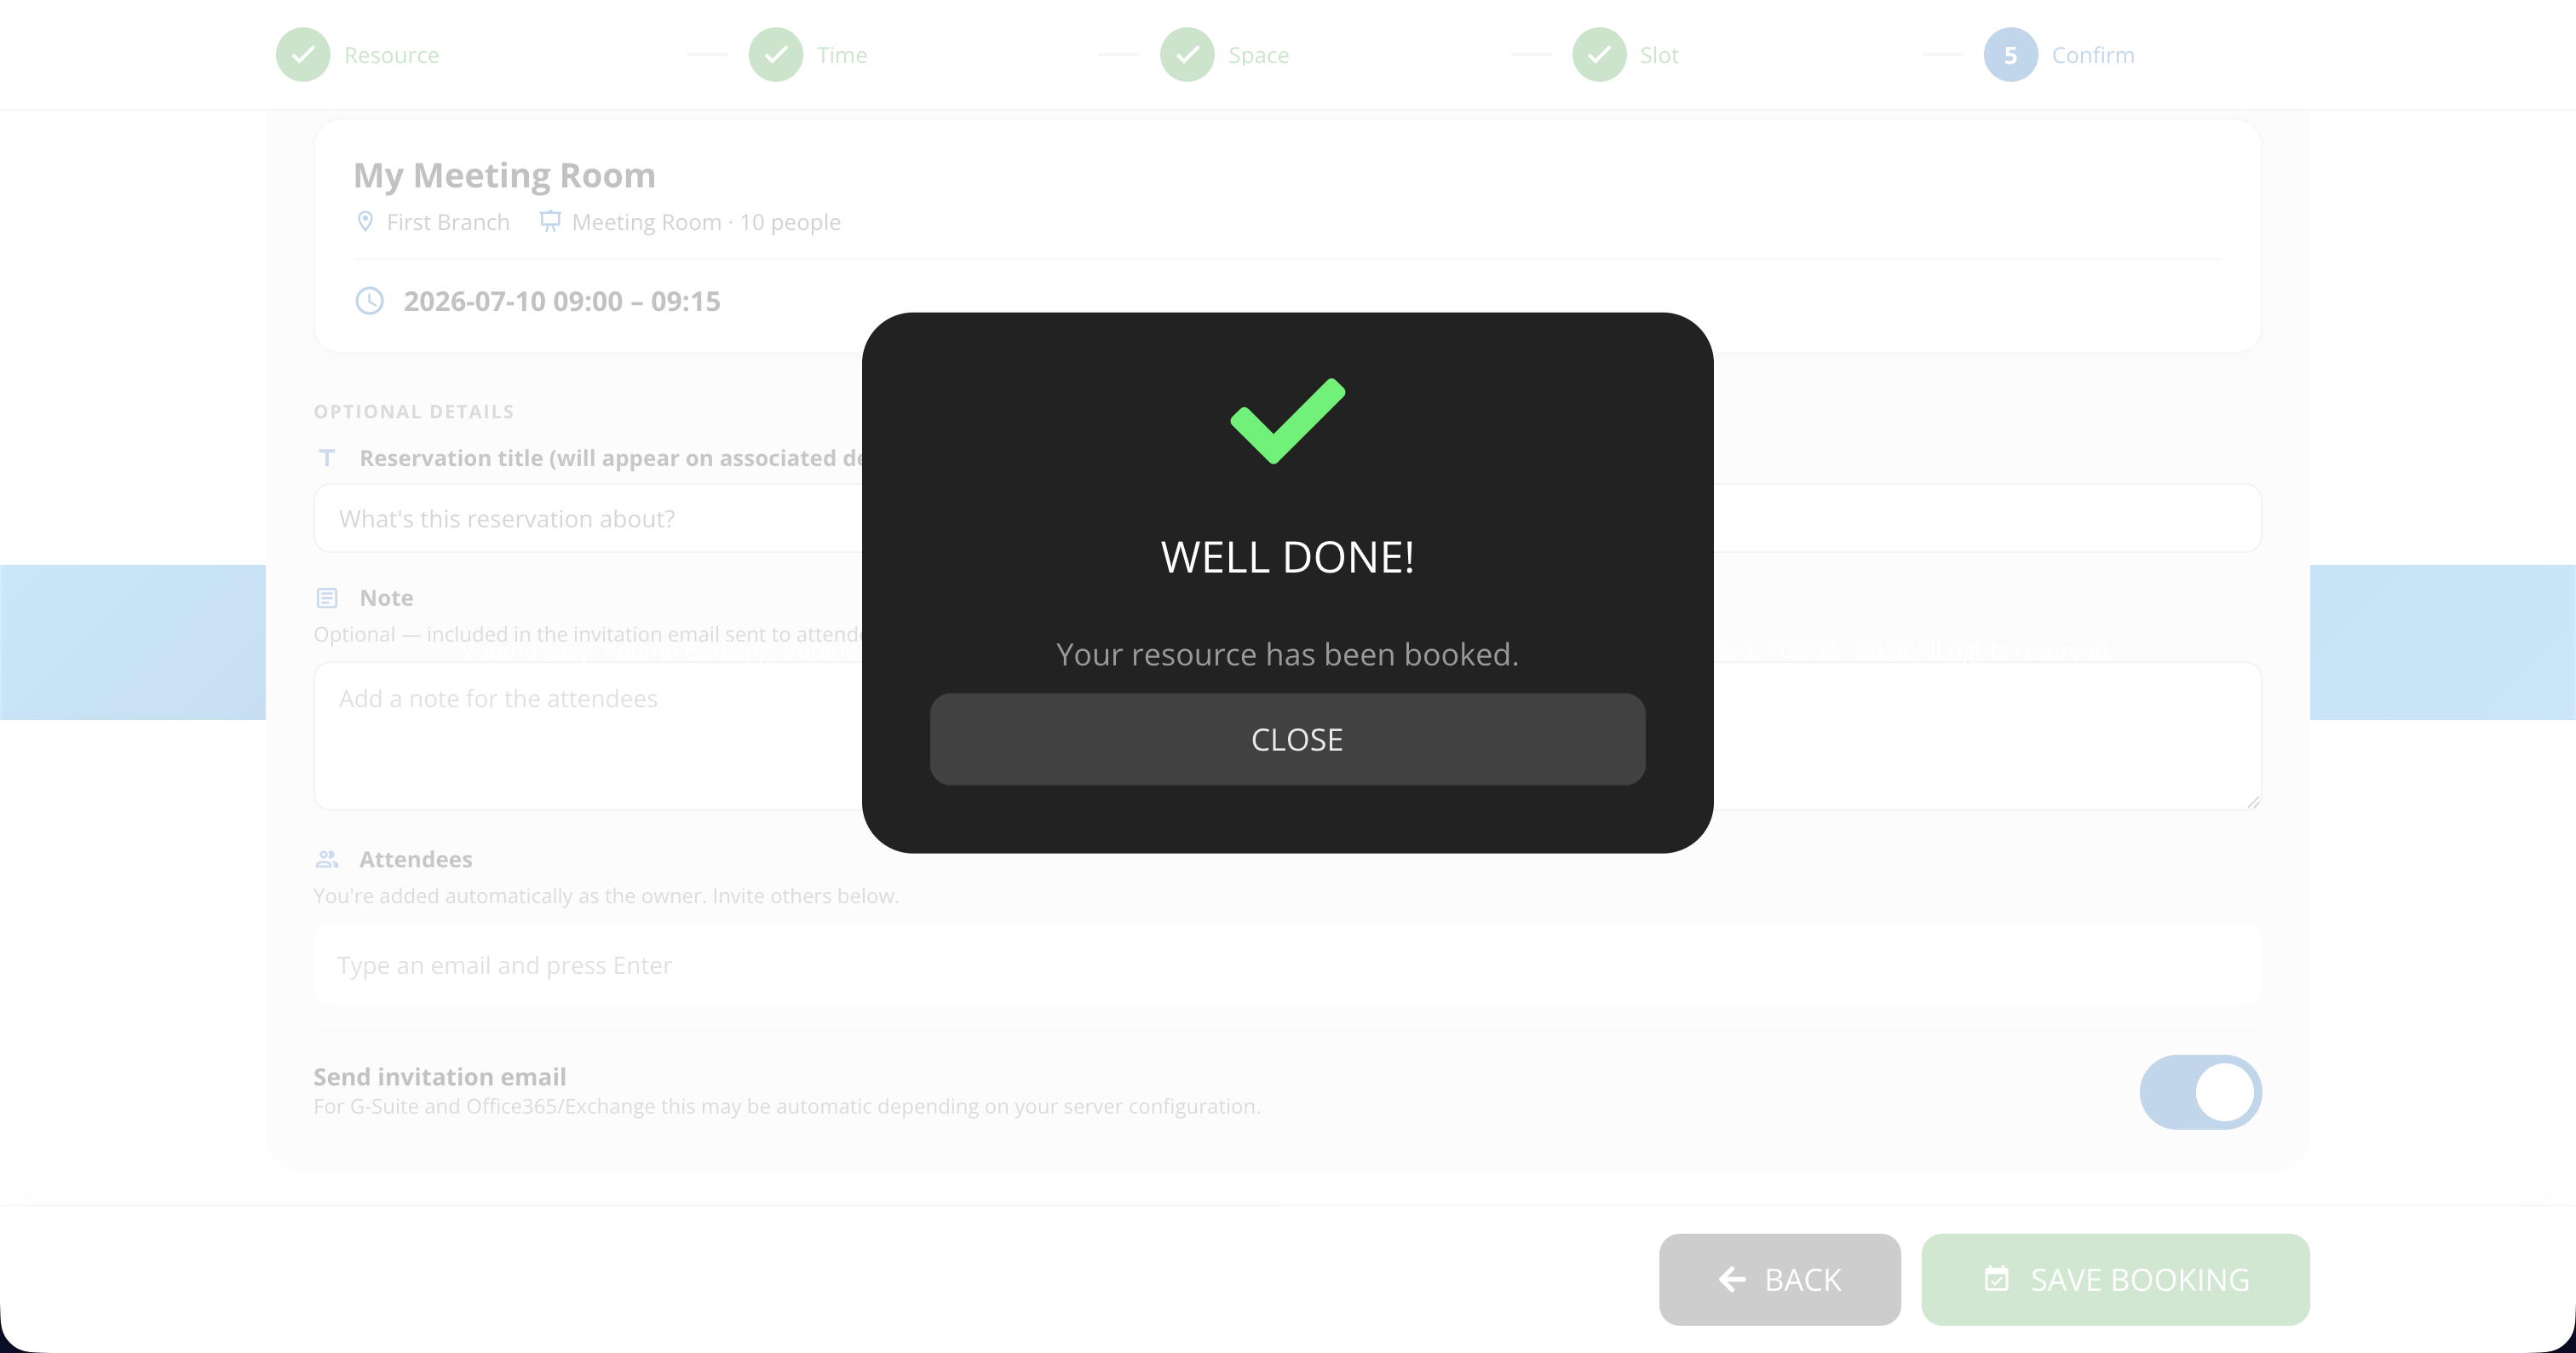
Book Now is a guided wizard that lets you reserve a resource in just a few steps. You pick the type of resource you need, choose when you want it, select the space, confirm a specific time slot, and review a final summary before booking. Once confirmed, everyone involved receives a confirmation email with all the reservation details, including a calendar invite and an authorization code for check-in.
The 5 steps are:
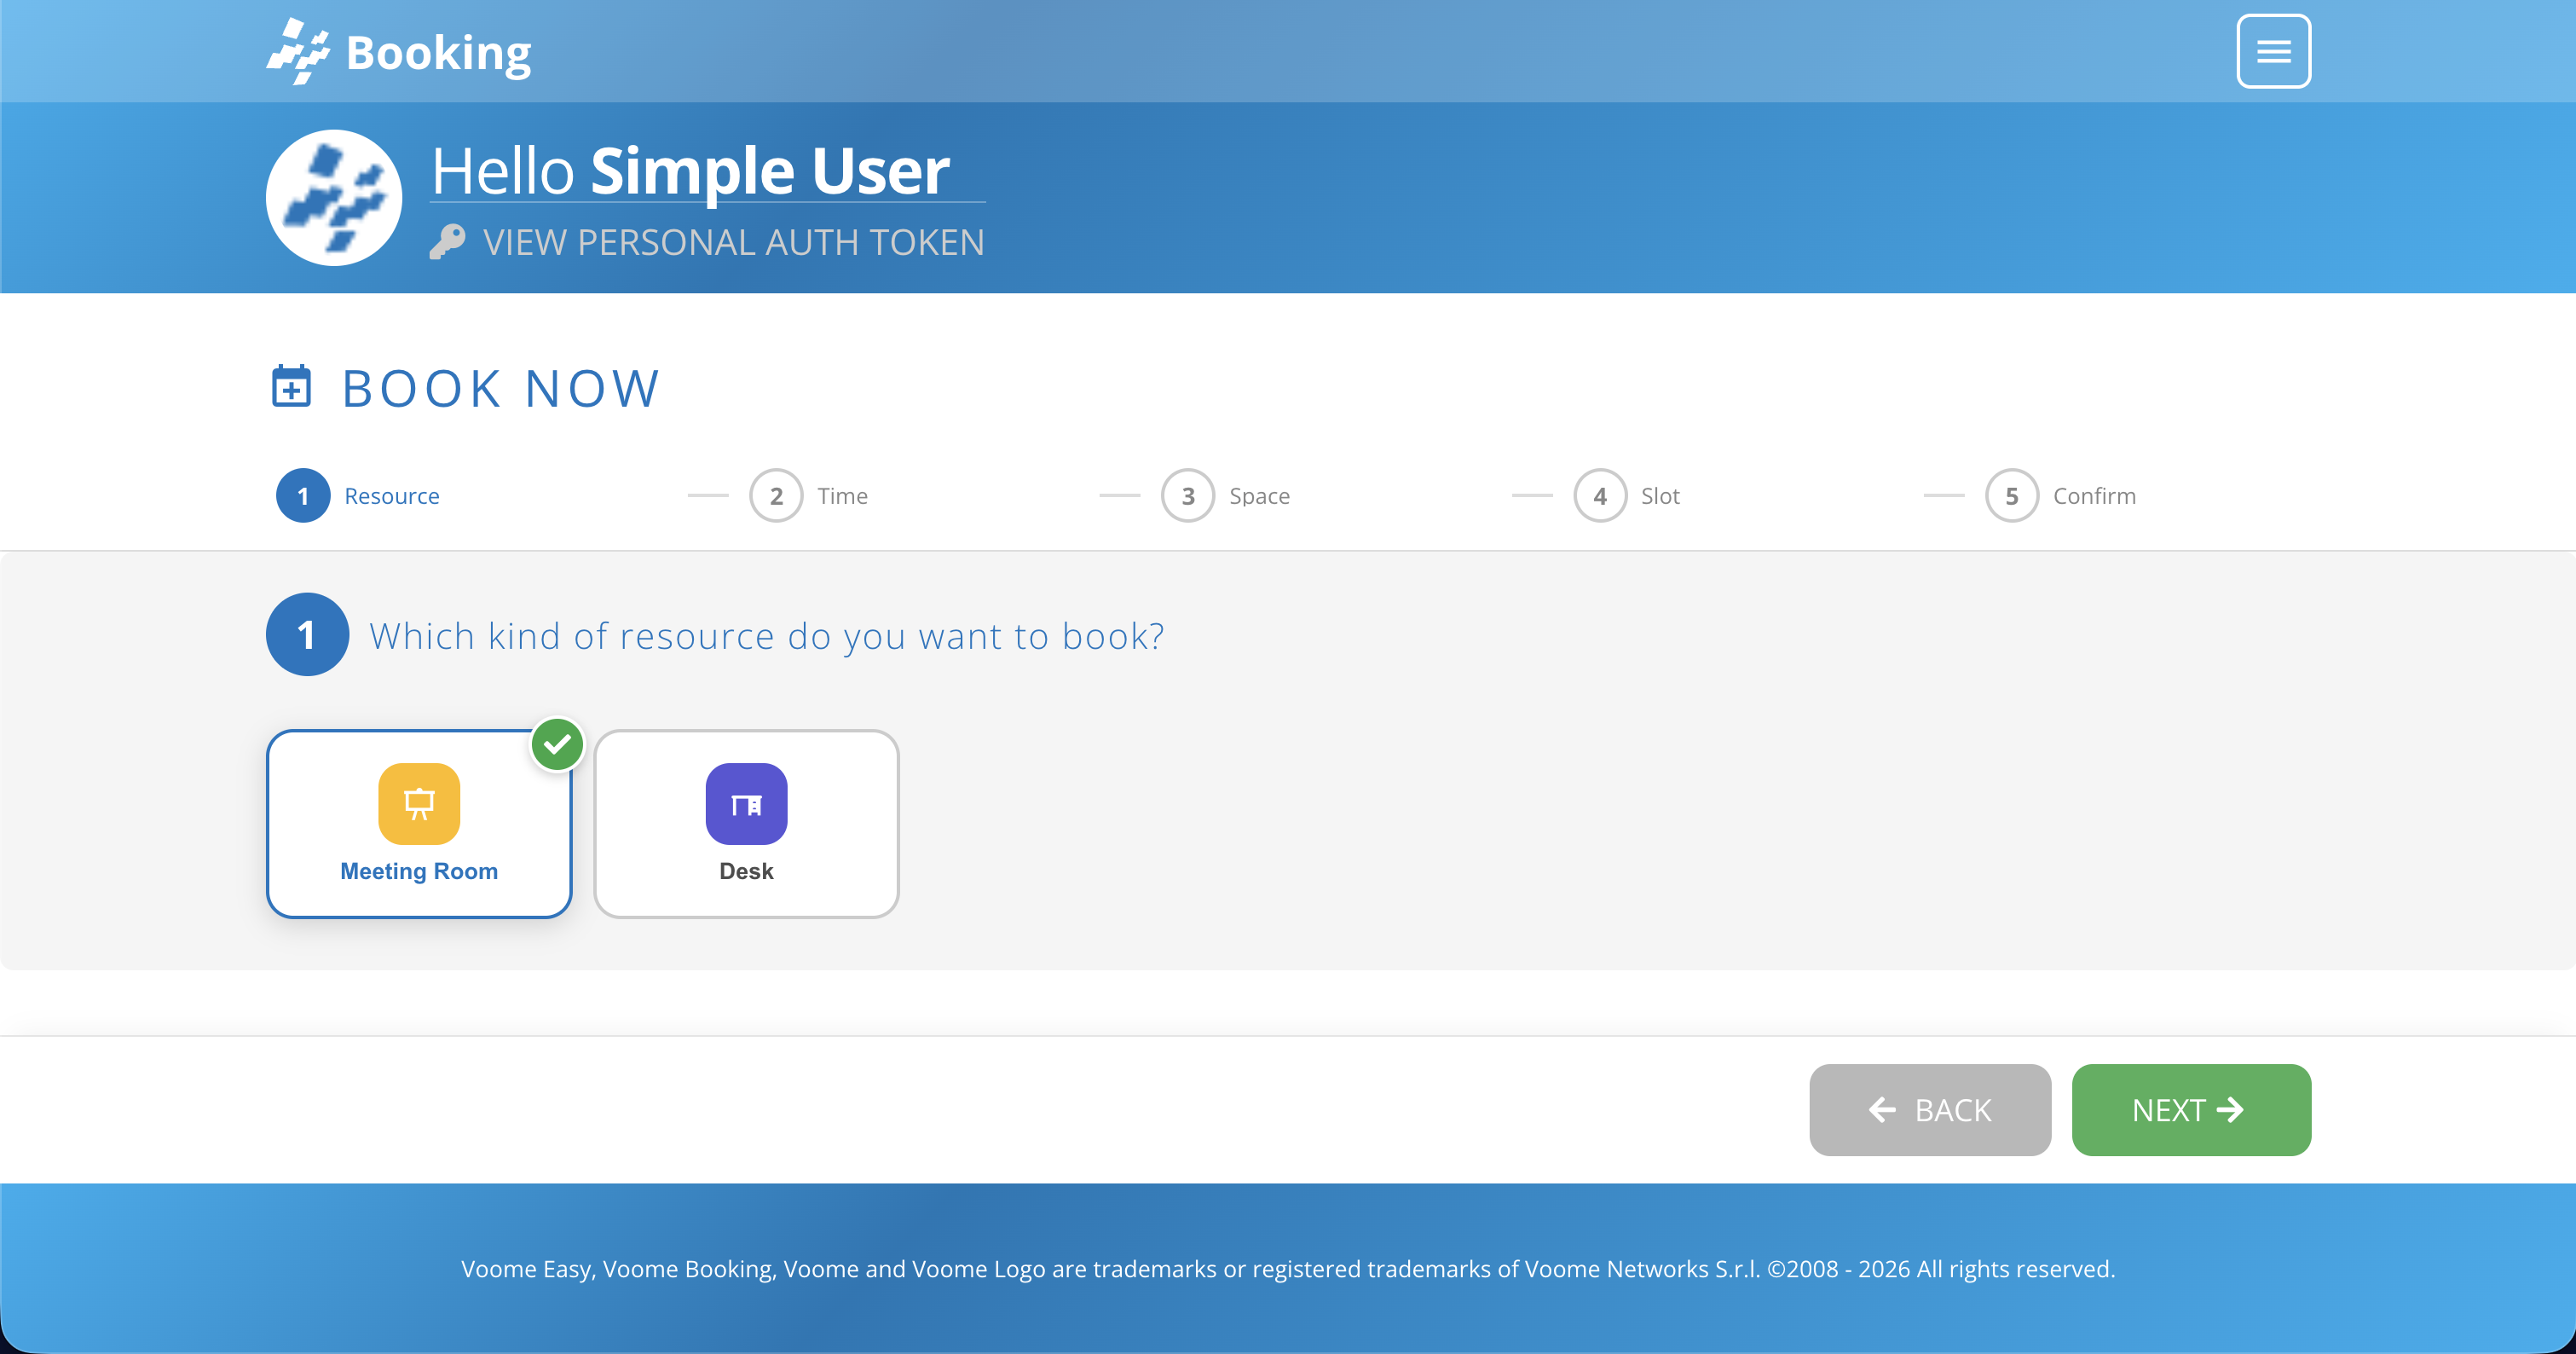
- Resource Type: choose the kind of resource you want to book.
- Time Selection: decide when, either by finding an available slot or picking a time range.
- Space: pick the branch and the specific resource.
- Time Slot: confirm the exact time for your reservation.
- Summary: add optional details (title, notes, attendees) and confirm.
👉🏼 Step 1: Resource Type
Here you will see all the resource types your group is allowed to see. If you have only one type available, this step is completed automatically and you jump straight to step 2. Just choose which resource type you need and click Next.
👉🏼 Step 2: Time Selection
Here you have 2 different booking time options:
-
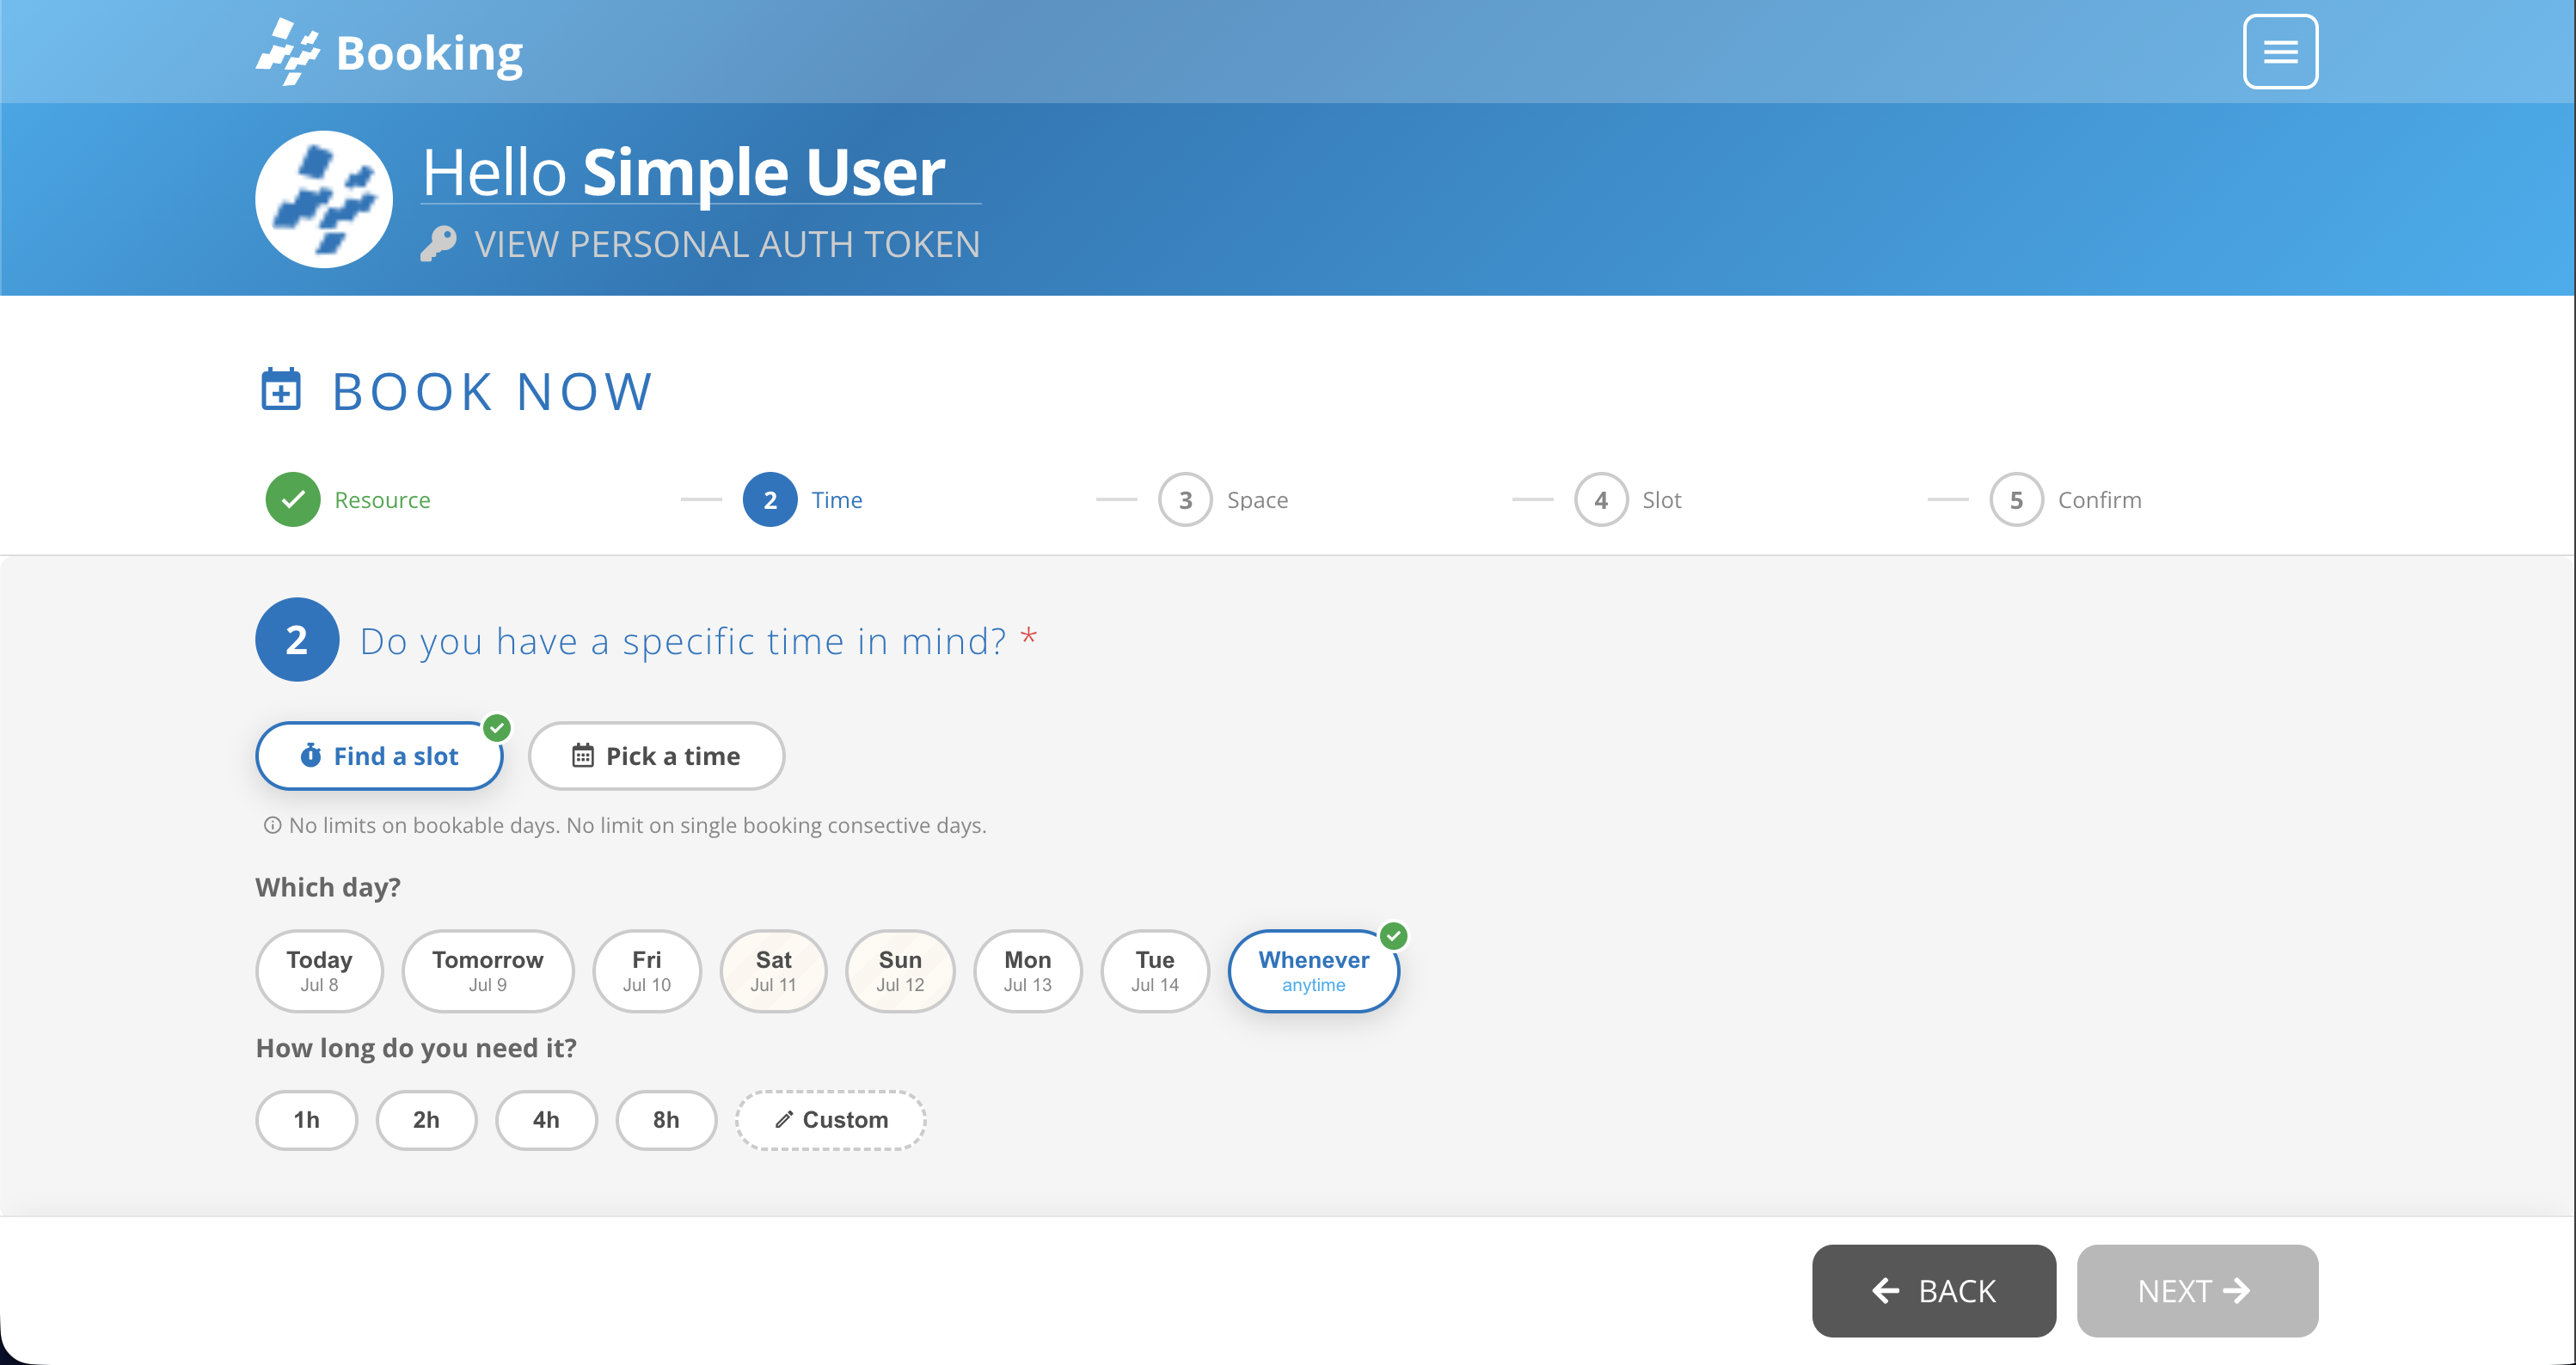
Find a slot: choose a date among the next few days, or the "Whenever" chip to stay flexible and pick a time through a sliding calendar in step 4.
 Available Dates
The maximum future date can be set/unset by the admin. For example, you may be limited to booking only within the next 3 days.
-
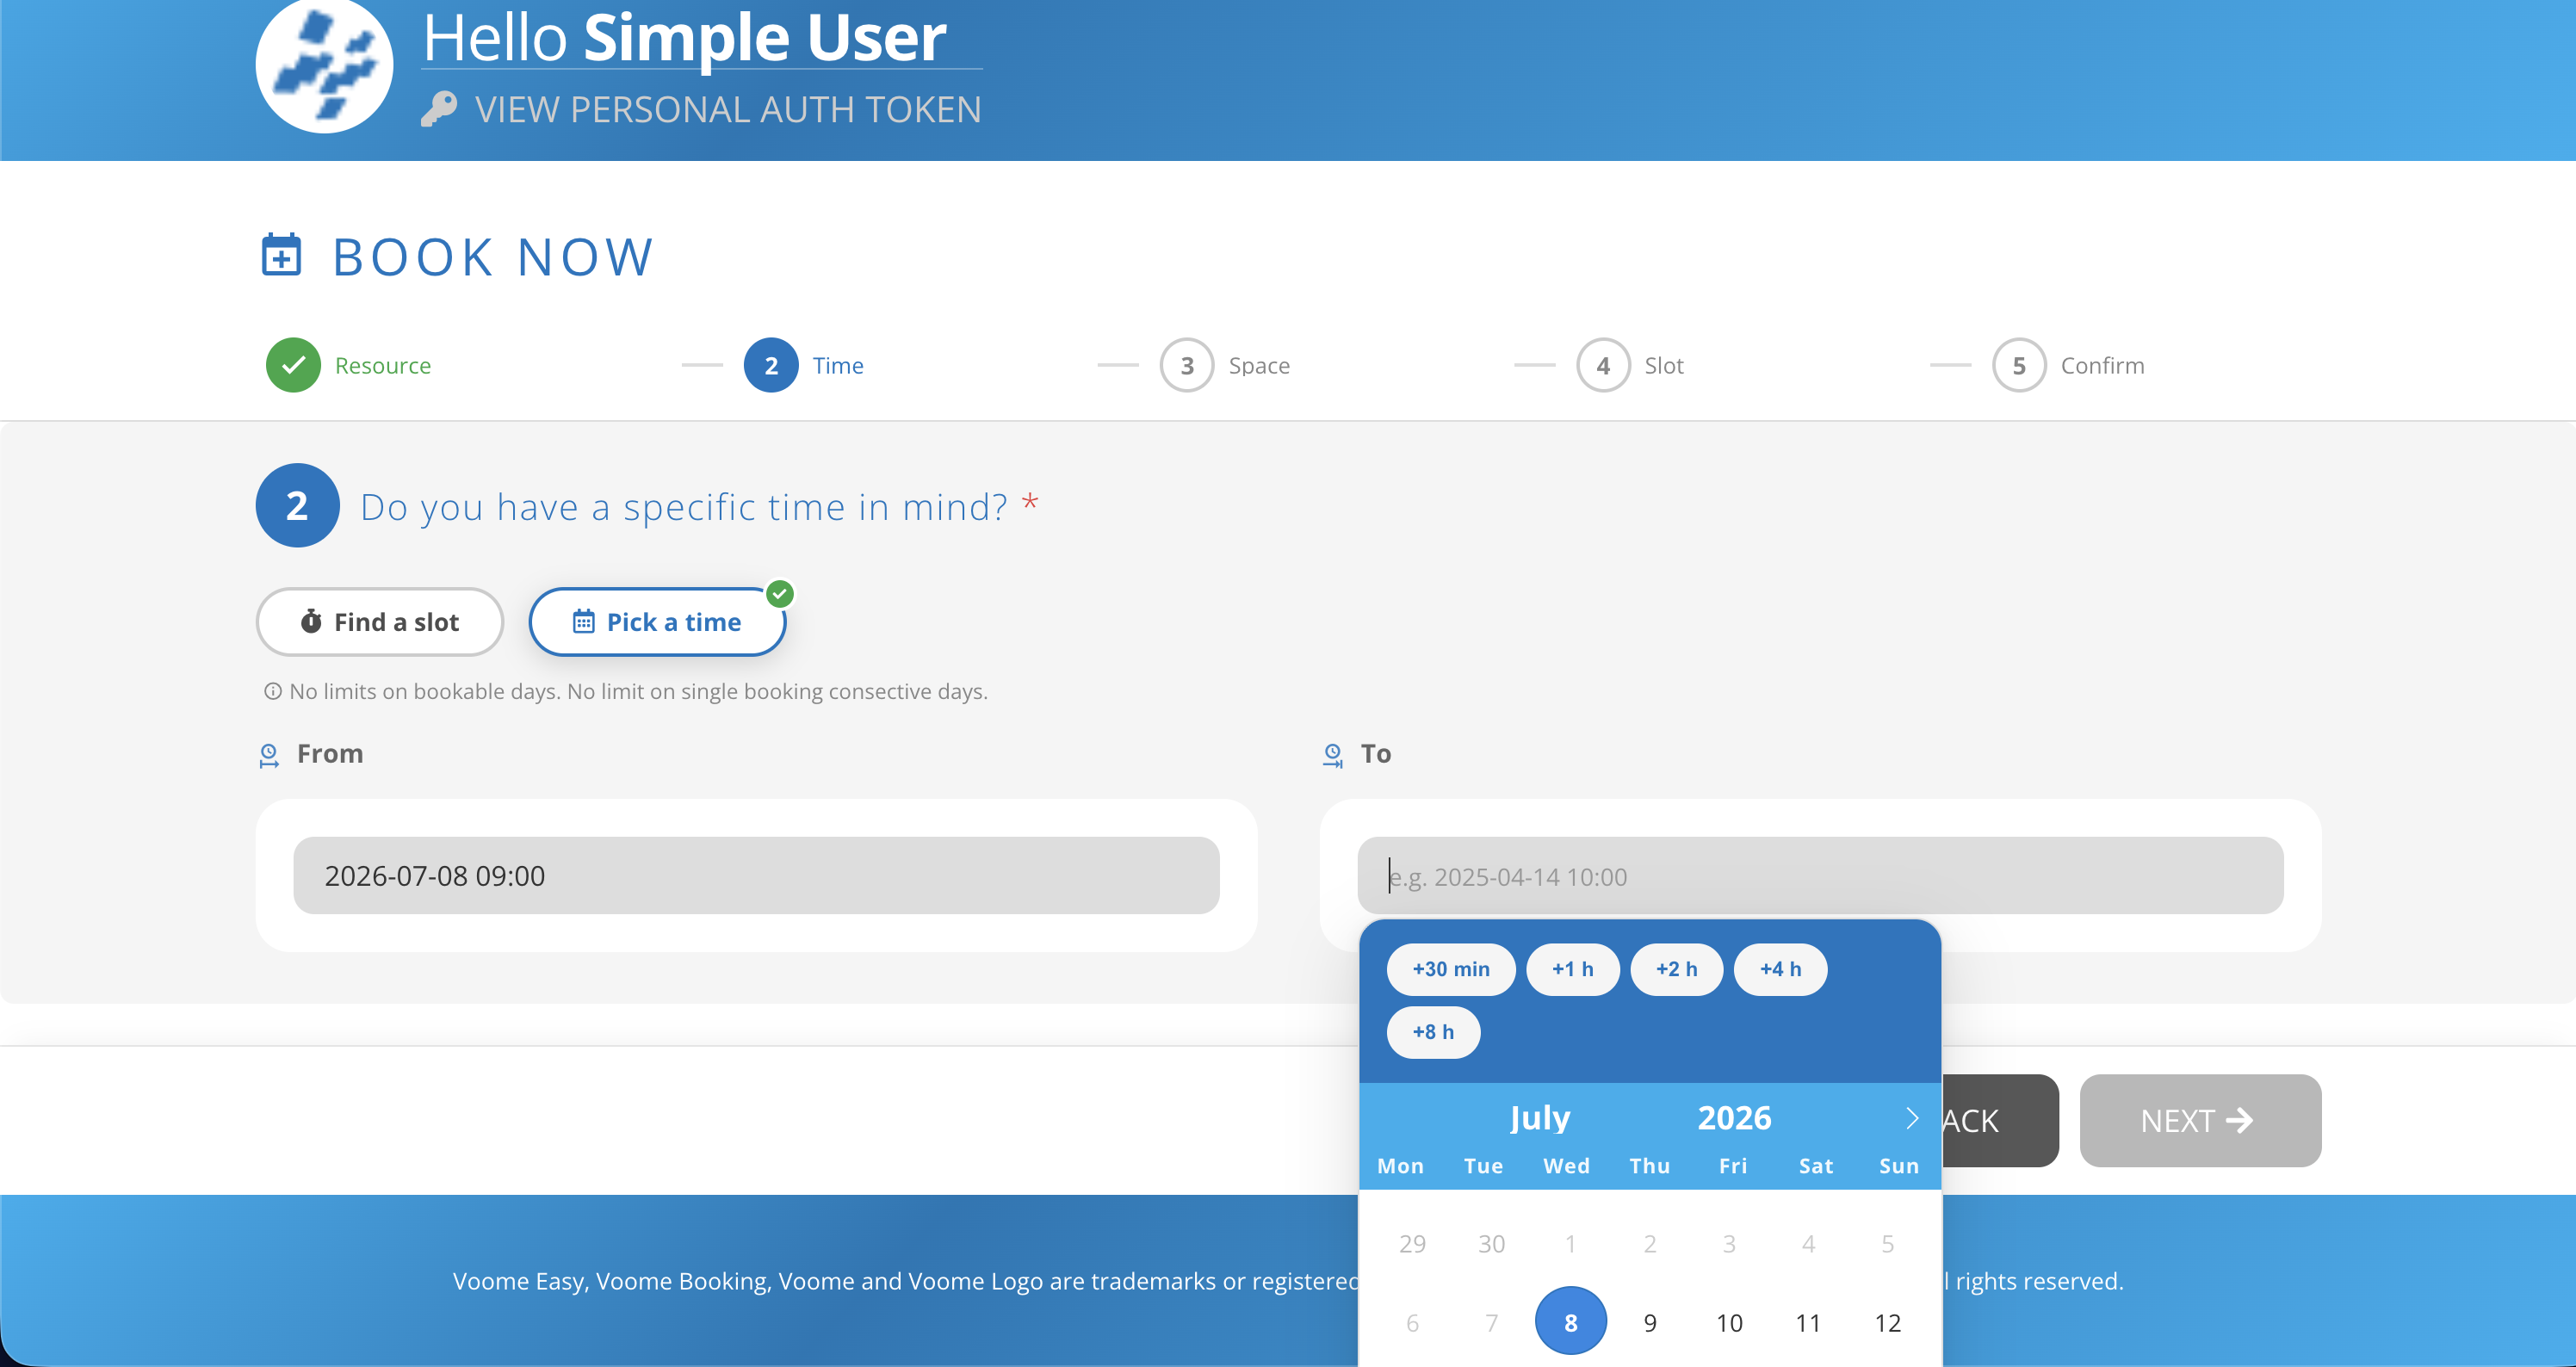
🗓️ Pick a Time: the second method of choosing a time slot. It lets you select a time range freely, based on the bookable days configured for the resource type and the number of consecutive days allowed per booking by the admin.
👉🏼 Step 3: Space
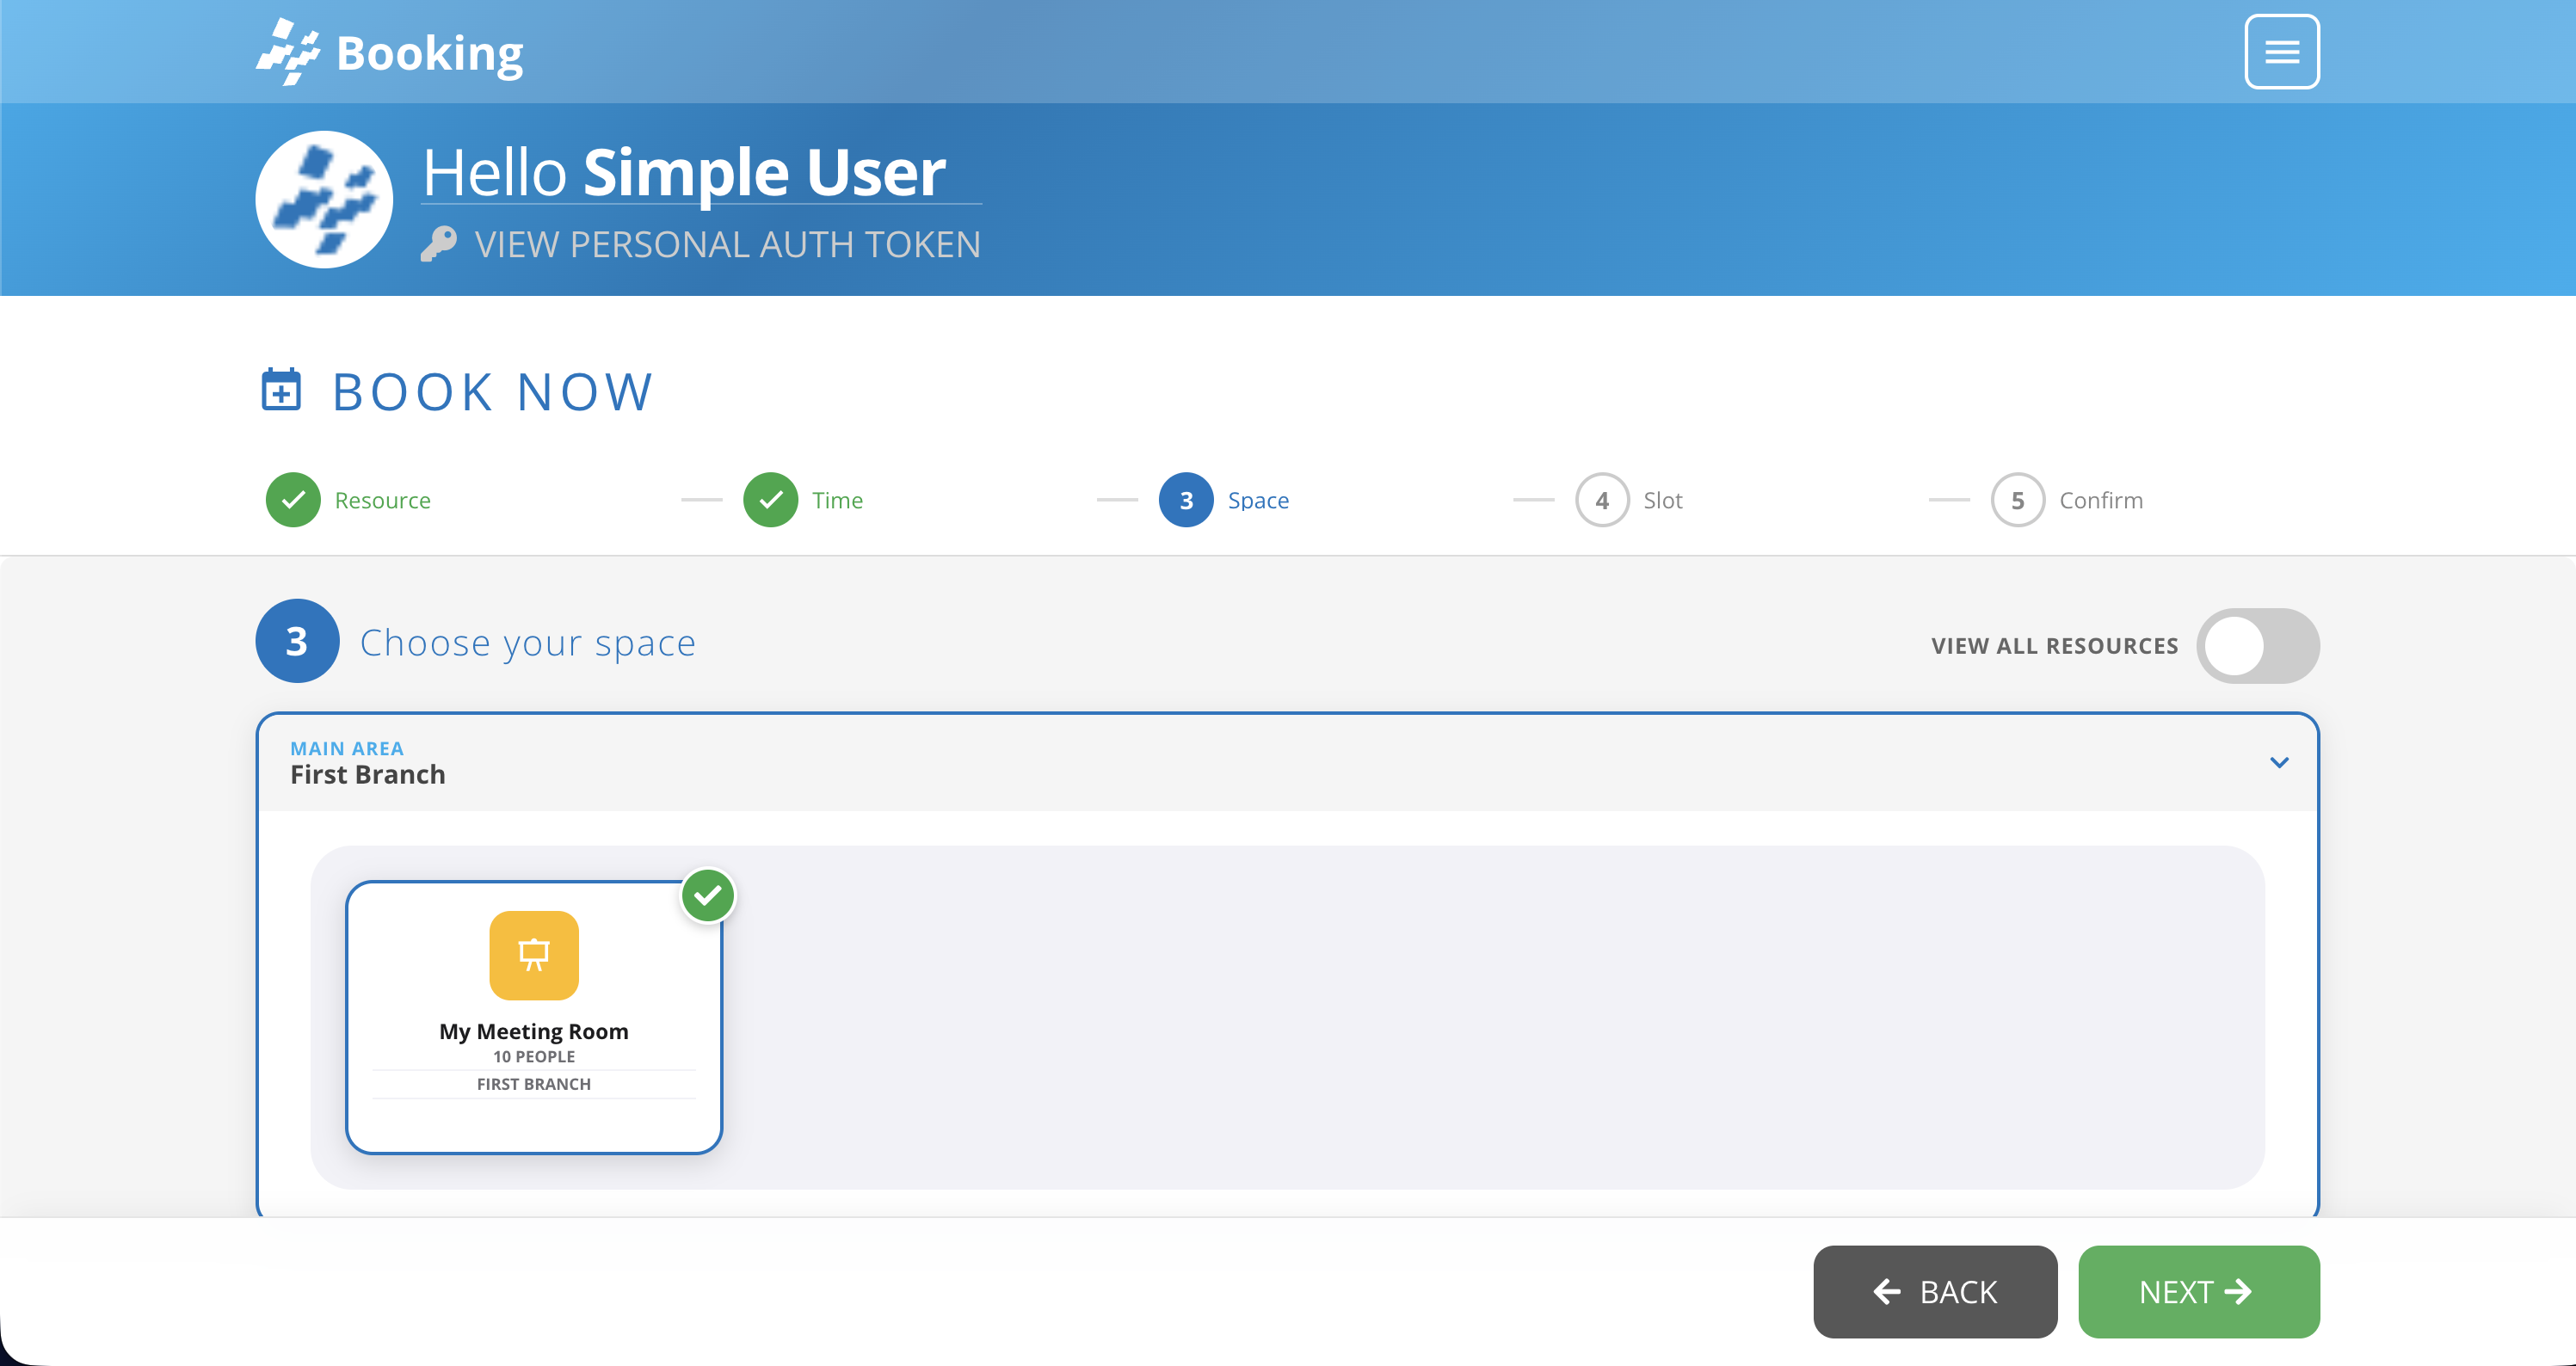
Here you will find a list of all the branches that contain resources of the chosen type available within the time constraint you set in step 2.
Navigate through the various branches, or toggle "View all resources" to see every available resource in a single, unified view.
👉🏼 Step 4: Time Slot
Two possible scenarios here:
-
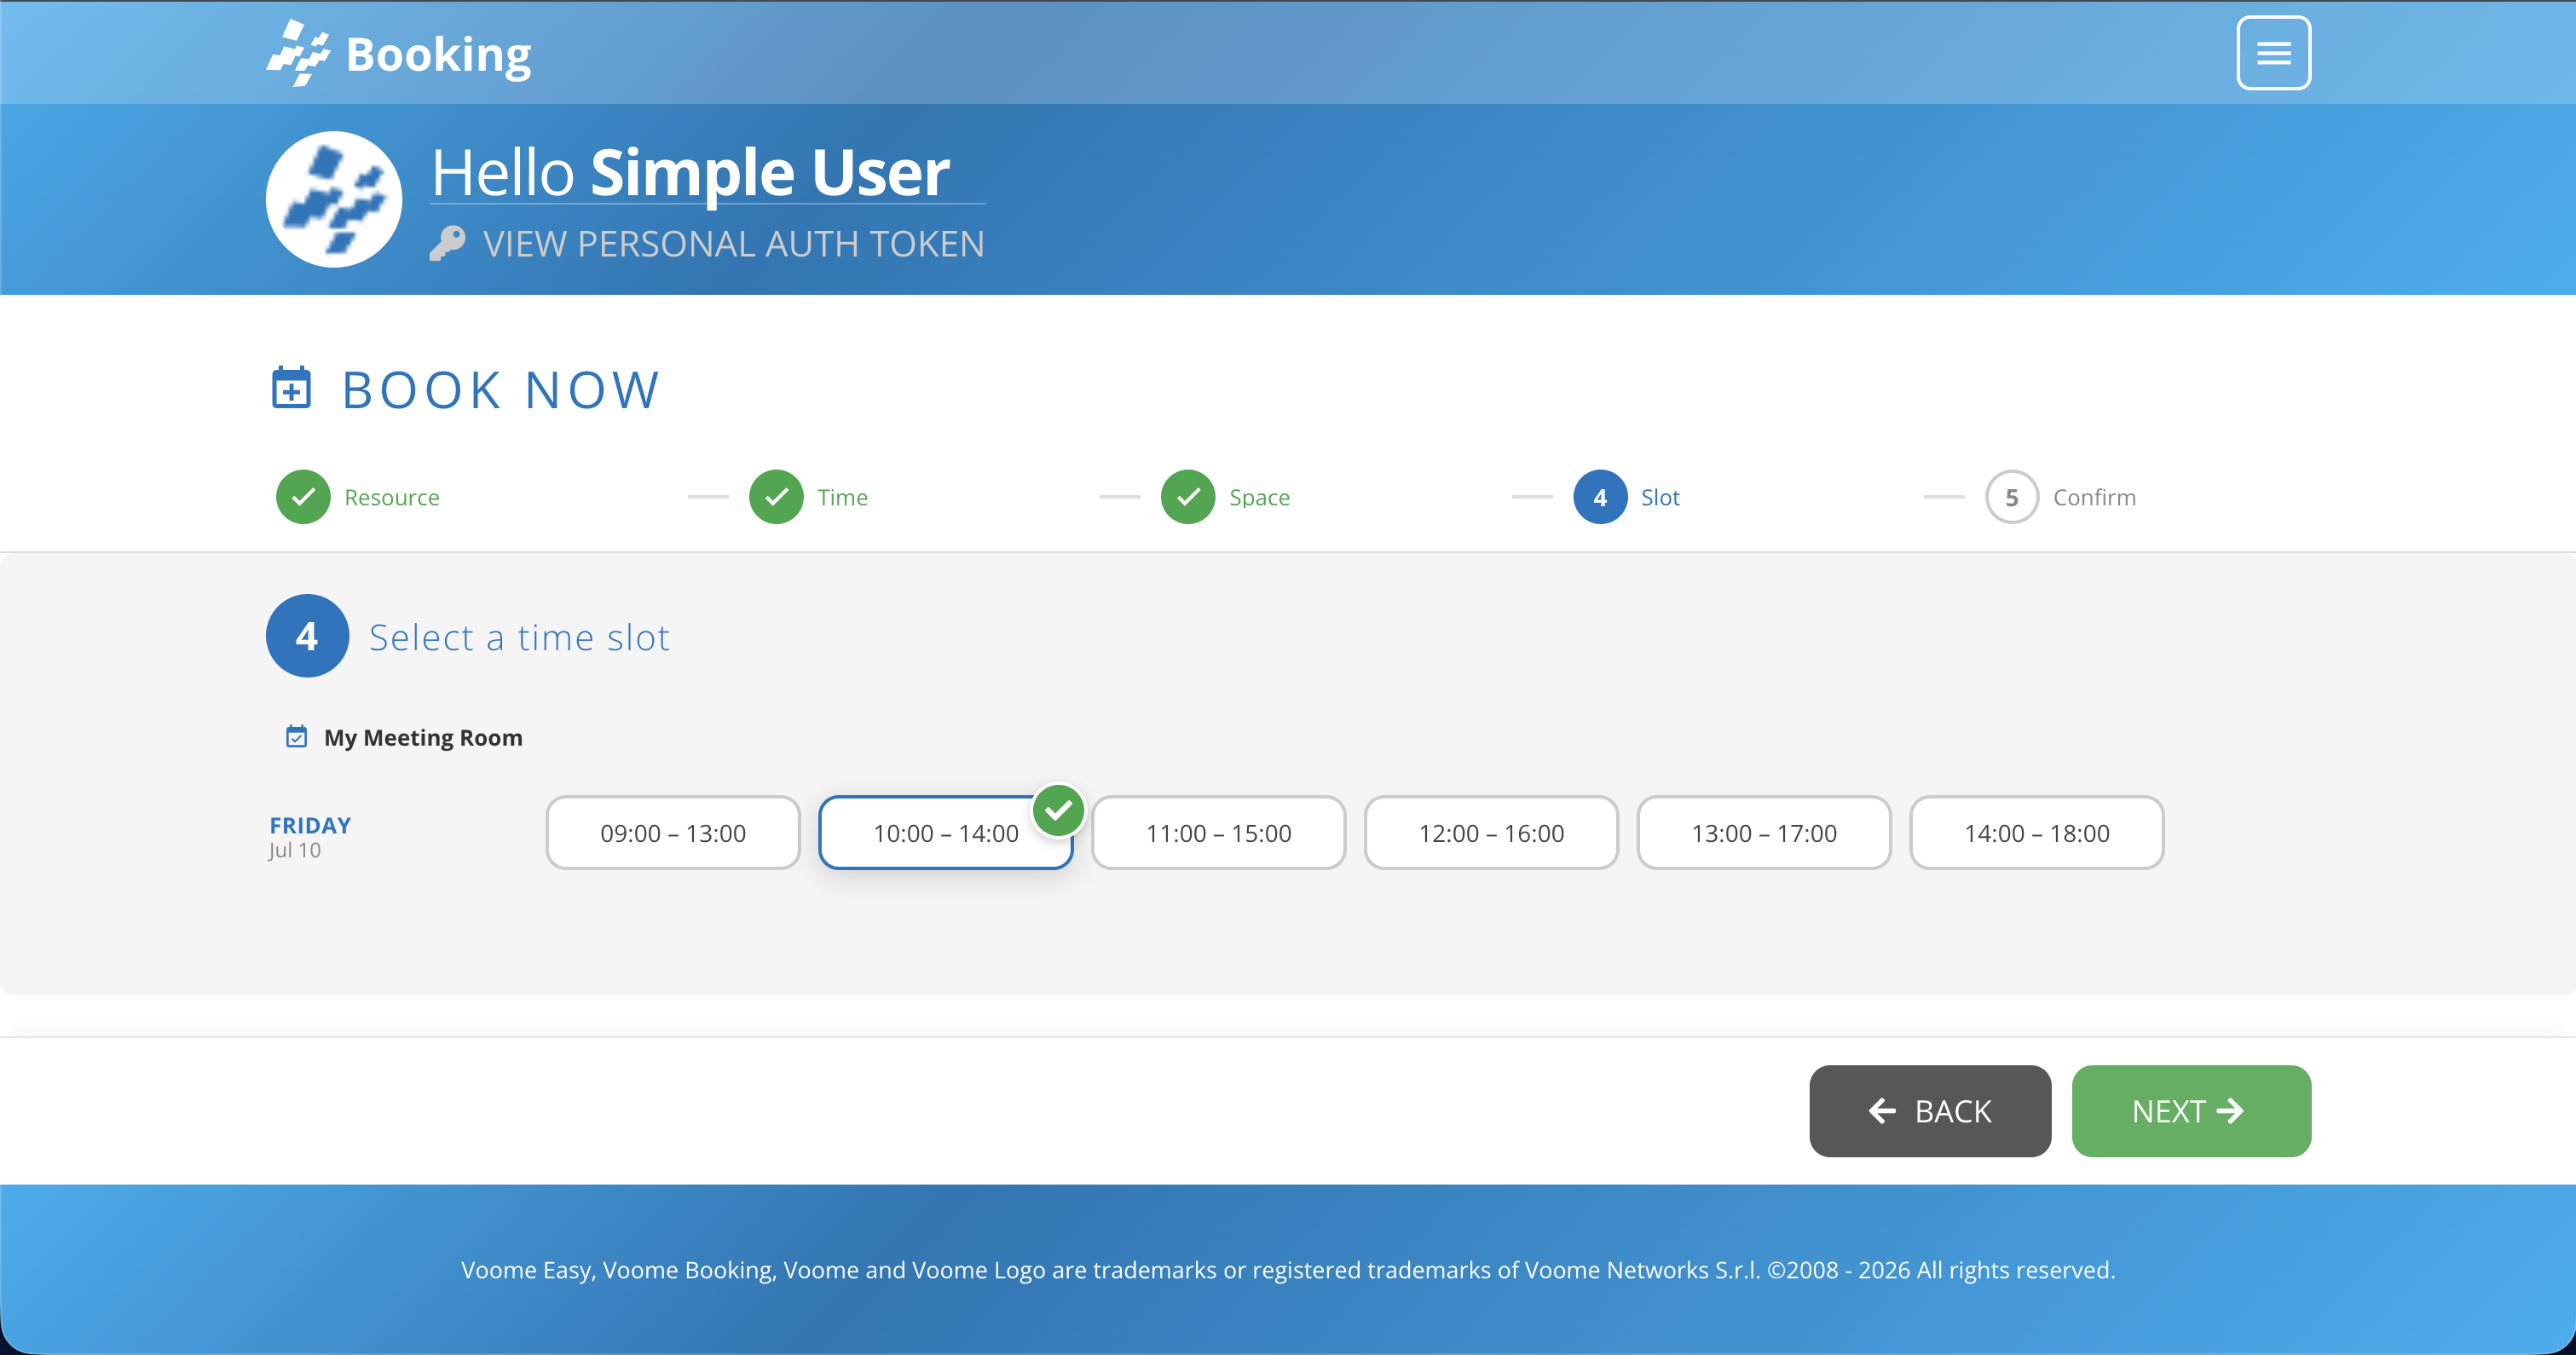
If in step 2 you chose a combination like "Find a slot > Day > 4h", you will be presented with a list of all the available time slots within that timeframe to choose from.
-
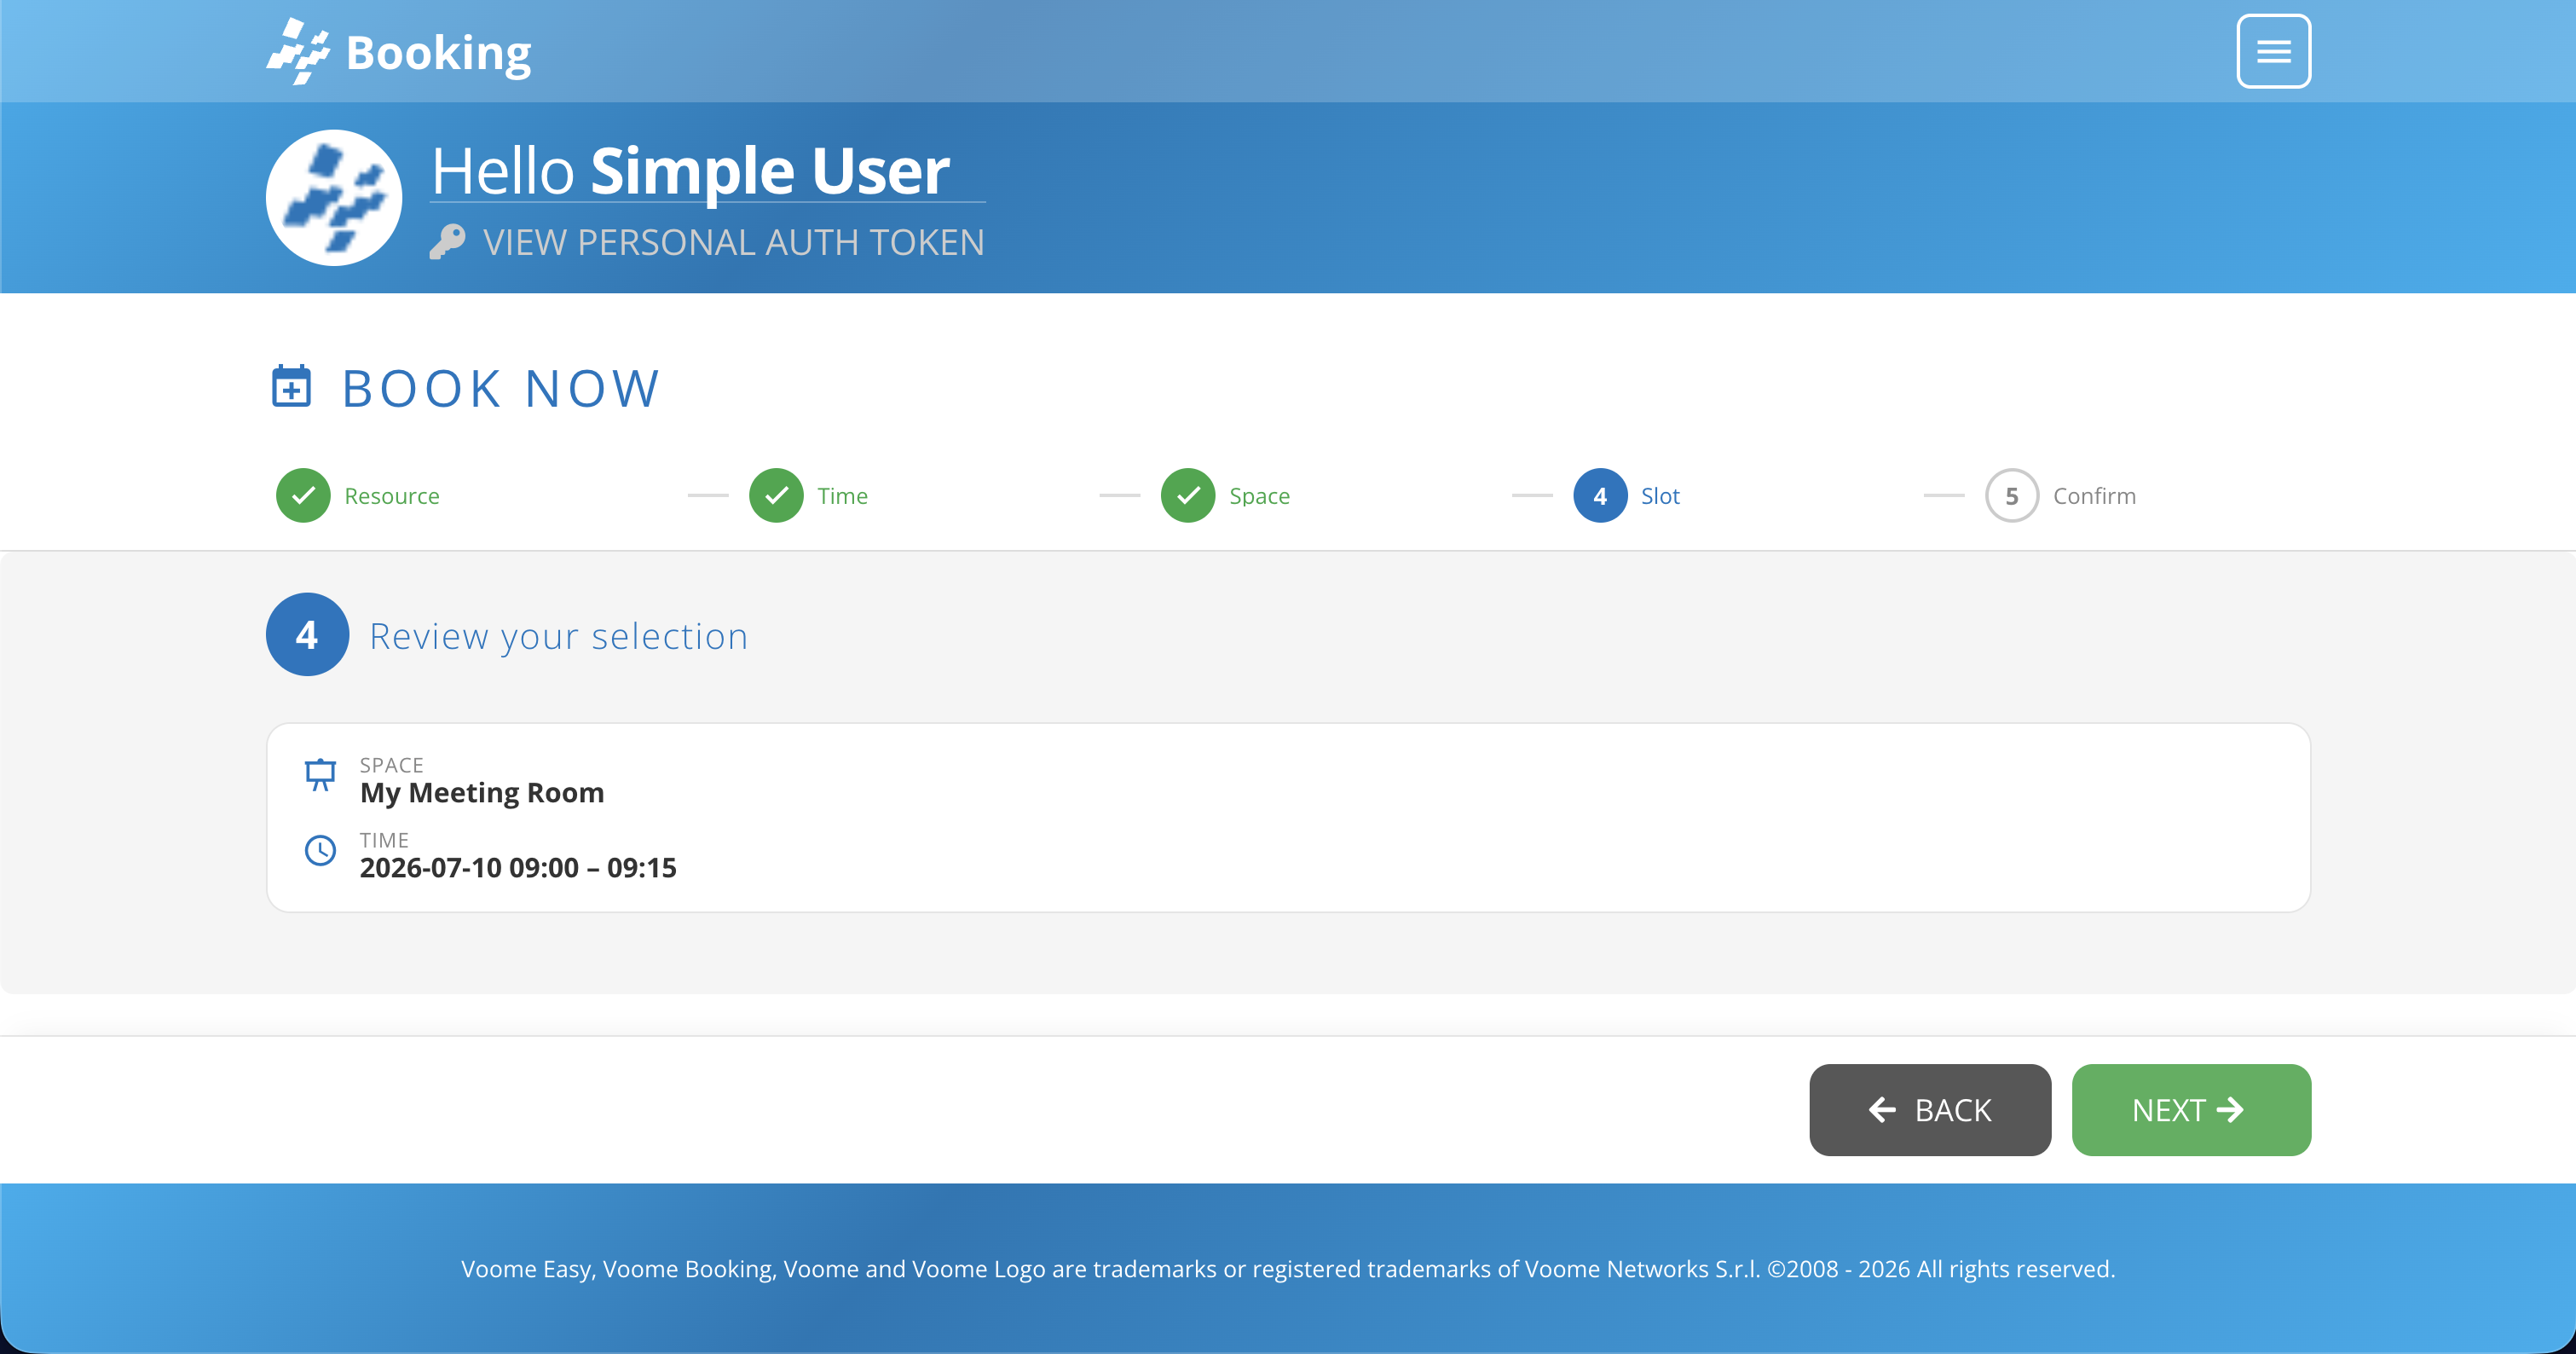
If in step 2 you chose the Pick a Time option, you will simply be presented with a summary of your choices so far, so you can confirm that everything is what you expected.
👉🏼 Step 5: Summary
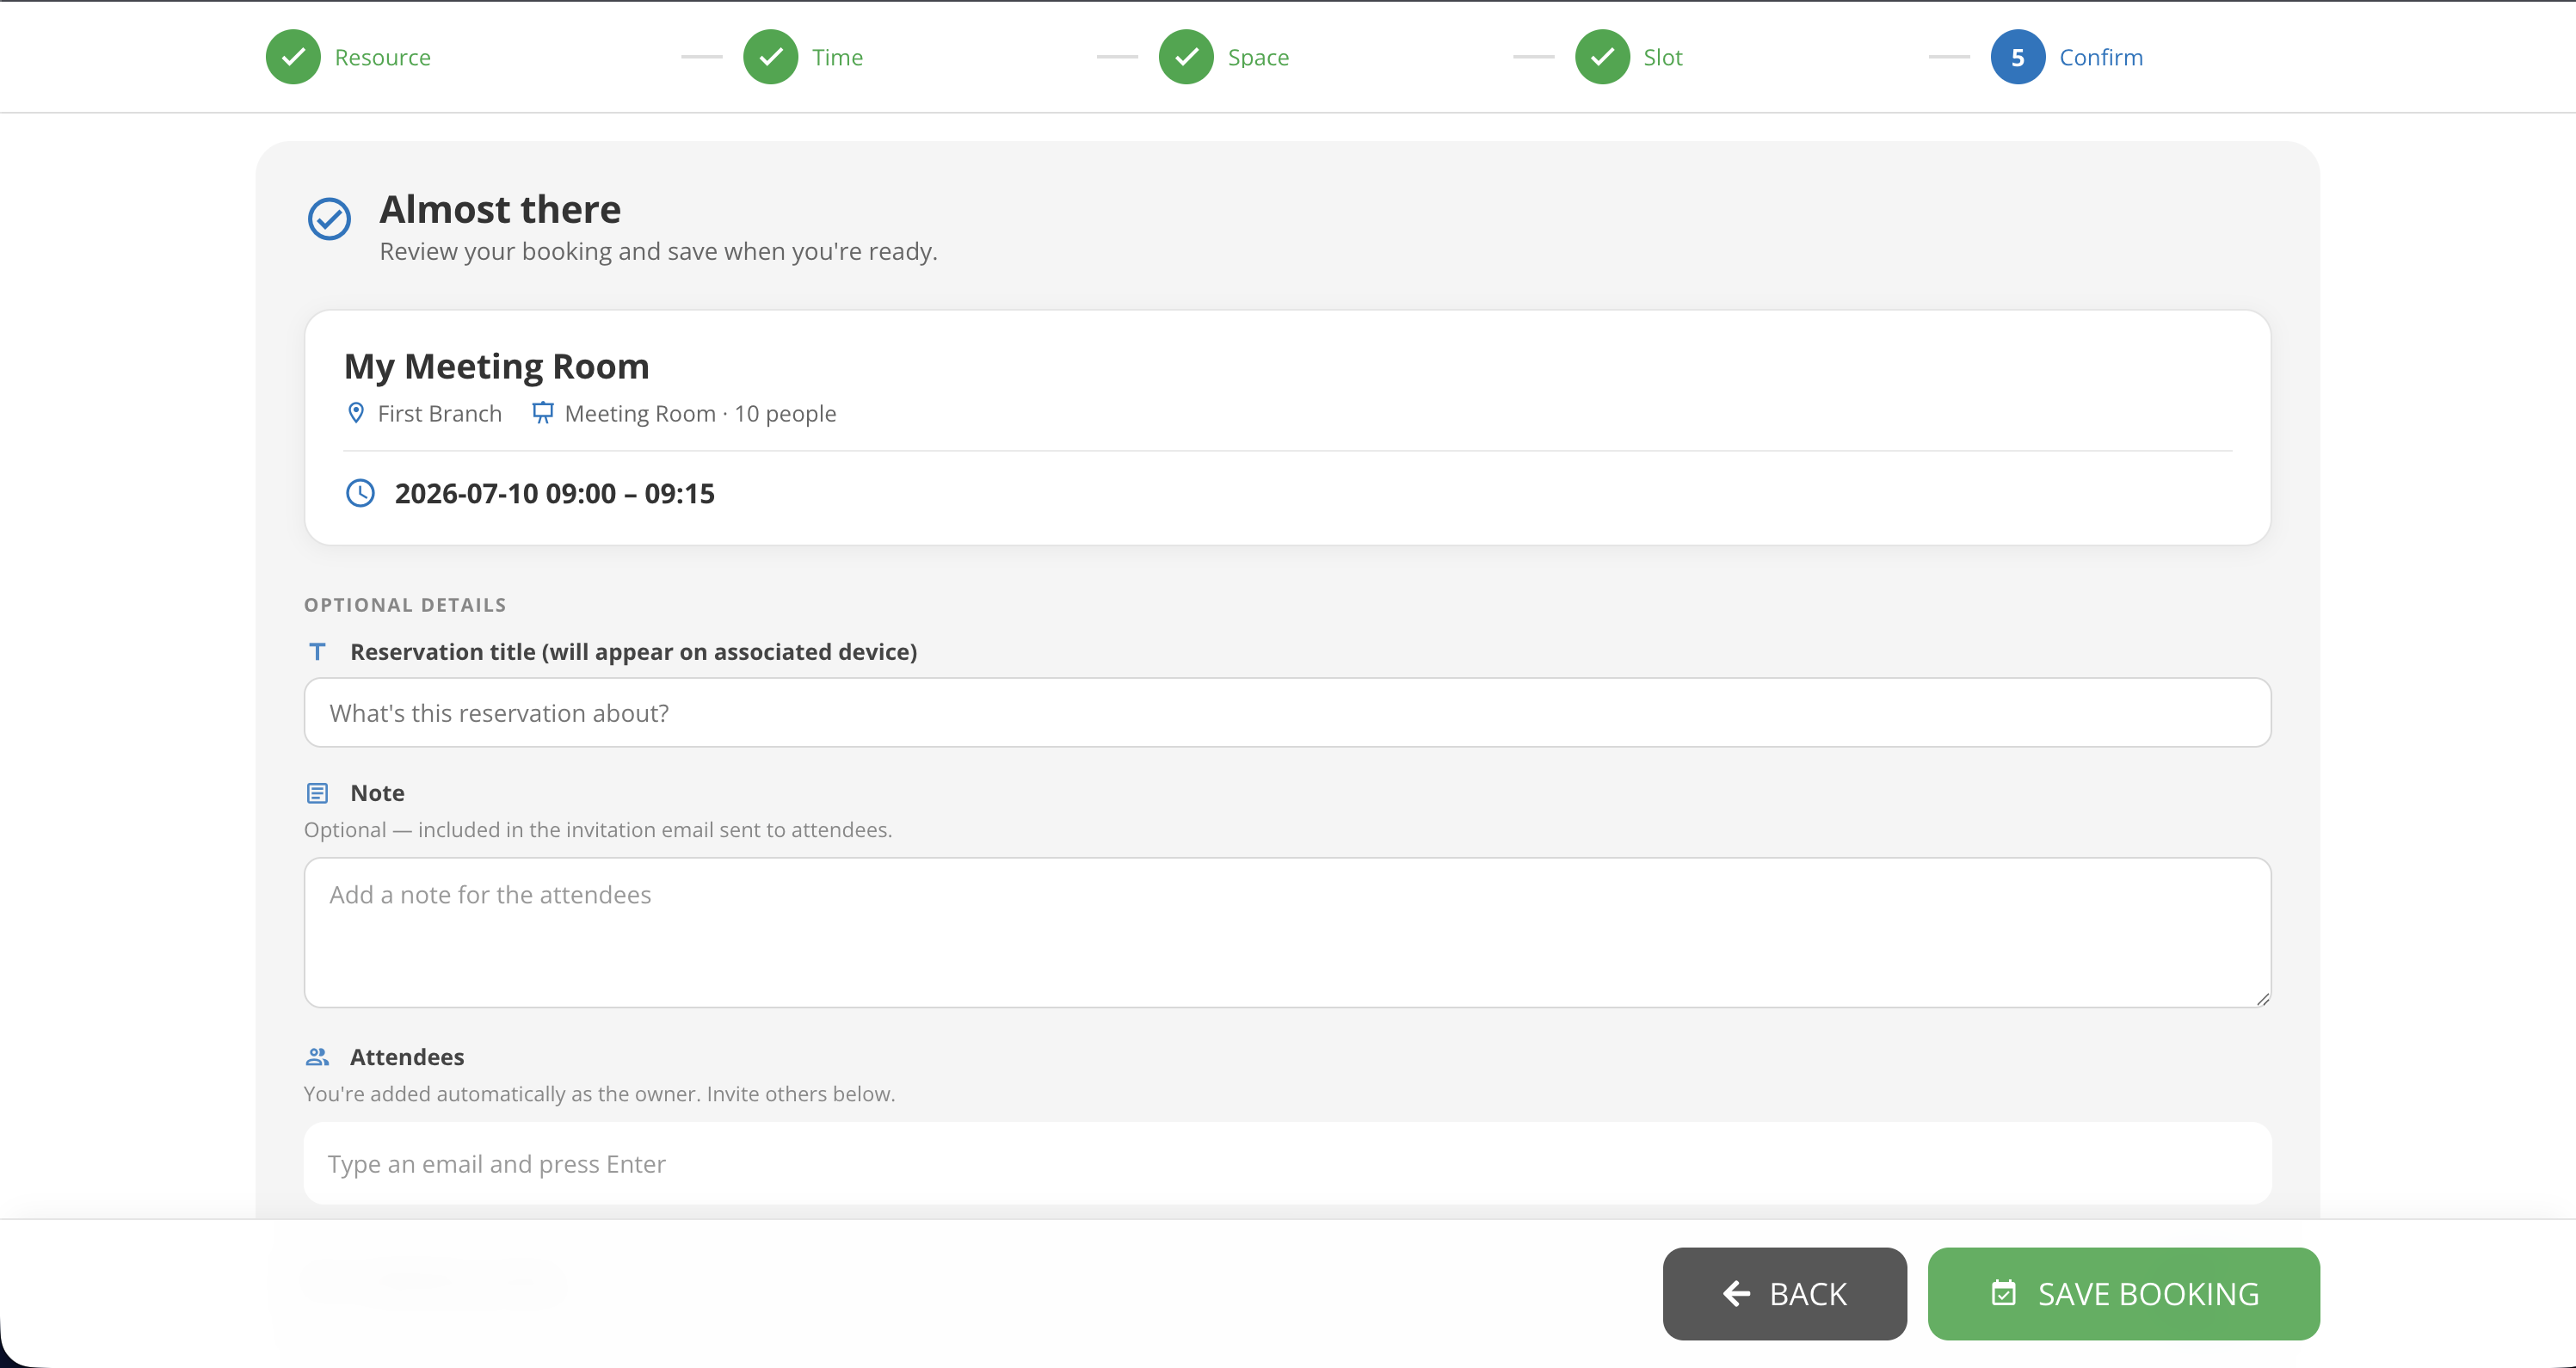
Here you will see a summary of the reservation at the top, followed by:
- Reservation Title (optional): the title is shown on the outdoor panel if it was connected (by the admin) to the chosen resource.
- Note Field (optional): if filled in, these notes are included in the email sent to the participants.
- Attendees (optional): a comma-separated list of emails can be added here. Everyone listed will be notified. Auto-suggestions are provided for emails of people that belong to the current account organization.
✉️ Final Email
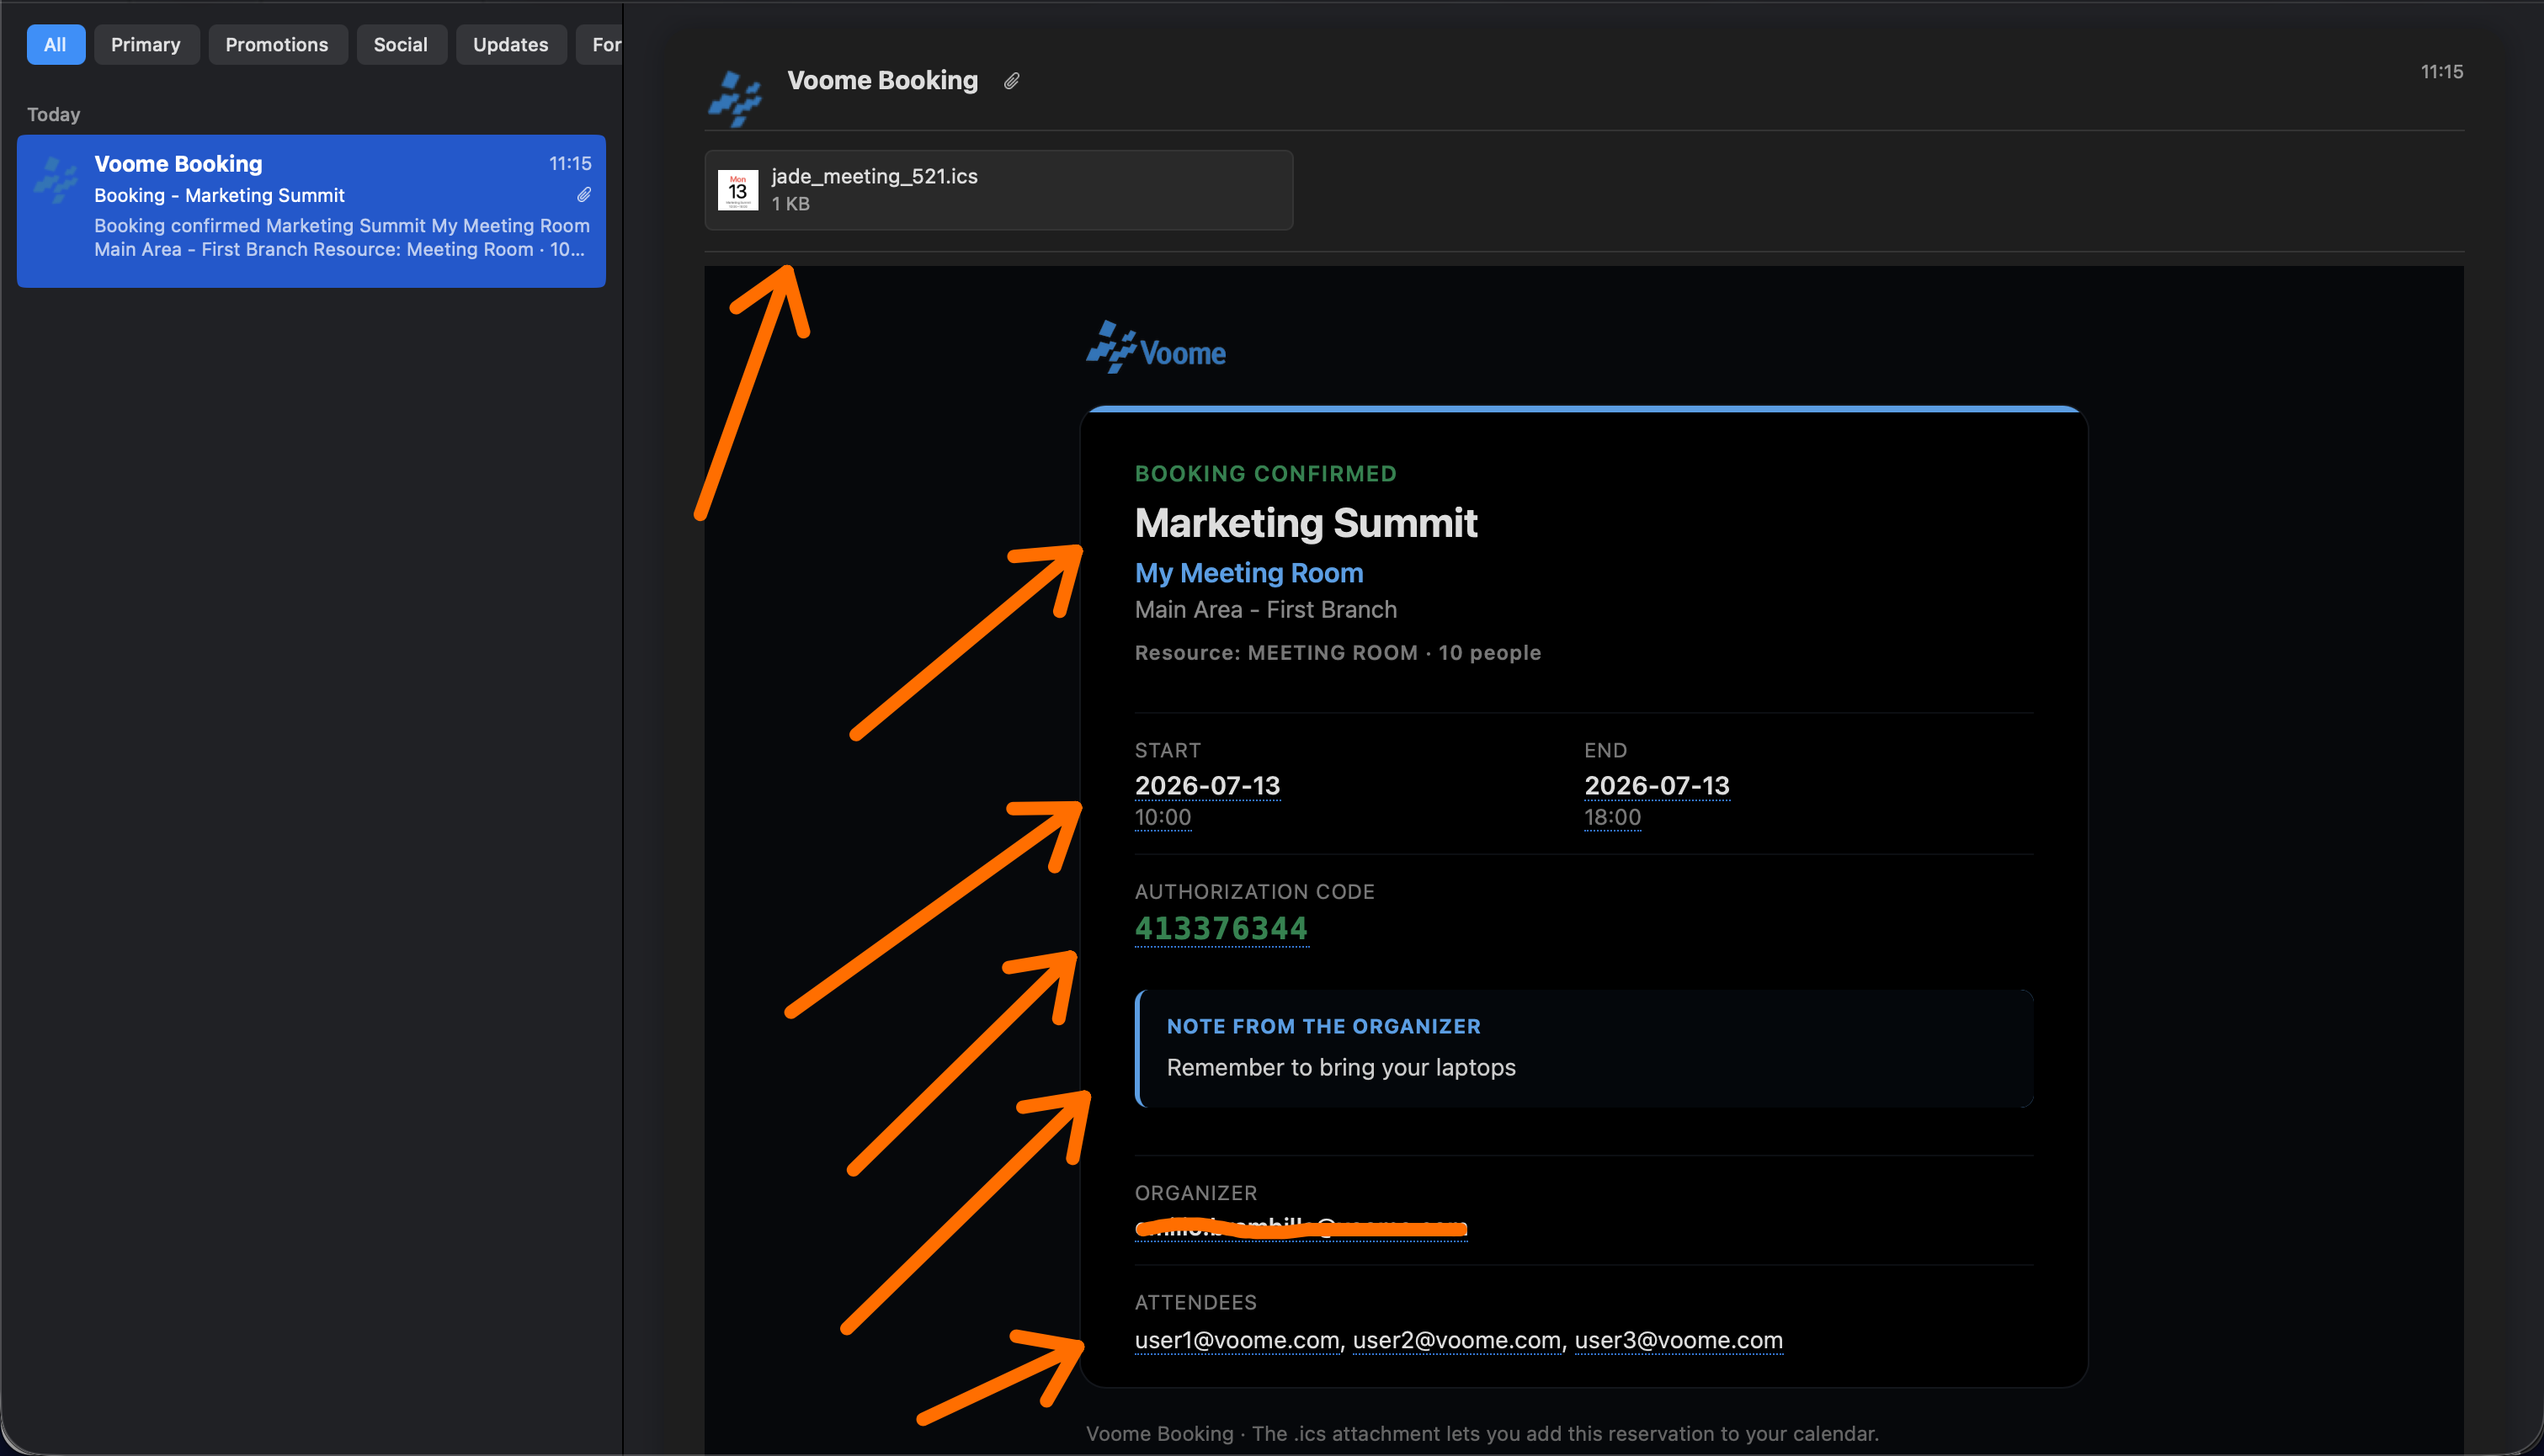
The email contains the following data (from top to bottom, as shown in the picture below):
- Calendar (.ics): double-click it to add the event to your calendar.
- Reservation event title
- Reservation event start/end date
- Authorization Code: needed for check-in and check-out from the outdoor panel.
- Note from the organizer: your notes defined in step 5 above.
- Attendees list: useful to know who will take part in the event.
To be able to send emails and notify contacts, your admin needs to create a connector to the SMTP server in Voome platform > Third party credentials.
❓ Who will the confirmation email be sent to?
If the SMTP server was set up by the admin, an email is sent to:
- You: the event organizer
- The attendees
- The admin of the account
- The resource owner, if one is set