✉️ Messages
The Messages pack gives you a flexible way to communicate essential information across your entire display network. You can create a new message at any time, and it overrides the regular schedule so that timely updates reach your screens right away. A message can combine text, images, and videos, and you choose whether it appears on every screen or only on the ones that match your communication needs.
Below is a complete guide, from creating your first message to publishing it on screen.
The device fetches the current messages while it plays. A screen that is offline shows no messages, and does not pick up new ones until the connection is back.
1. Create a message category
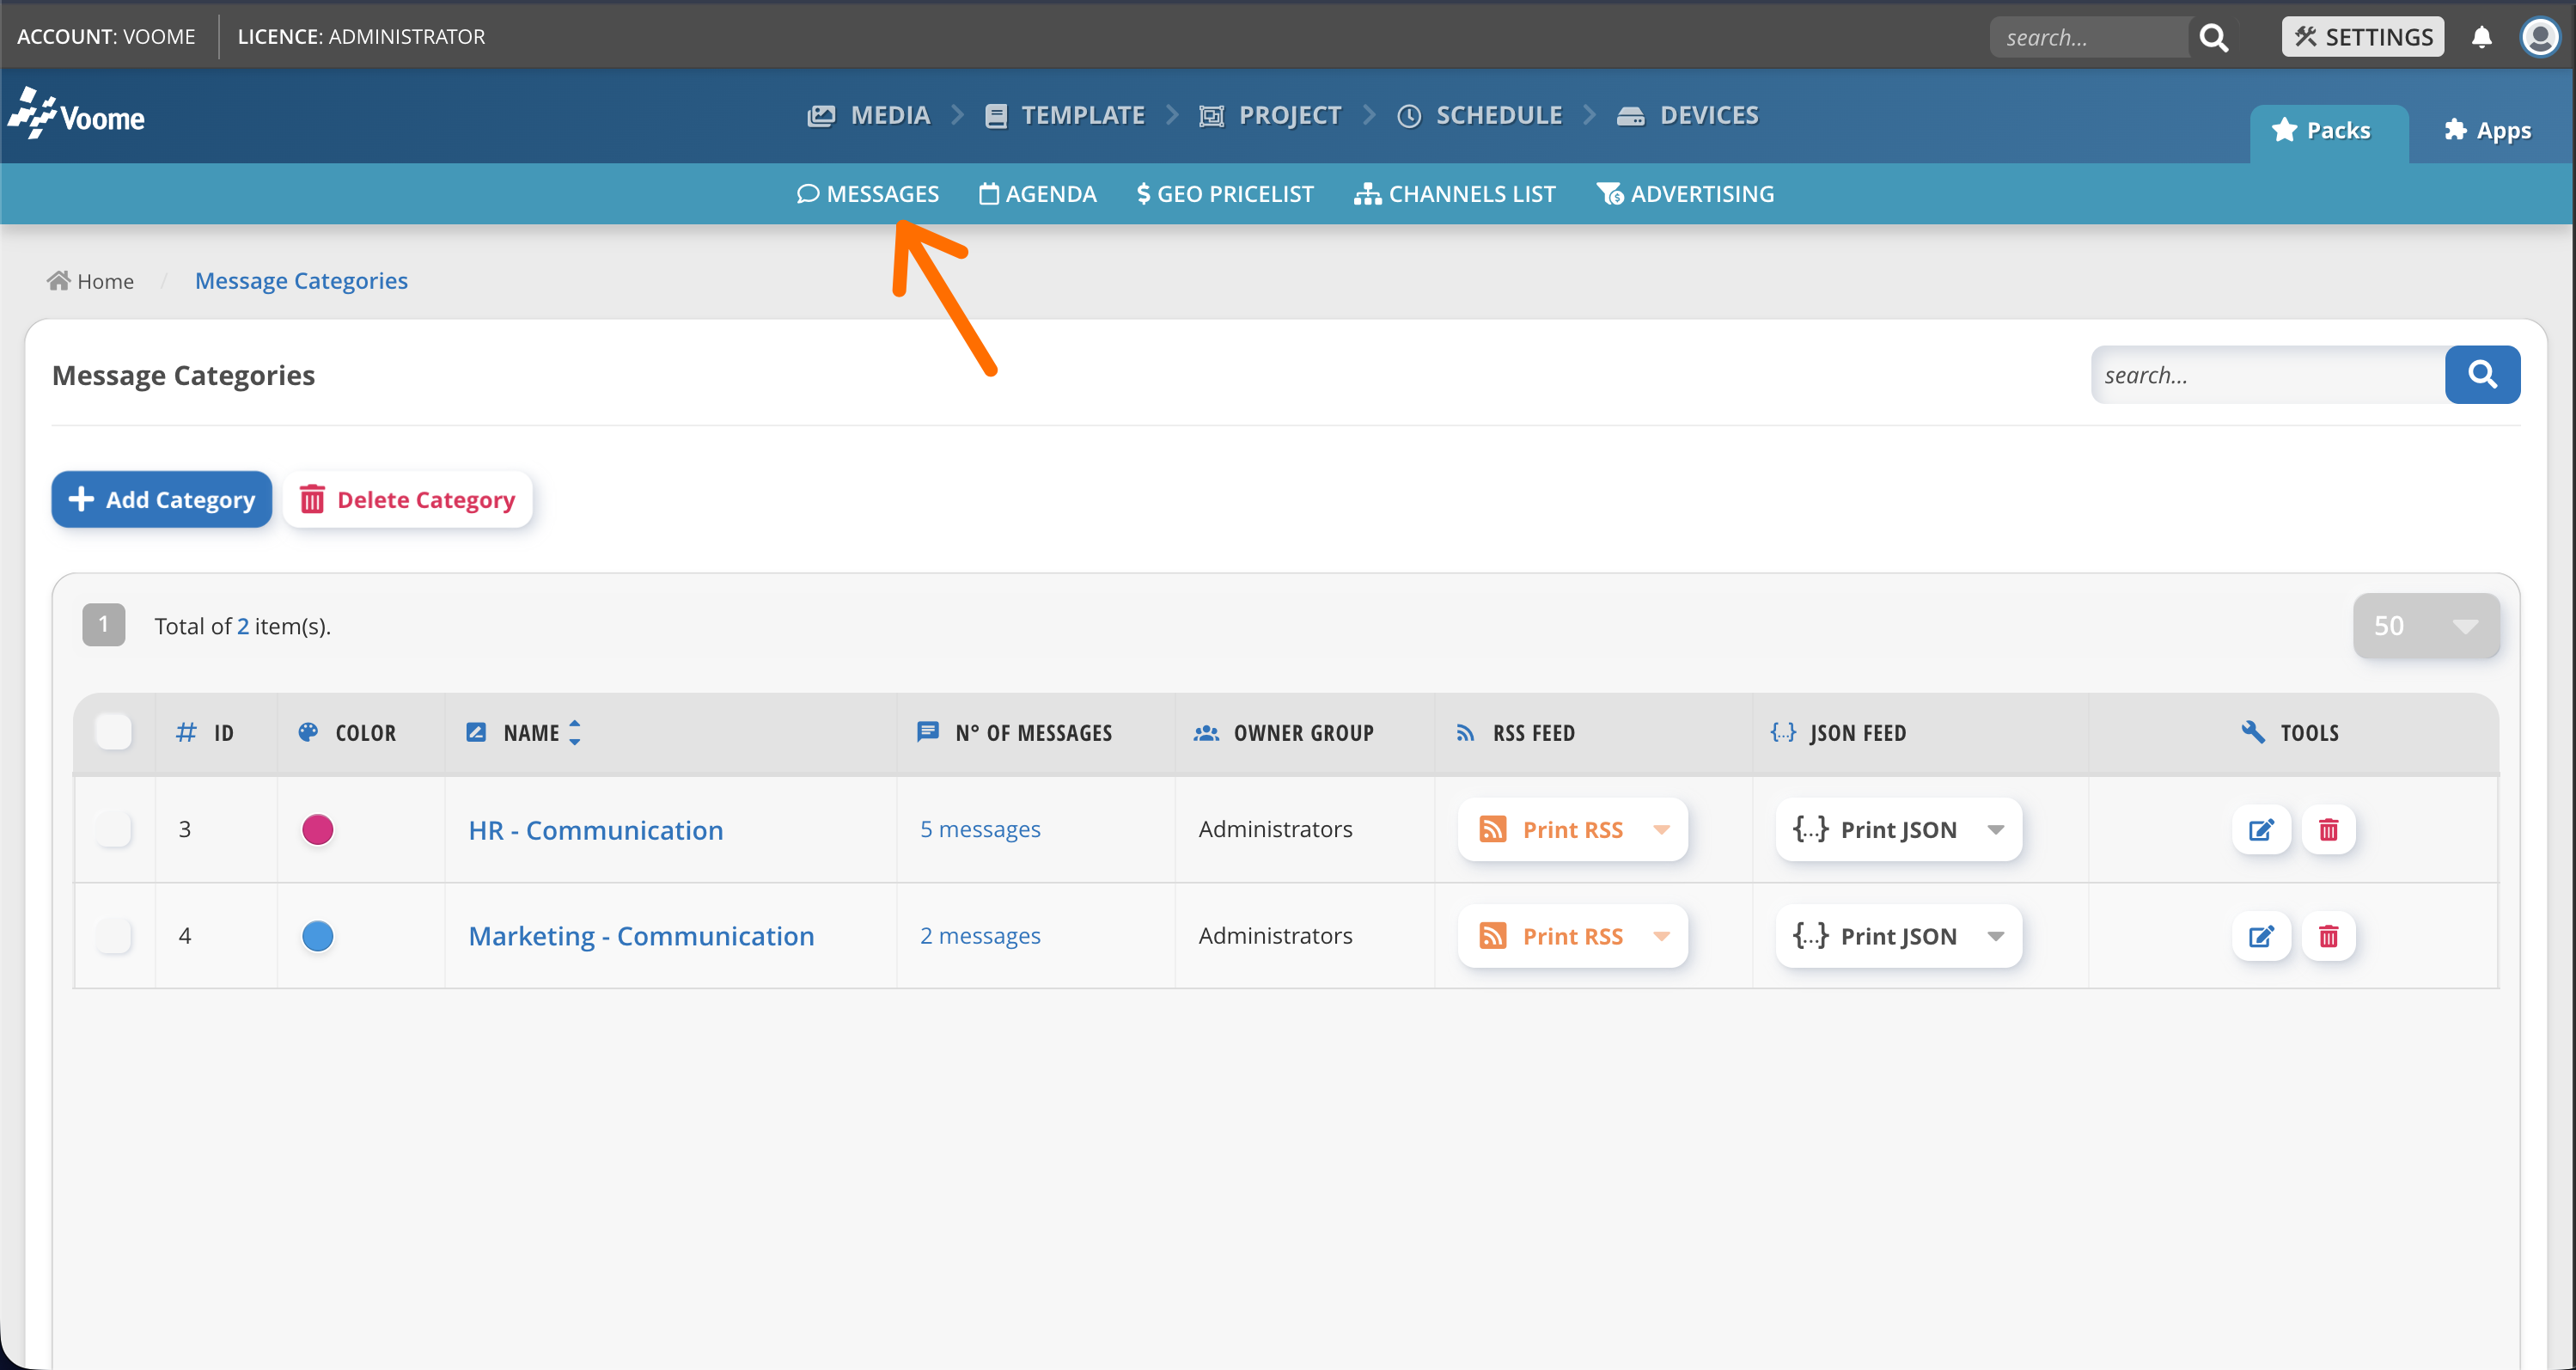
To get started, open the Messages section. First, create a message category: this acts as a logical container for the messages you will create later.
2. Review current messages
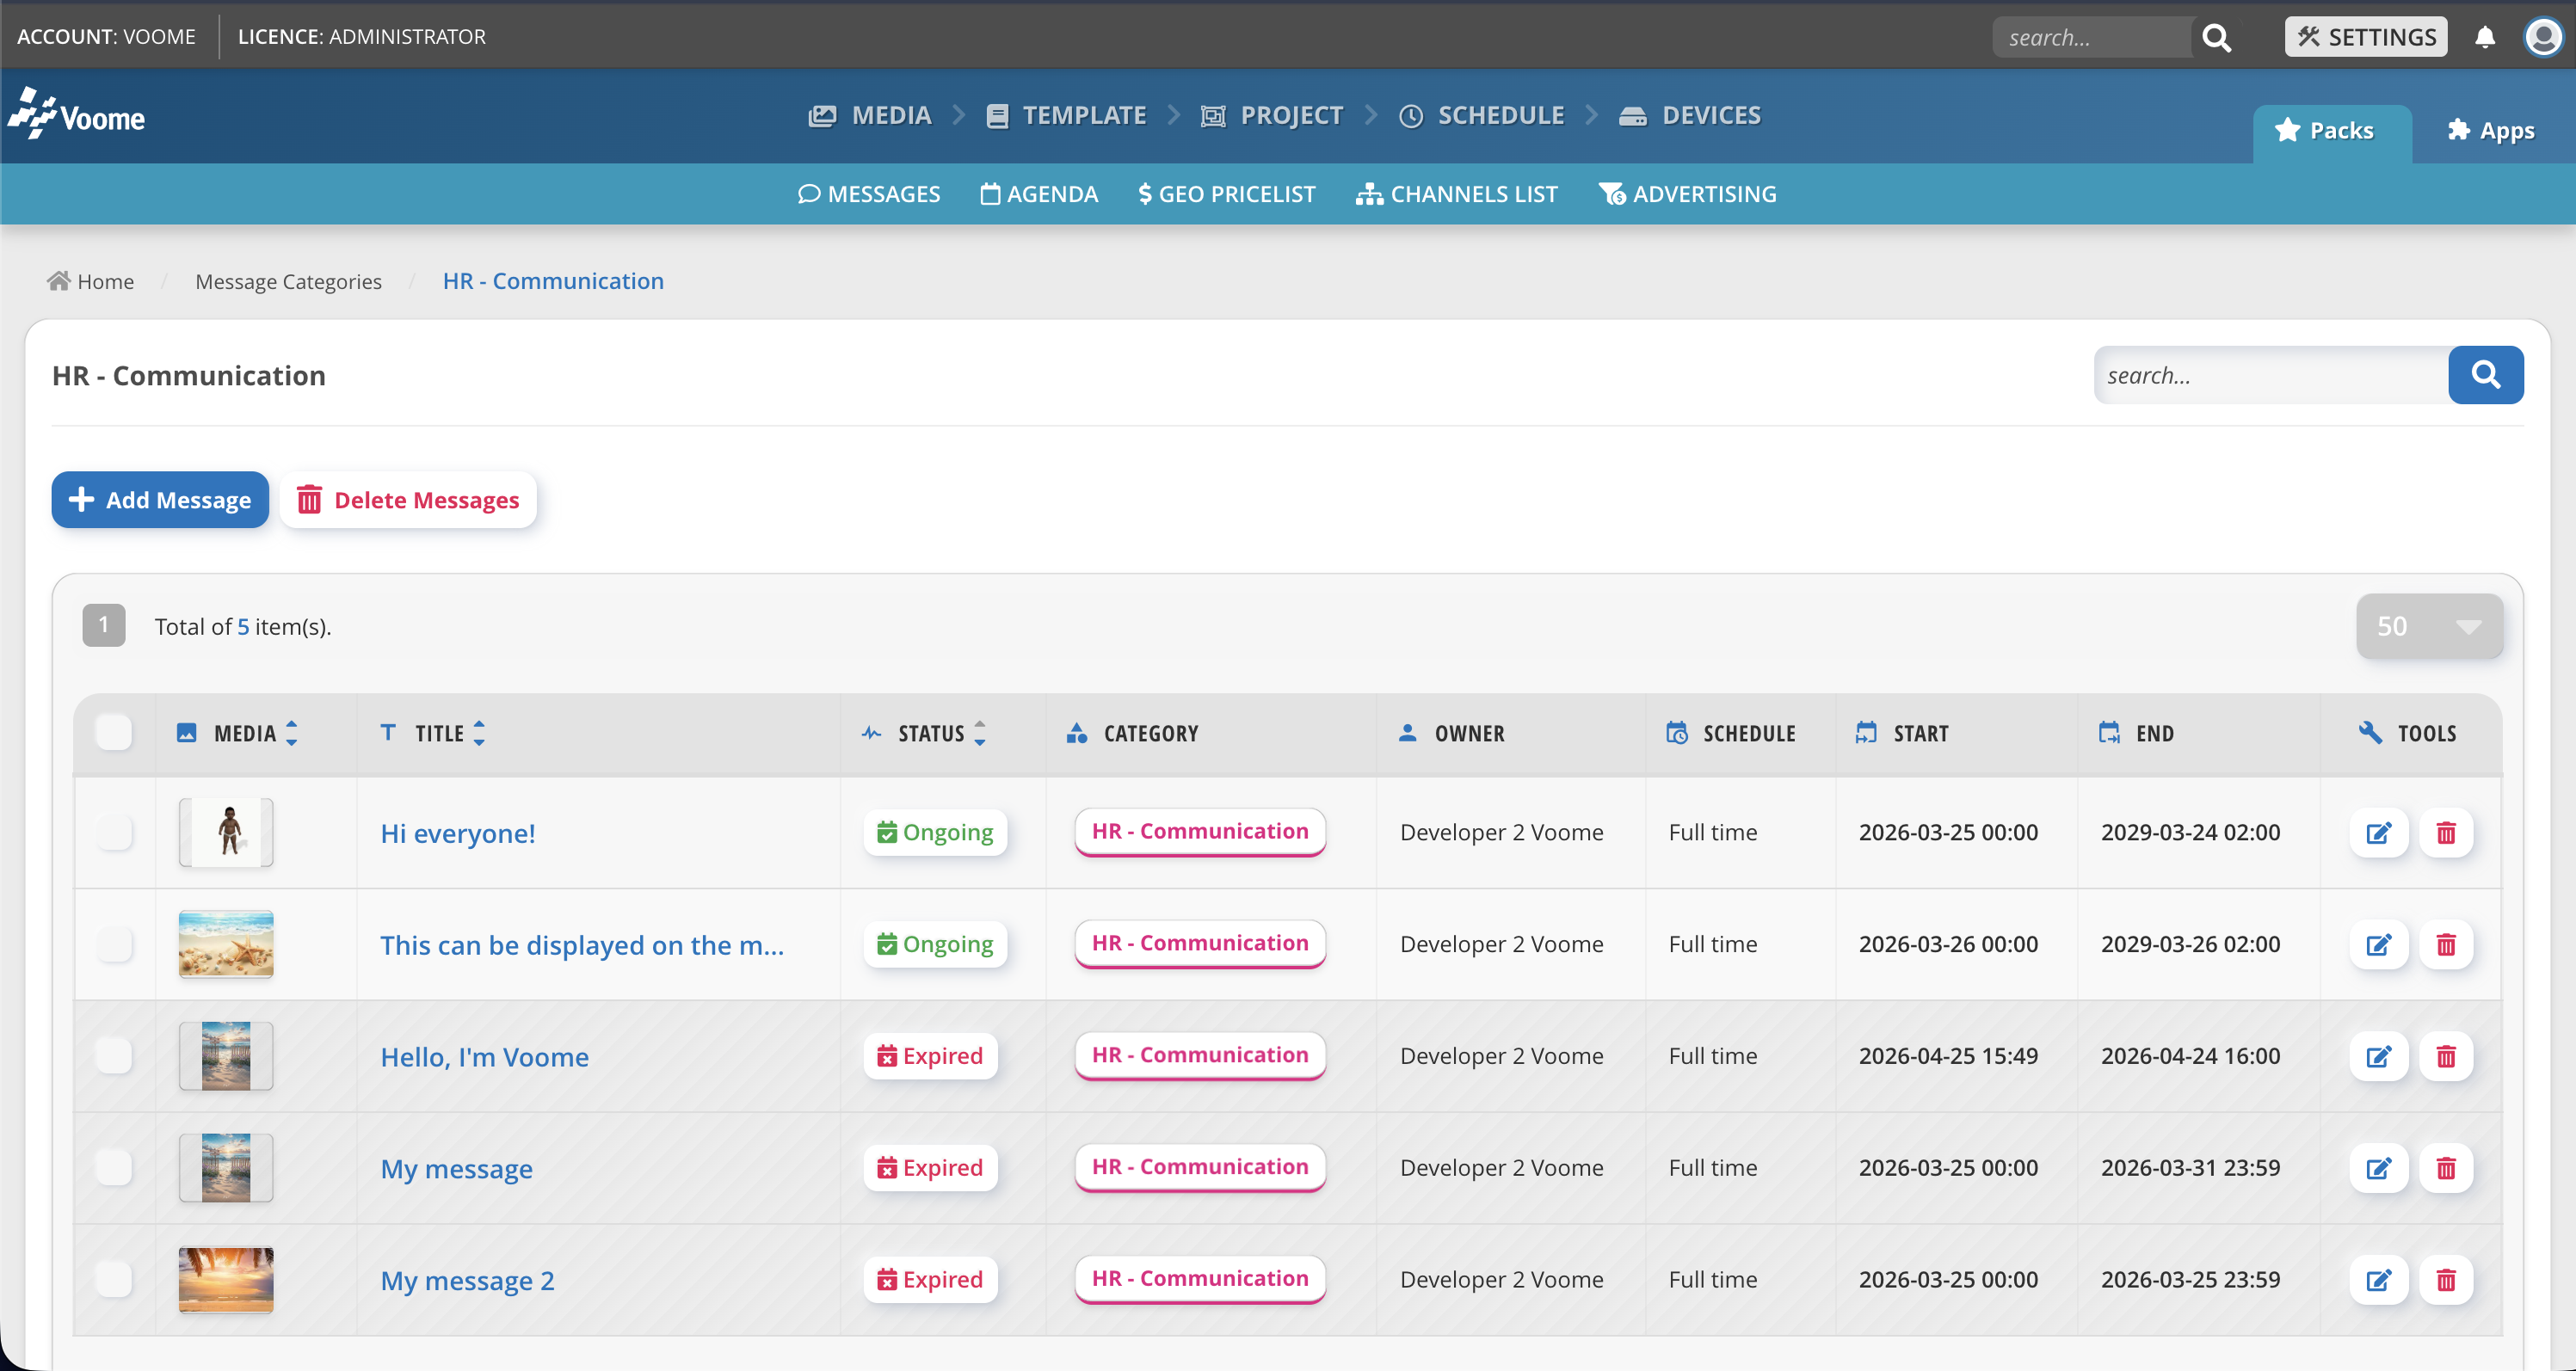
Inside a category, all of its messages are shown in a table view. You can sort them by any column, such as status, title, or whether they contain a media element.
3. Create a new message
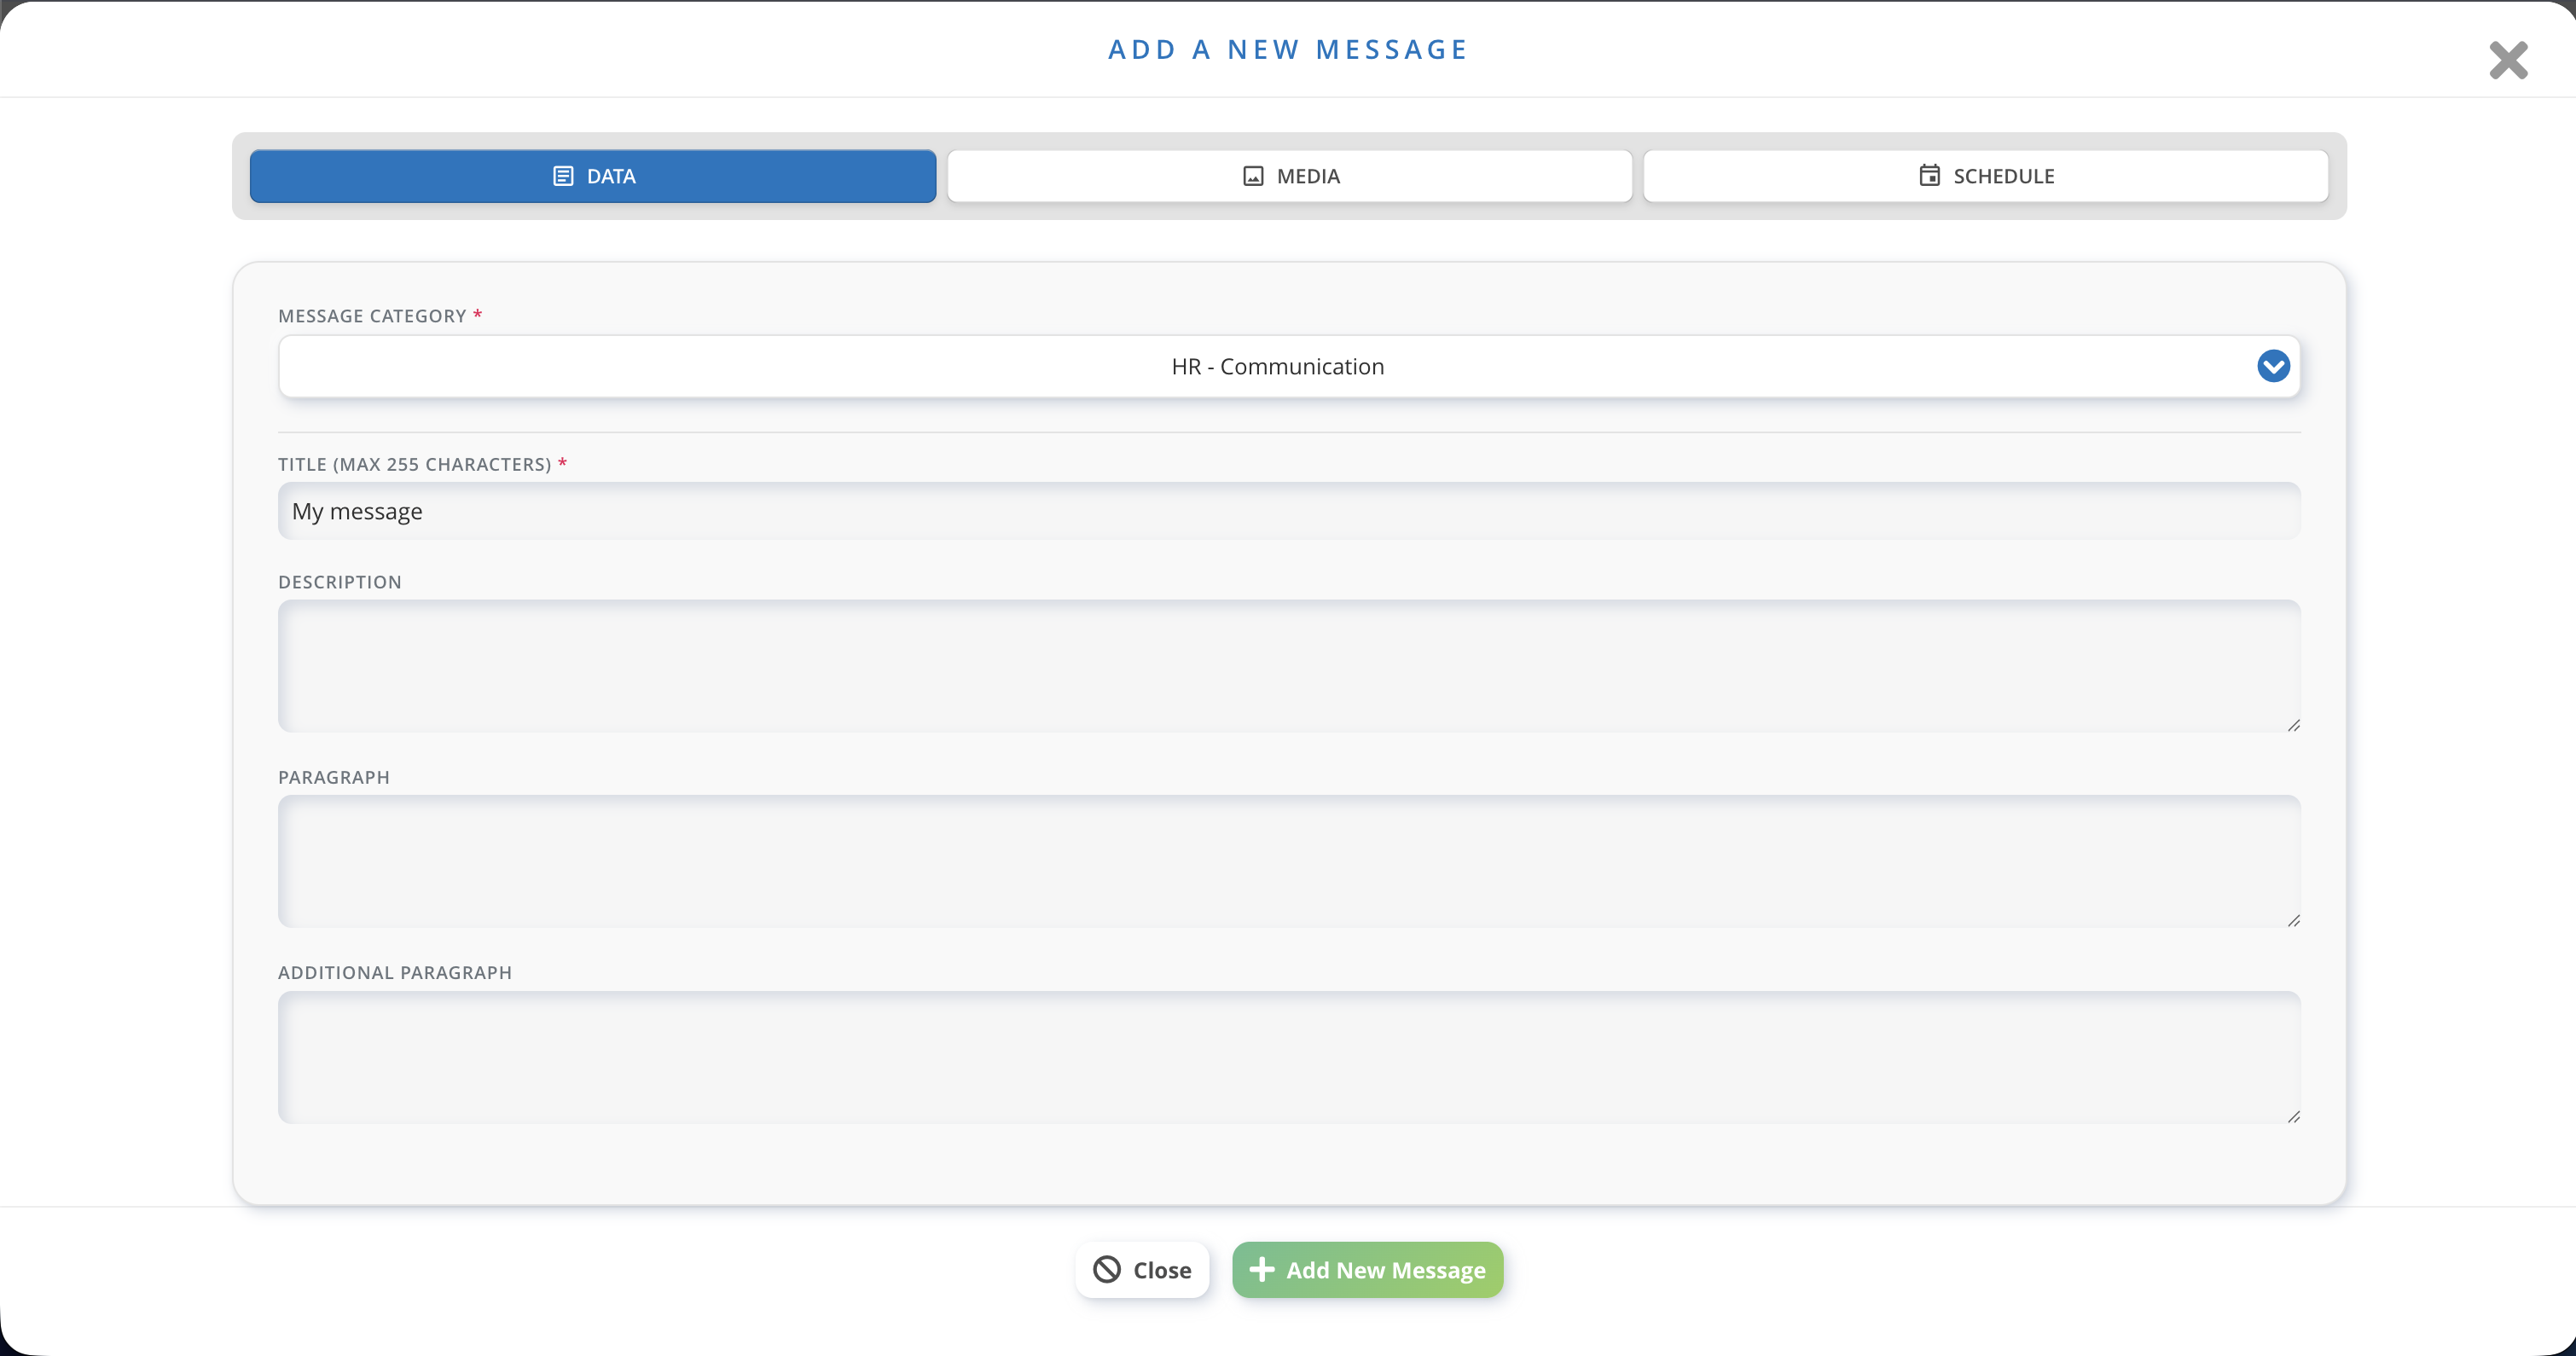
You can define as many messages as you need. Each message can have a title, a description, multiple paragraphs, a media element, and its own schedule.
To add one, click the Add Message button. All the available fields are displayed, and a red asterisk (*) marks the minimum required fields.
Data section
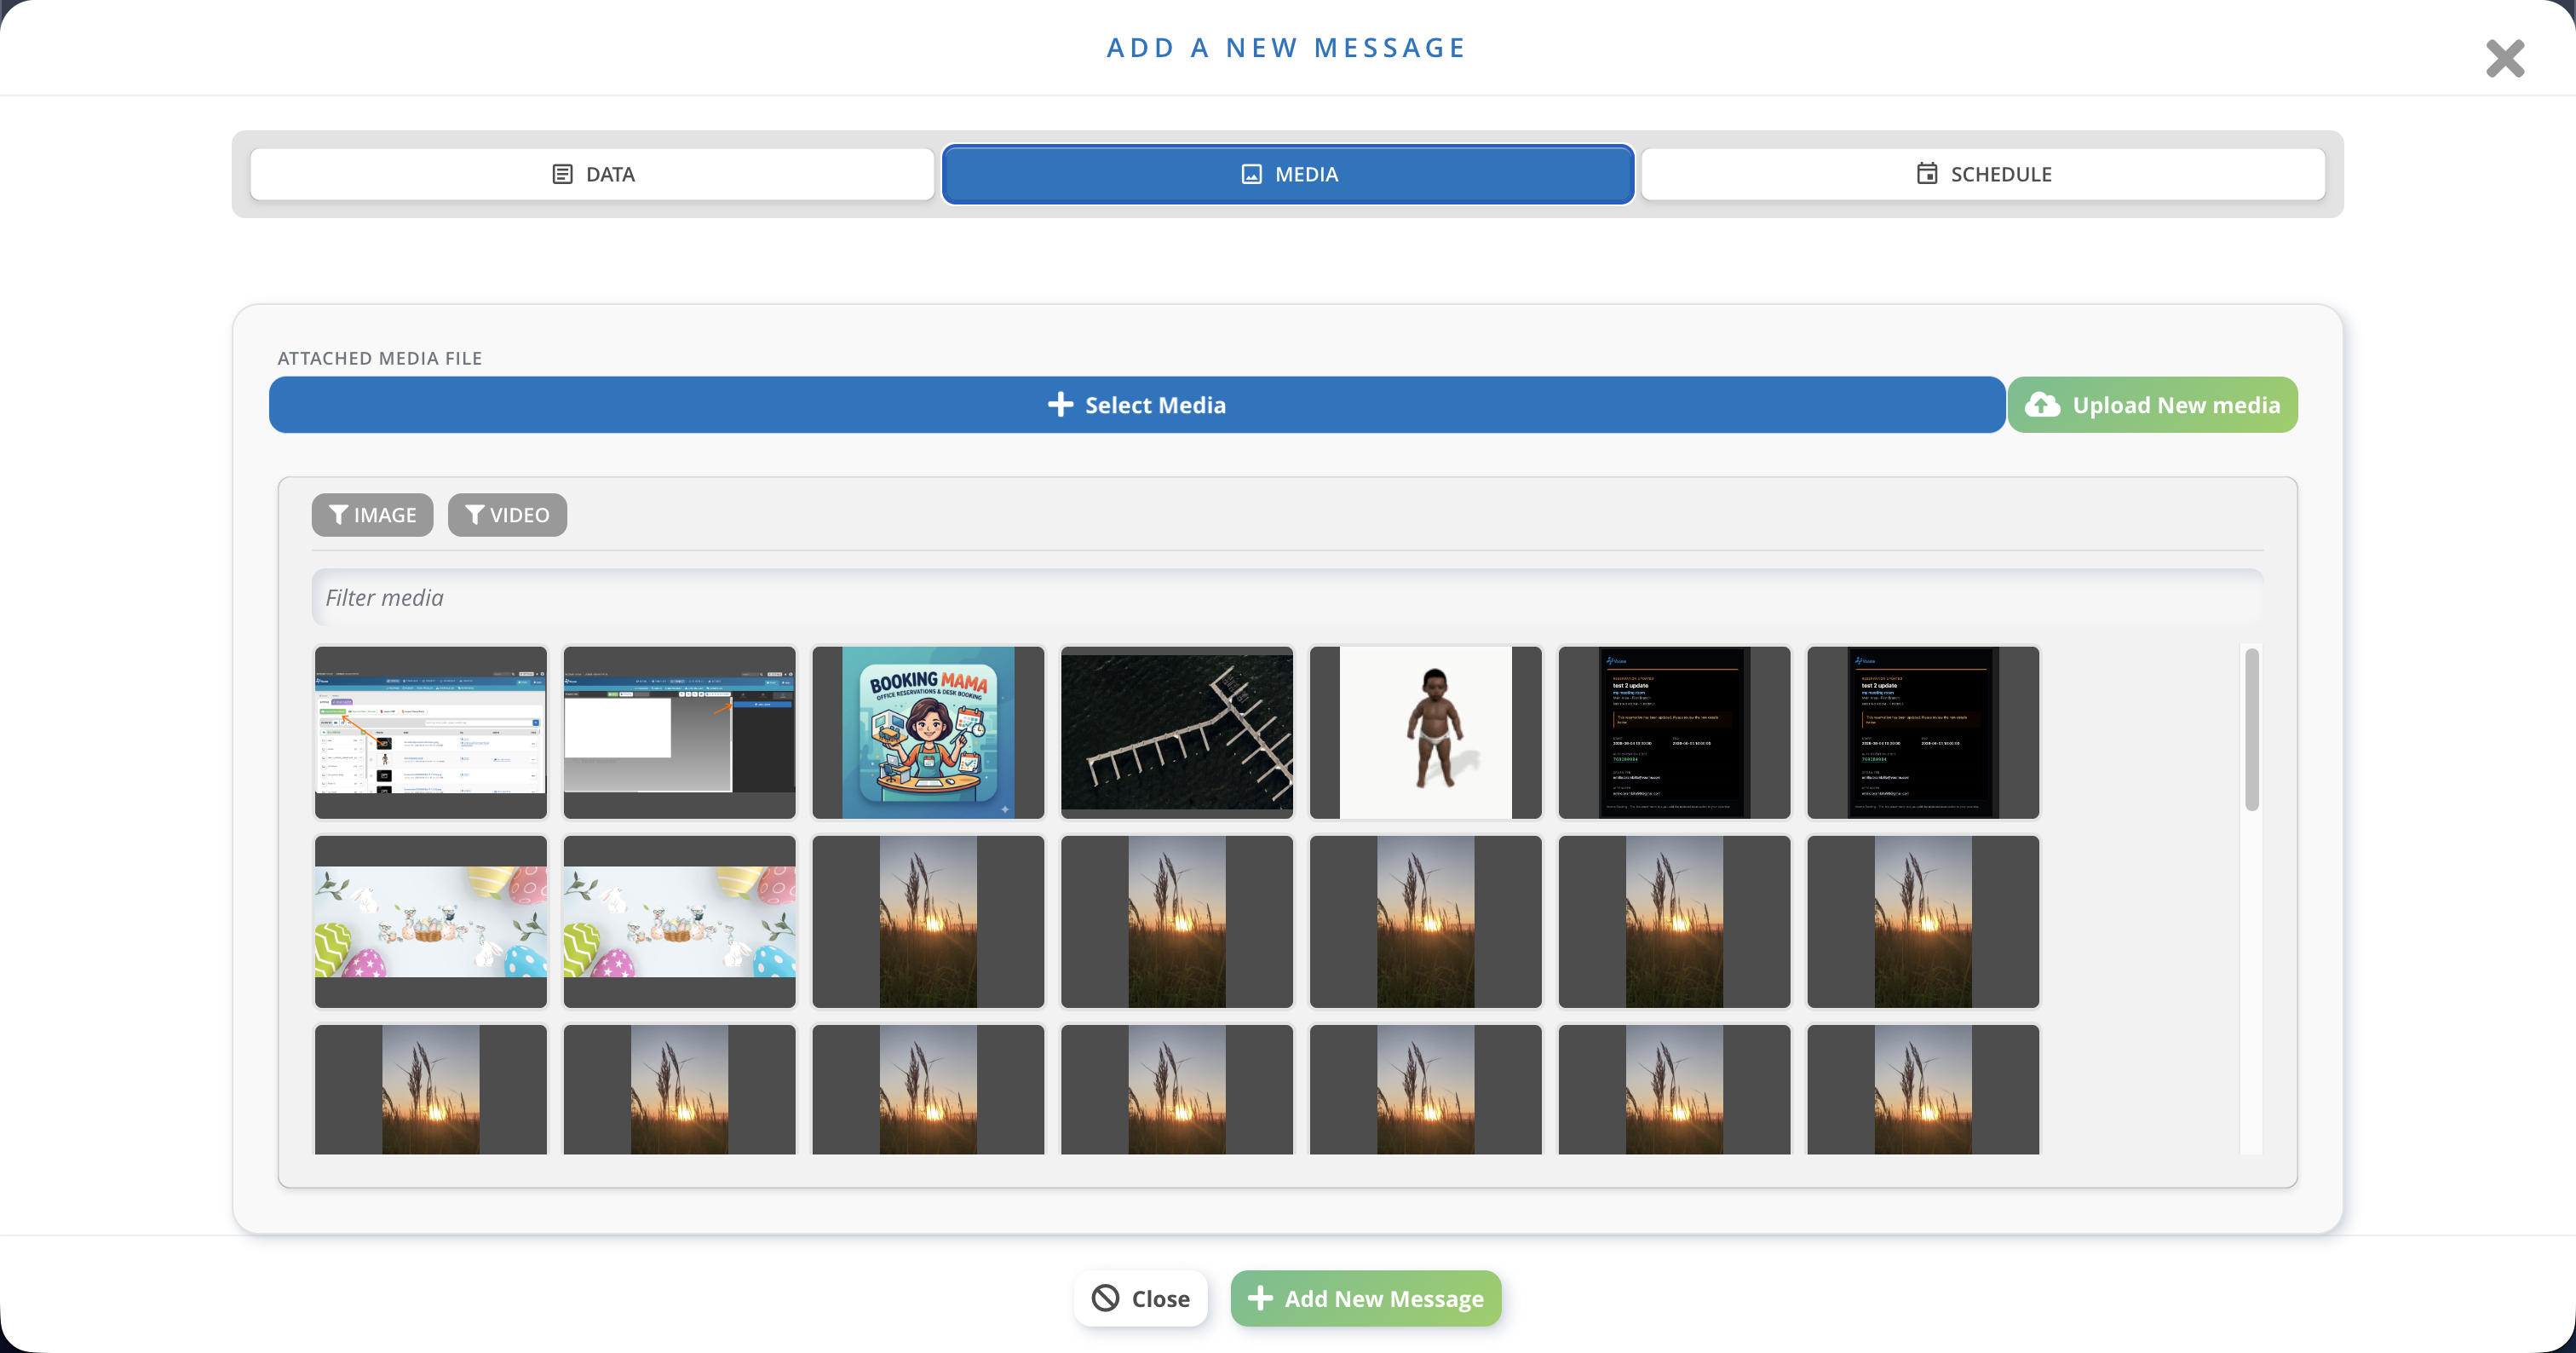
Media section
Here you can attach a media element from the ones you have already imported.
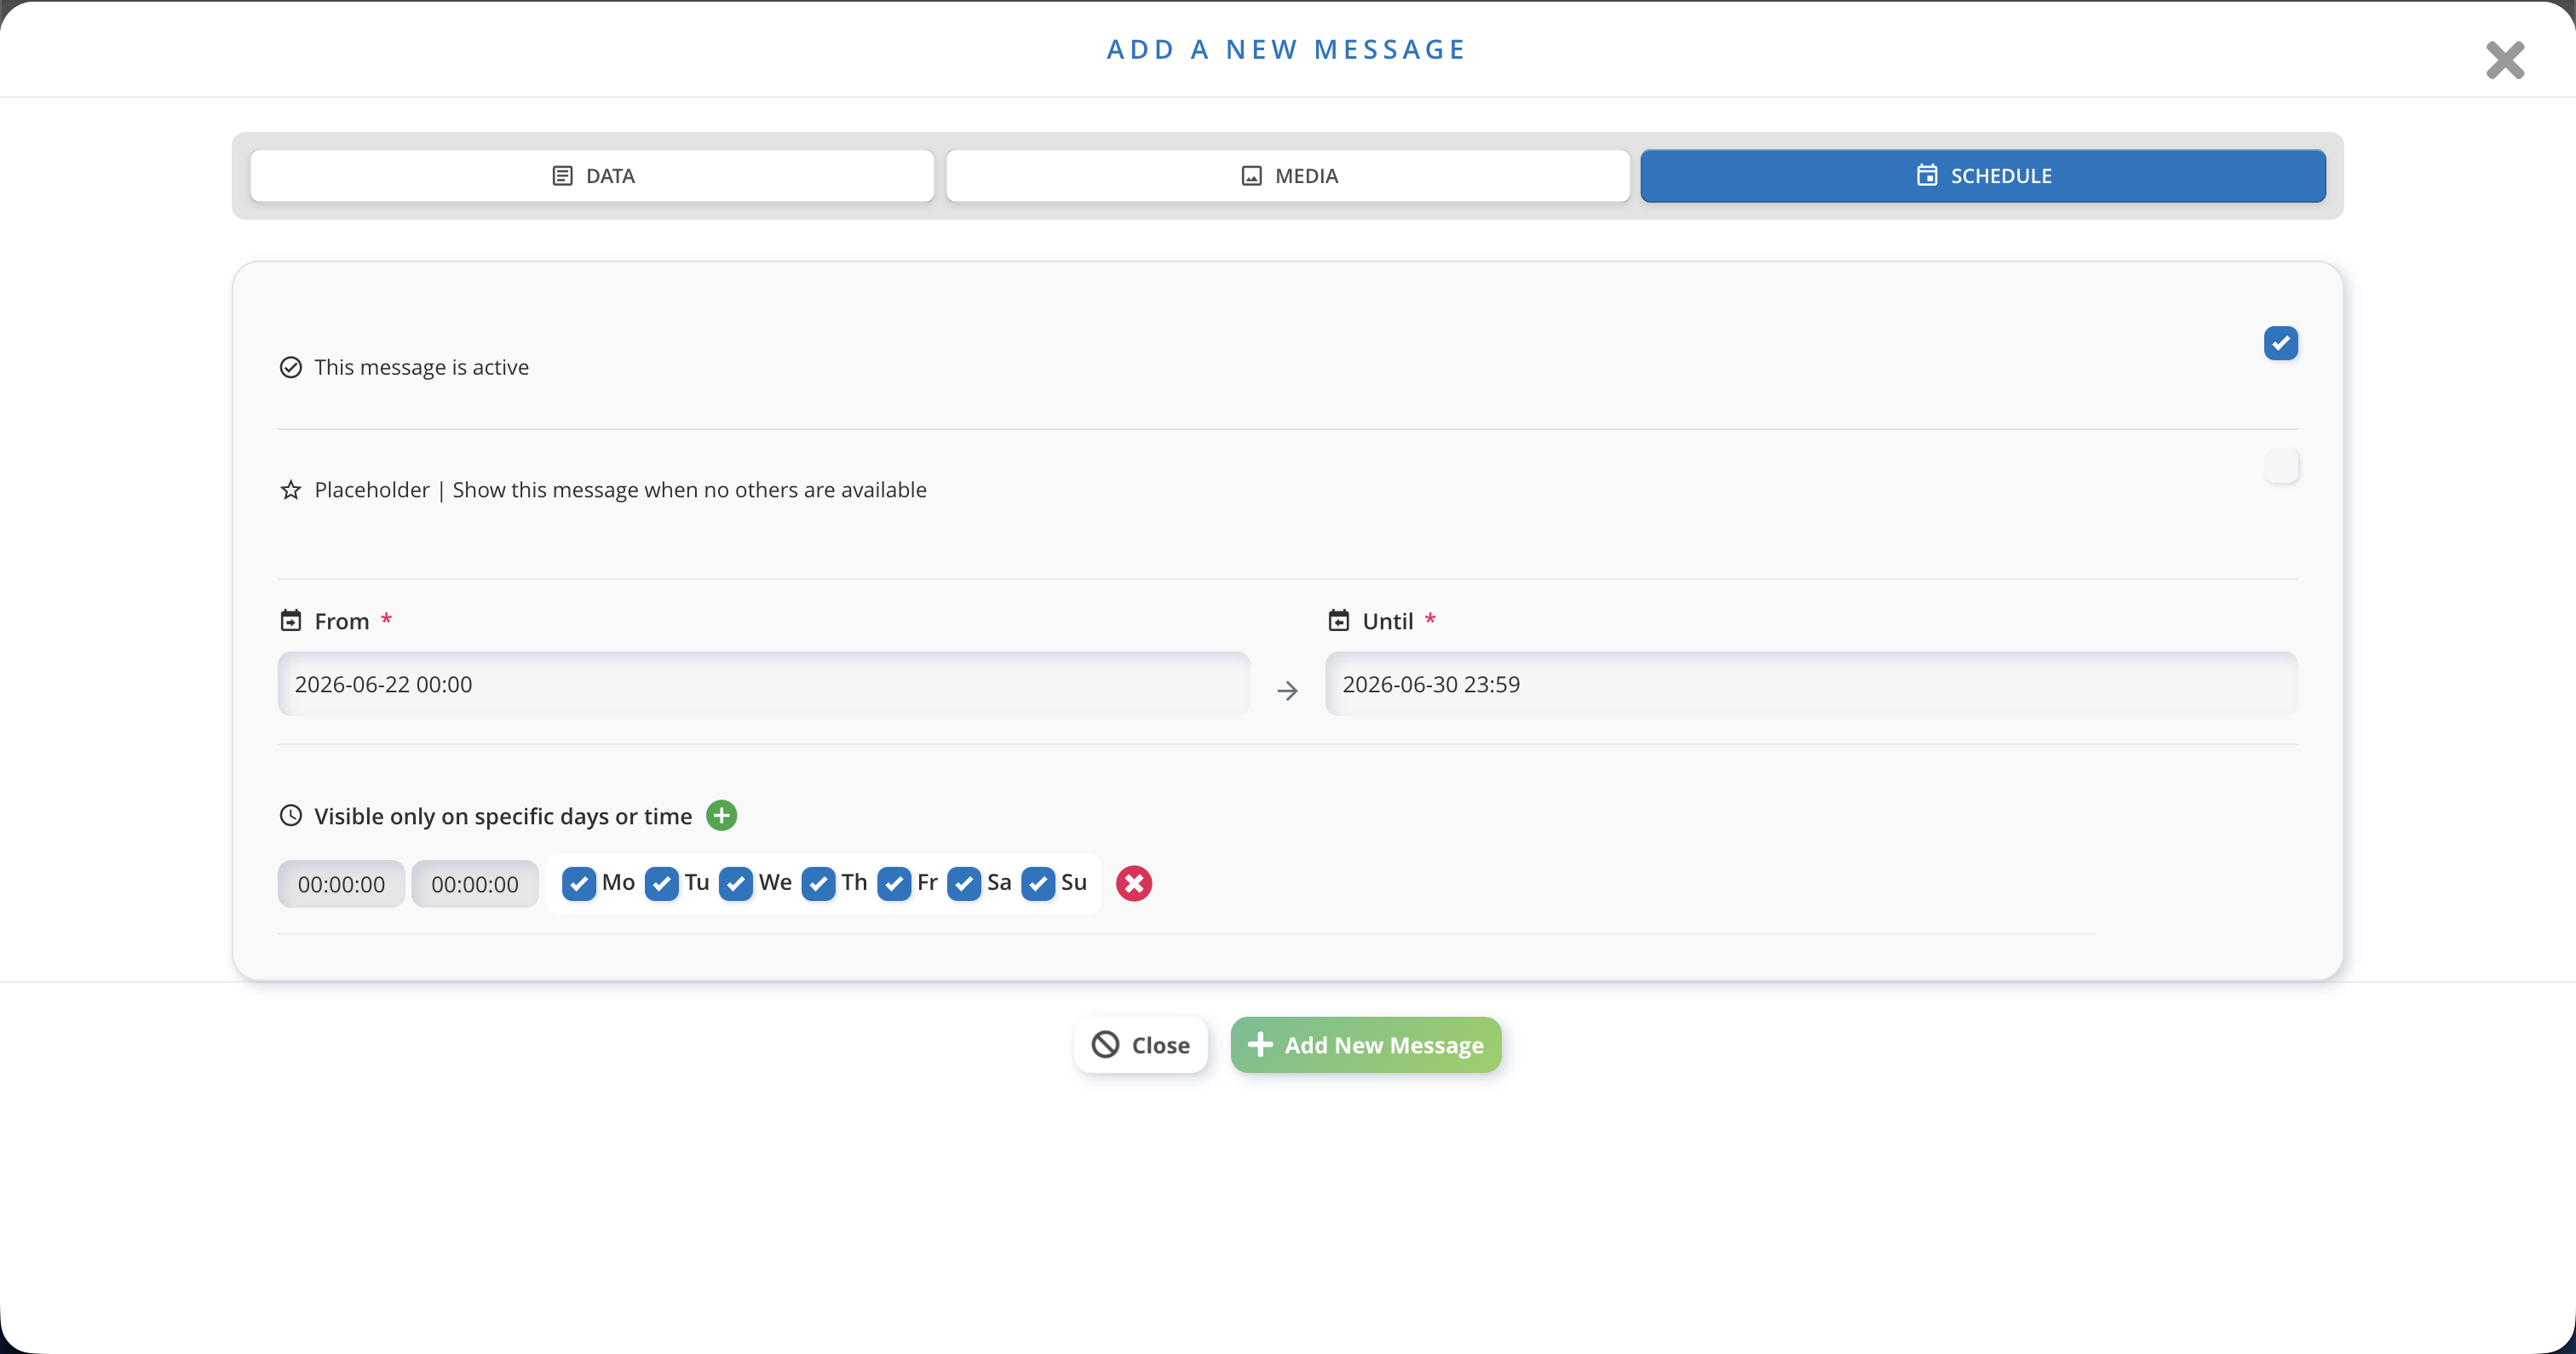
Schedule section
Finally, you can:
- Activate or deactivate the message (a deactivated message will not be displayed).
- Set the message as a placeholder: it will be used as the default whenever no other message has the status Ongoing.
- Set the date and time when the message should appear. As in the scheduling section, you can target a specific time range within selected days (for example, every Saturday from 10:00 to 14:00).
4. Create a project
In the Project section, create a new project that fits the target screen, click Add new layer, and search for the Message layer.

Once the layer is added to the project, select the message category to pull data from (the one you created above). Then move to the sublayer section and choose which fields you want to show in the project (in this example, the title and the media). Sublayers can be edited and moved like regular layers, but they remain tied to their parent Message layer.
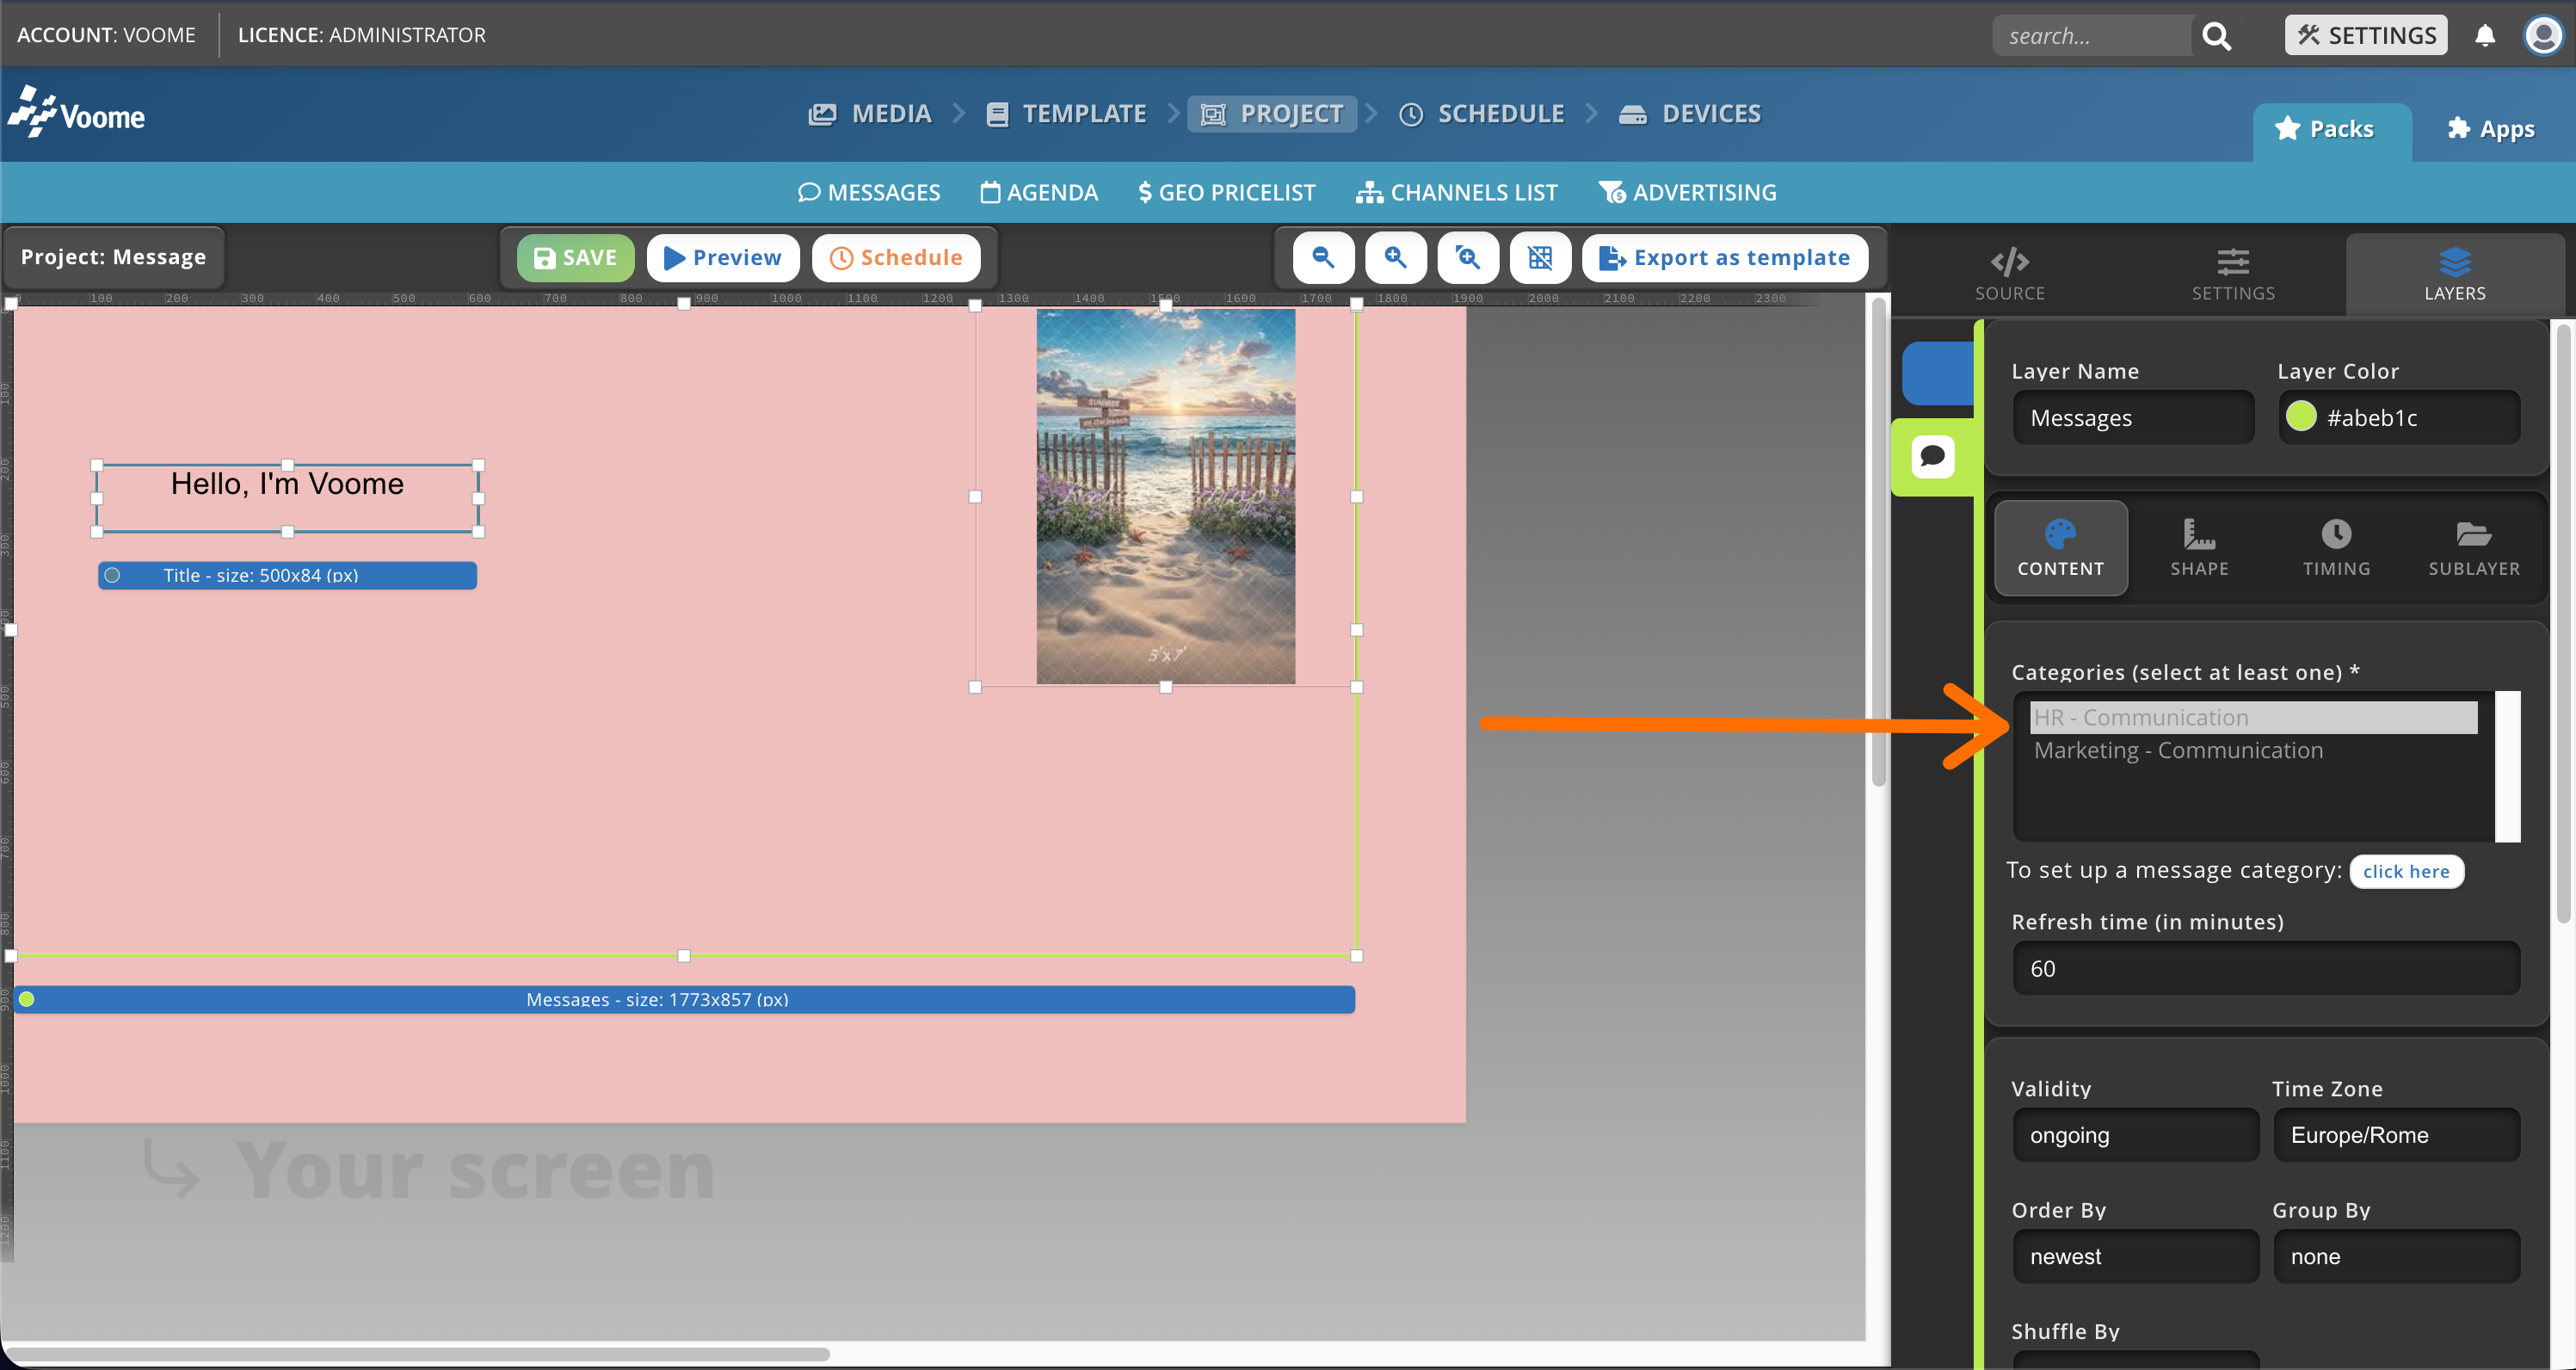
You can then publish the project to the desired monitor or monitors. For full details on publishing, see the Schedule section.
Layer configuration
- Refresh time sets how often the screen automatically checks the cloud for updates.
- Page duration sets how long a single message stays on screen before switching to the next one.
- You can show multiple messages at once by creating a table of the dimensions you want.
5. Management
🎉 Done! Once you publish a project that includes the Messages layer, you no longer manage messages through the project itself. Instead, you edit them from a separate management window, and the changes flow to your screens automatically.
This means you can react to events as they happen, without rebuilding or republishing the project.
It also means you can hand off communication to someone who changes the content on the screen without needing to understand how the whole platform works.
Updates appear on screen after the chosen refresh time has elapsed, or after a regular publication.
Bonus tip
From the category page, you can extract an automatic RSS feed of all the messages in that category. Use the generated URL as the data source for the News Ticker Feed layer. The messages from the category will then rotate in a ticker, like a news feed, but showing your own content.
When to use Messages 🤔
Messages are best suited to content that is time-sensitive or changes frequently, such as:
- Emergency notices and safety alerts
- Promotions and offers that start and end on short notice
- Internal announcements aimed at specific locations or teams
They are the right tool when you need to:
- Update content instantly, without manual intervention.
- Override scheduled playlists to highlight urgent or important messages.
- Deliver targeted content to selected displays.
- Combine text, images, and videos to engage your audience effectively.