🐇 Quick Guide
This is the core workflow to get content on screen, from raw media to live devices. Whatever you want to display, you'll always move through the same five steps:

- Media: upload the images and videos you want to show.
- Template: pick a layout that frames your content.
- Project: fill the template with your media, text, and elements.
- Schedule: decide when and where it plays, then publish it.
- Devices: monitor your players and confirm it's live.
Read this page top to bottom once. After that, most day-to-day work is just steps 3 and 4: editing a project and updating its schedule.
1. Media
Everything you display starts as media: the images and videos stored in your library. Build this up first so your content is ready to drop into a project.
- Open the Media section from the main menu.
- Click Upload and select images or videos from your computer, or drag them in.
- Wait for processing to finish. Large videos may take longer, as they may be transcoded for smooth playback.
- Organize your files into folders so they are easy to find later.
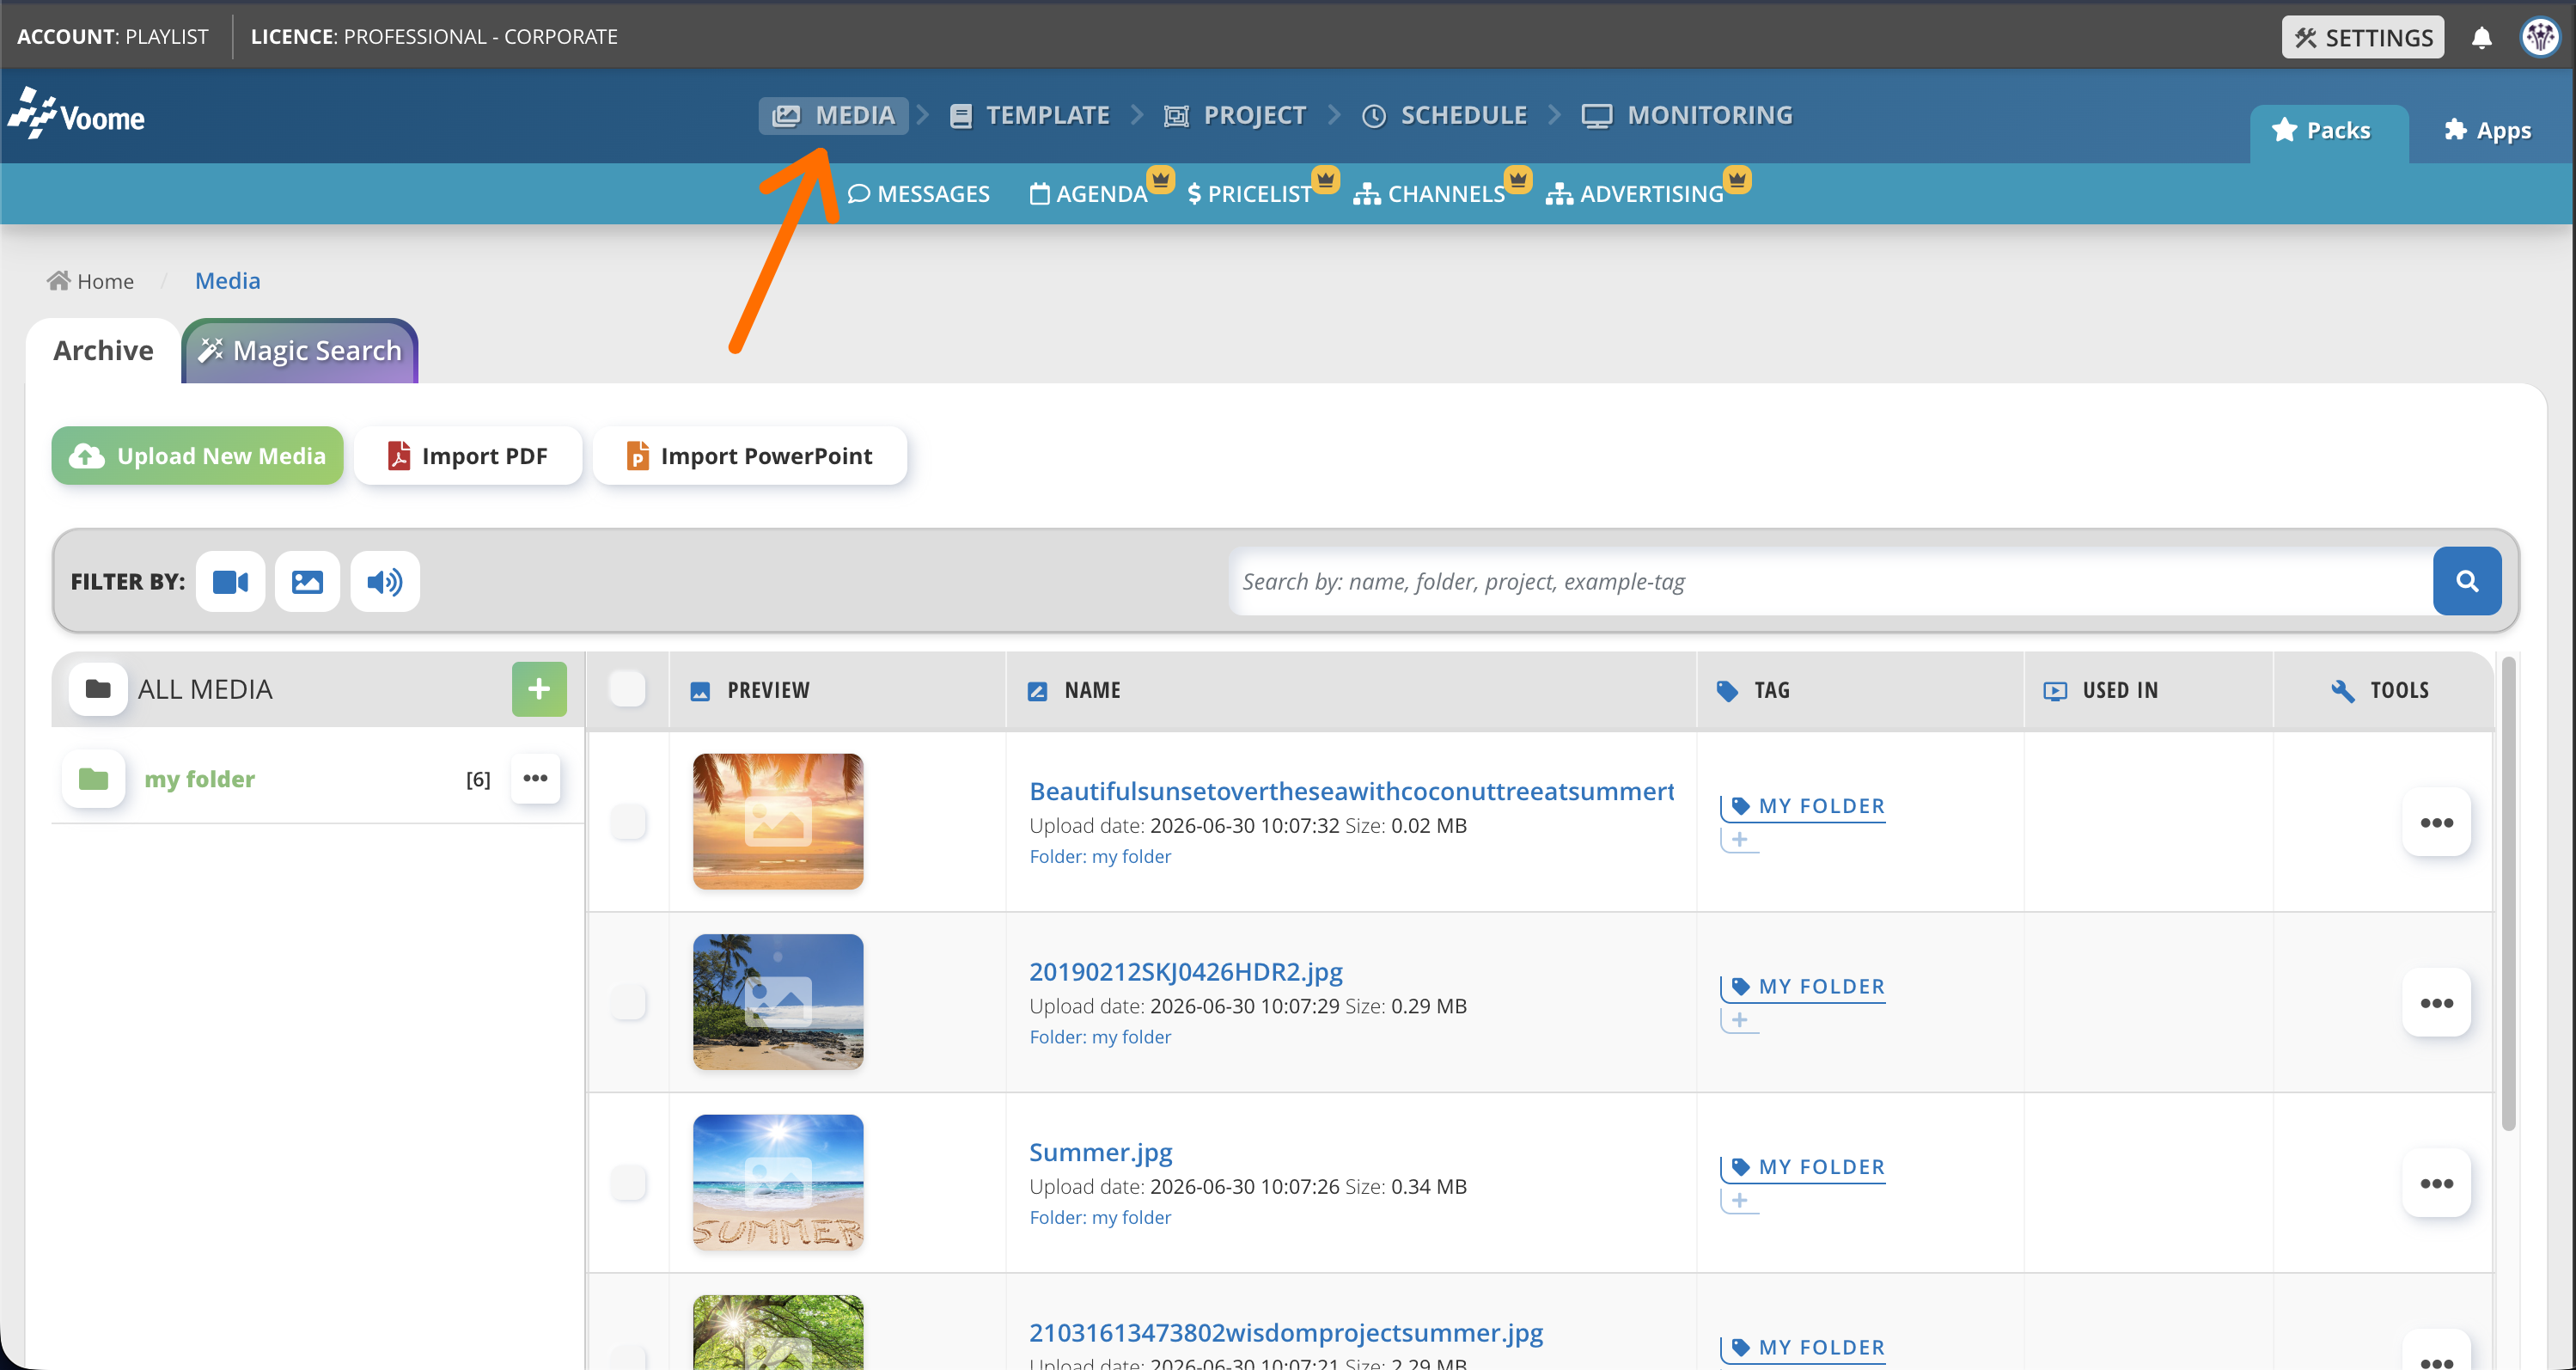 The Media library, your central store of images and videos.
See Media Full Guide for folders, supported formats, and transcoding.
2. Template
A template is the layout that frames your content. It defines the regions (zones) on screen where media and elements will appear. Templates come from a ready-made catalog: you pick one to start a project rather than building it from scratch.
- Go to Template to open the Template Catalog.
- Filter by Orientation (Horizontal or Vertical), Categories, or Layers to narrow down the layouts.
- Click a template to open its details, where you can see which plans it's Available for, the Layers it includes, and its Categories.
- Start from it with + New Project, or browse the Similar Templates to compare other layouts.
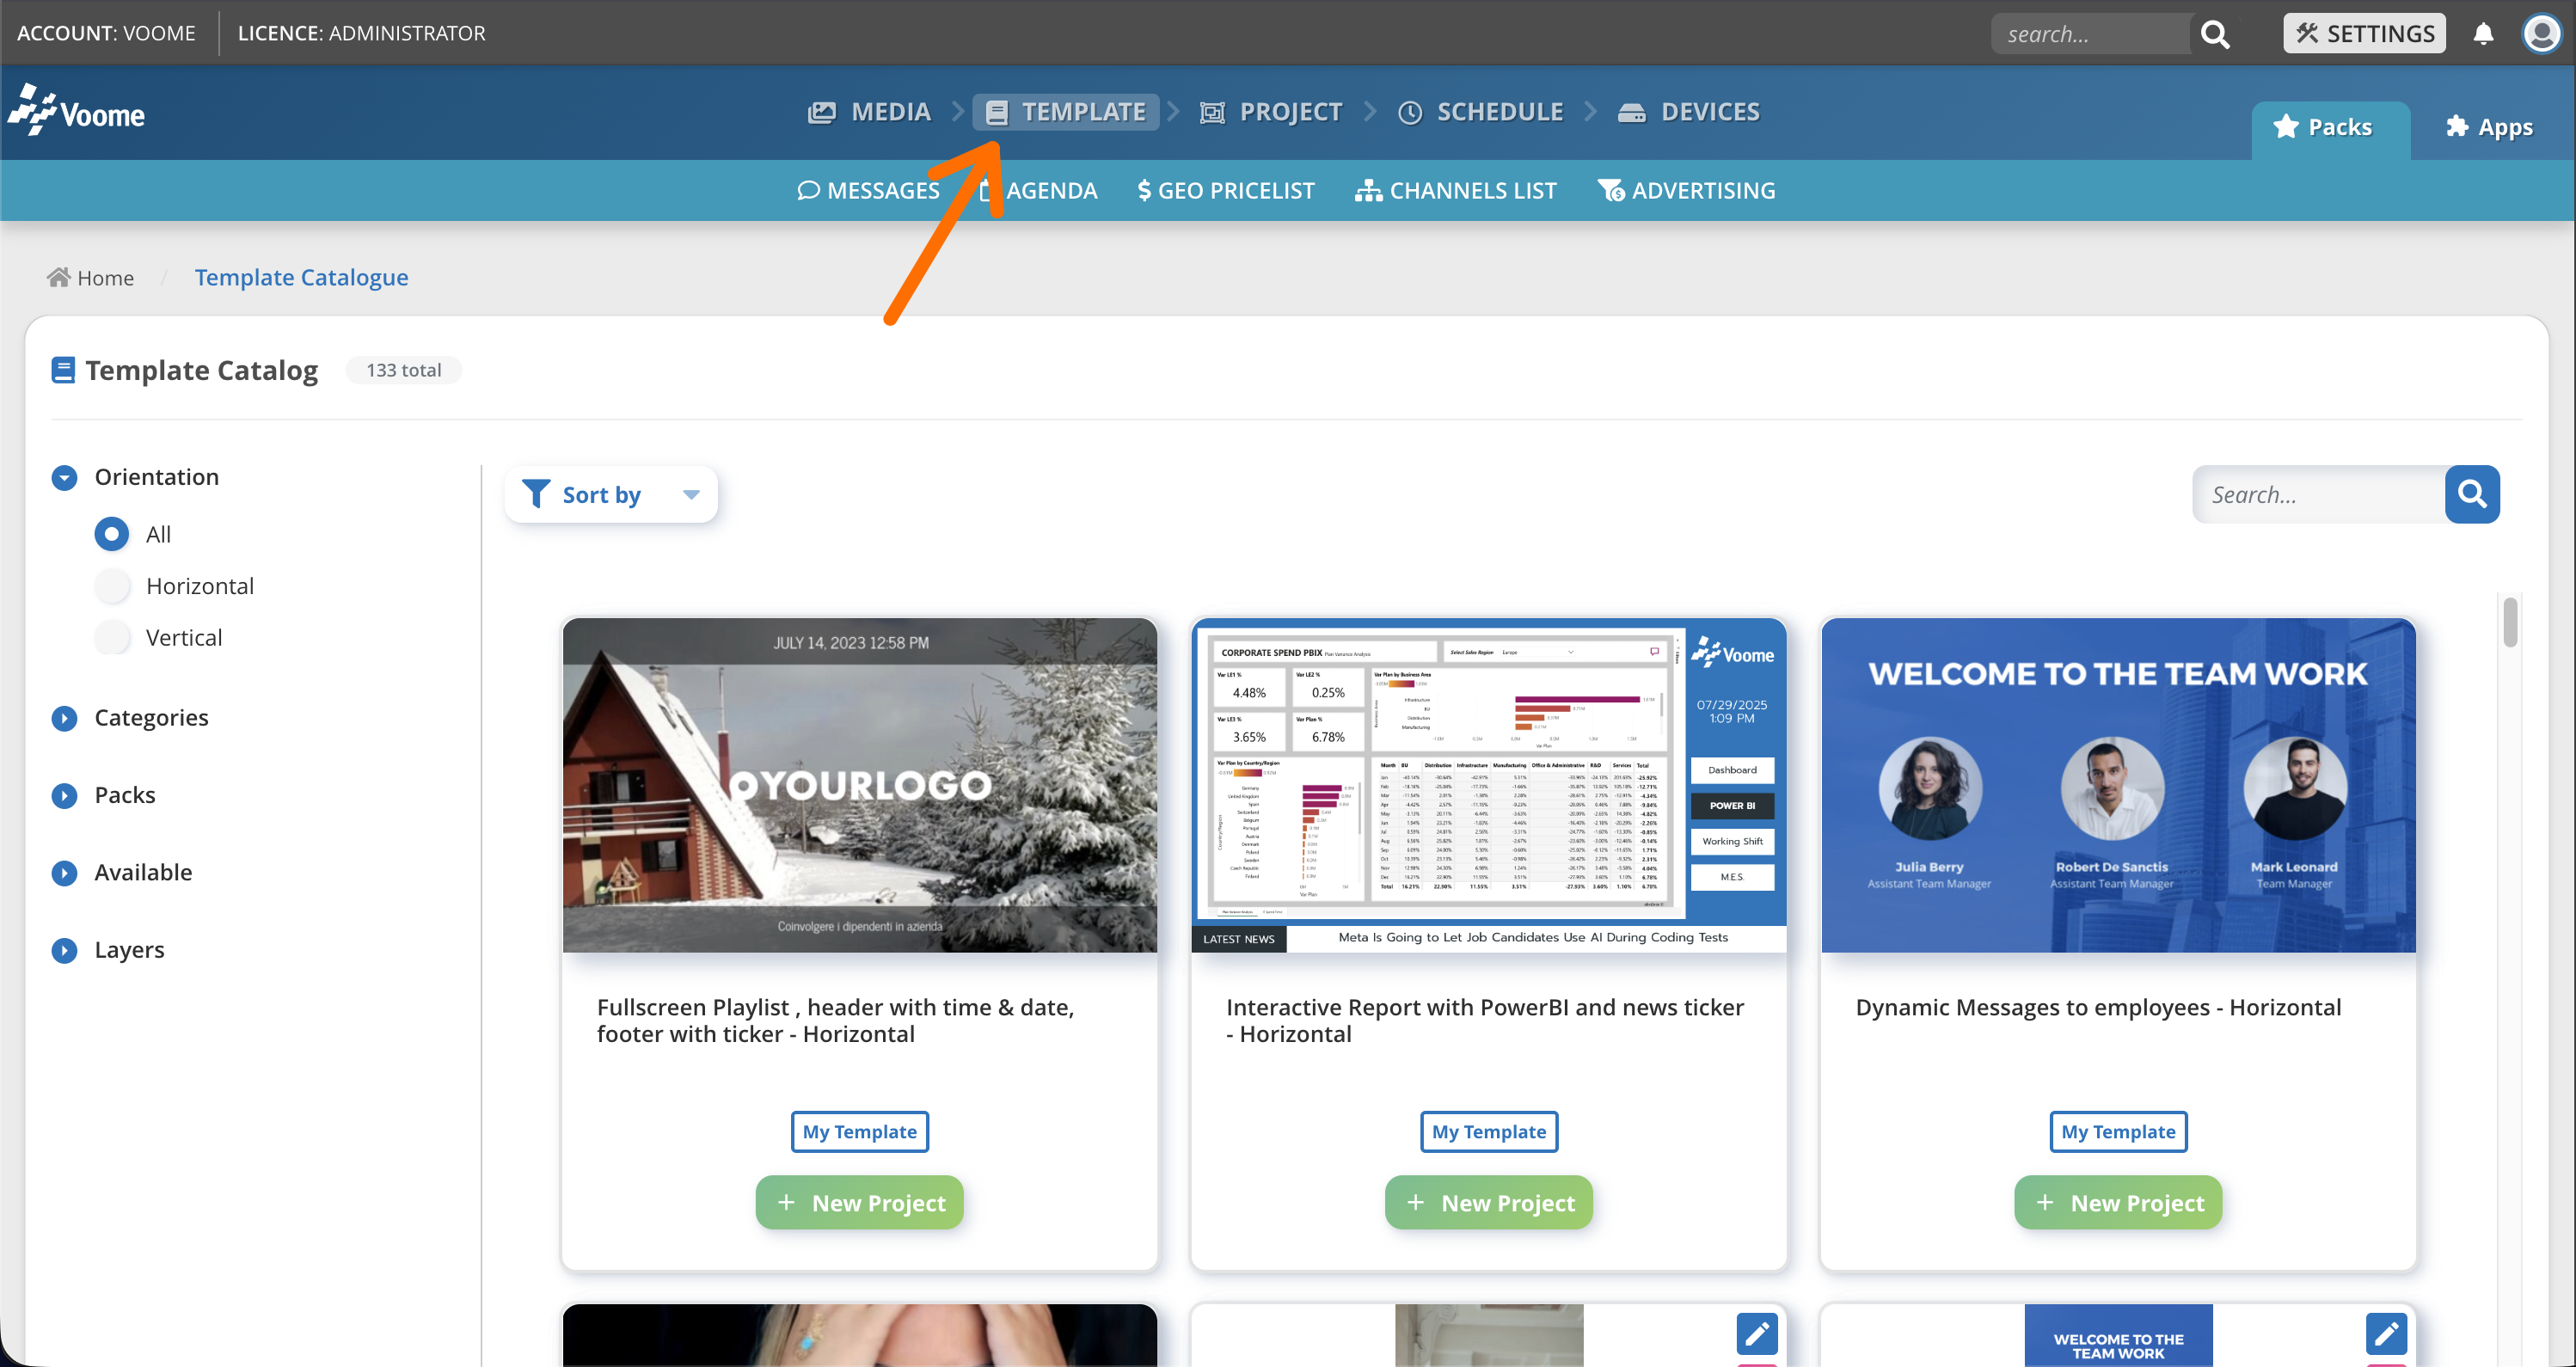 Pick a layout from the catalog to start a project.
See Templates Full Guide for more details.
3. Project
A project is where it all comes together: you take a template (or a blank canvas) and fill its regions with your media, text, and other elements to create the content that will actually play.
- Create a New Project from a template, or start a Blank Project.
- Add and arrange layers: media, text, playlists, widgets, and more (see Layers for the full catalog).
- Set each layer's content, position, and timing in the project editor.
- Preview the result, then save your project.
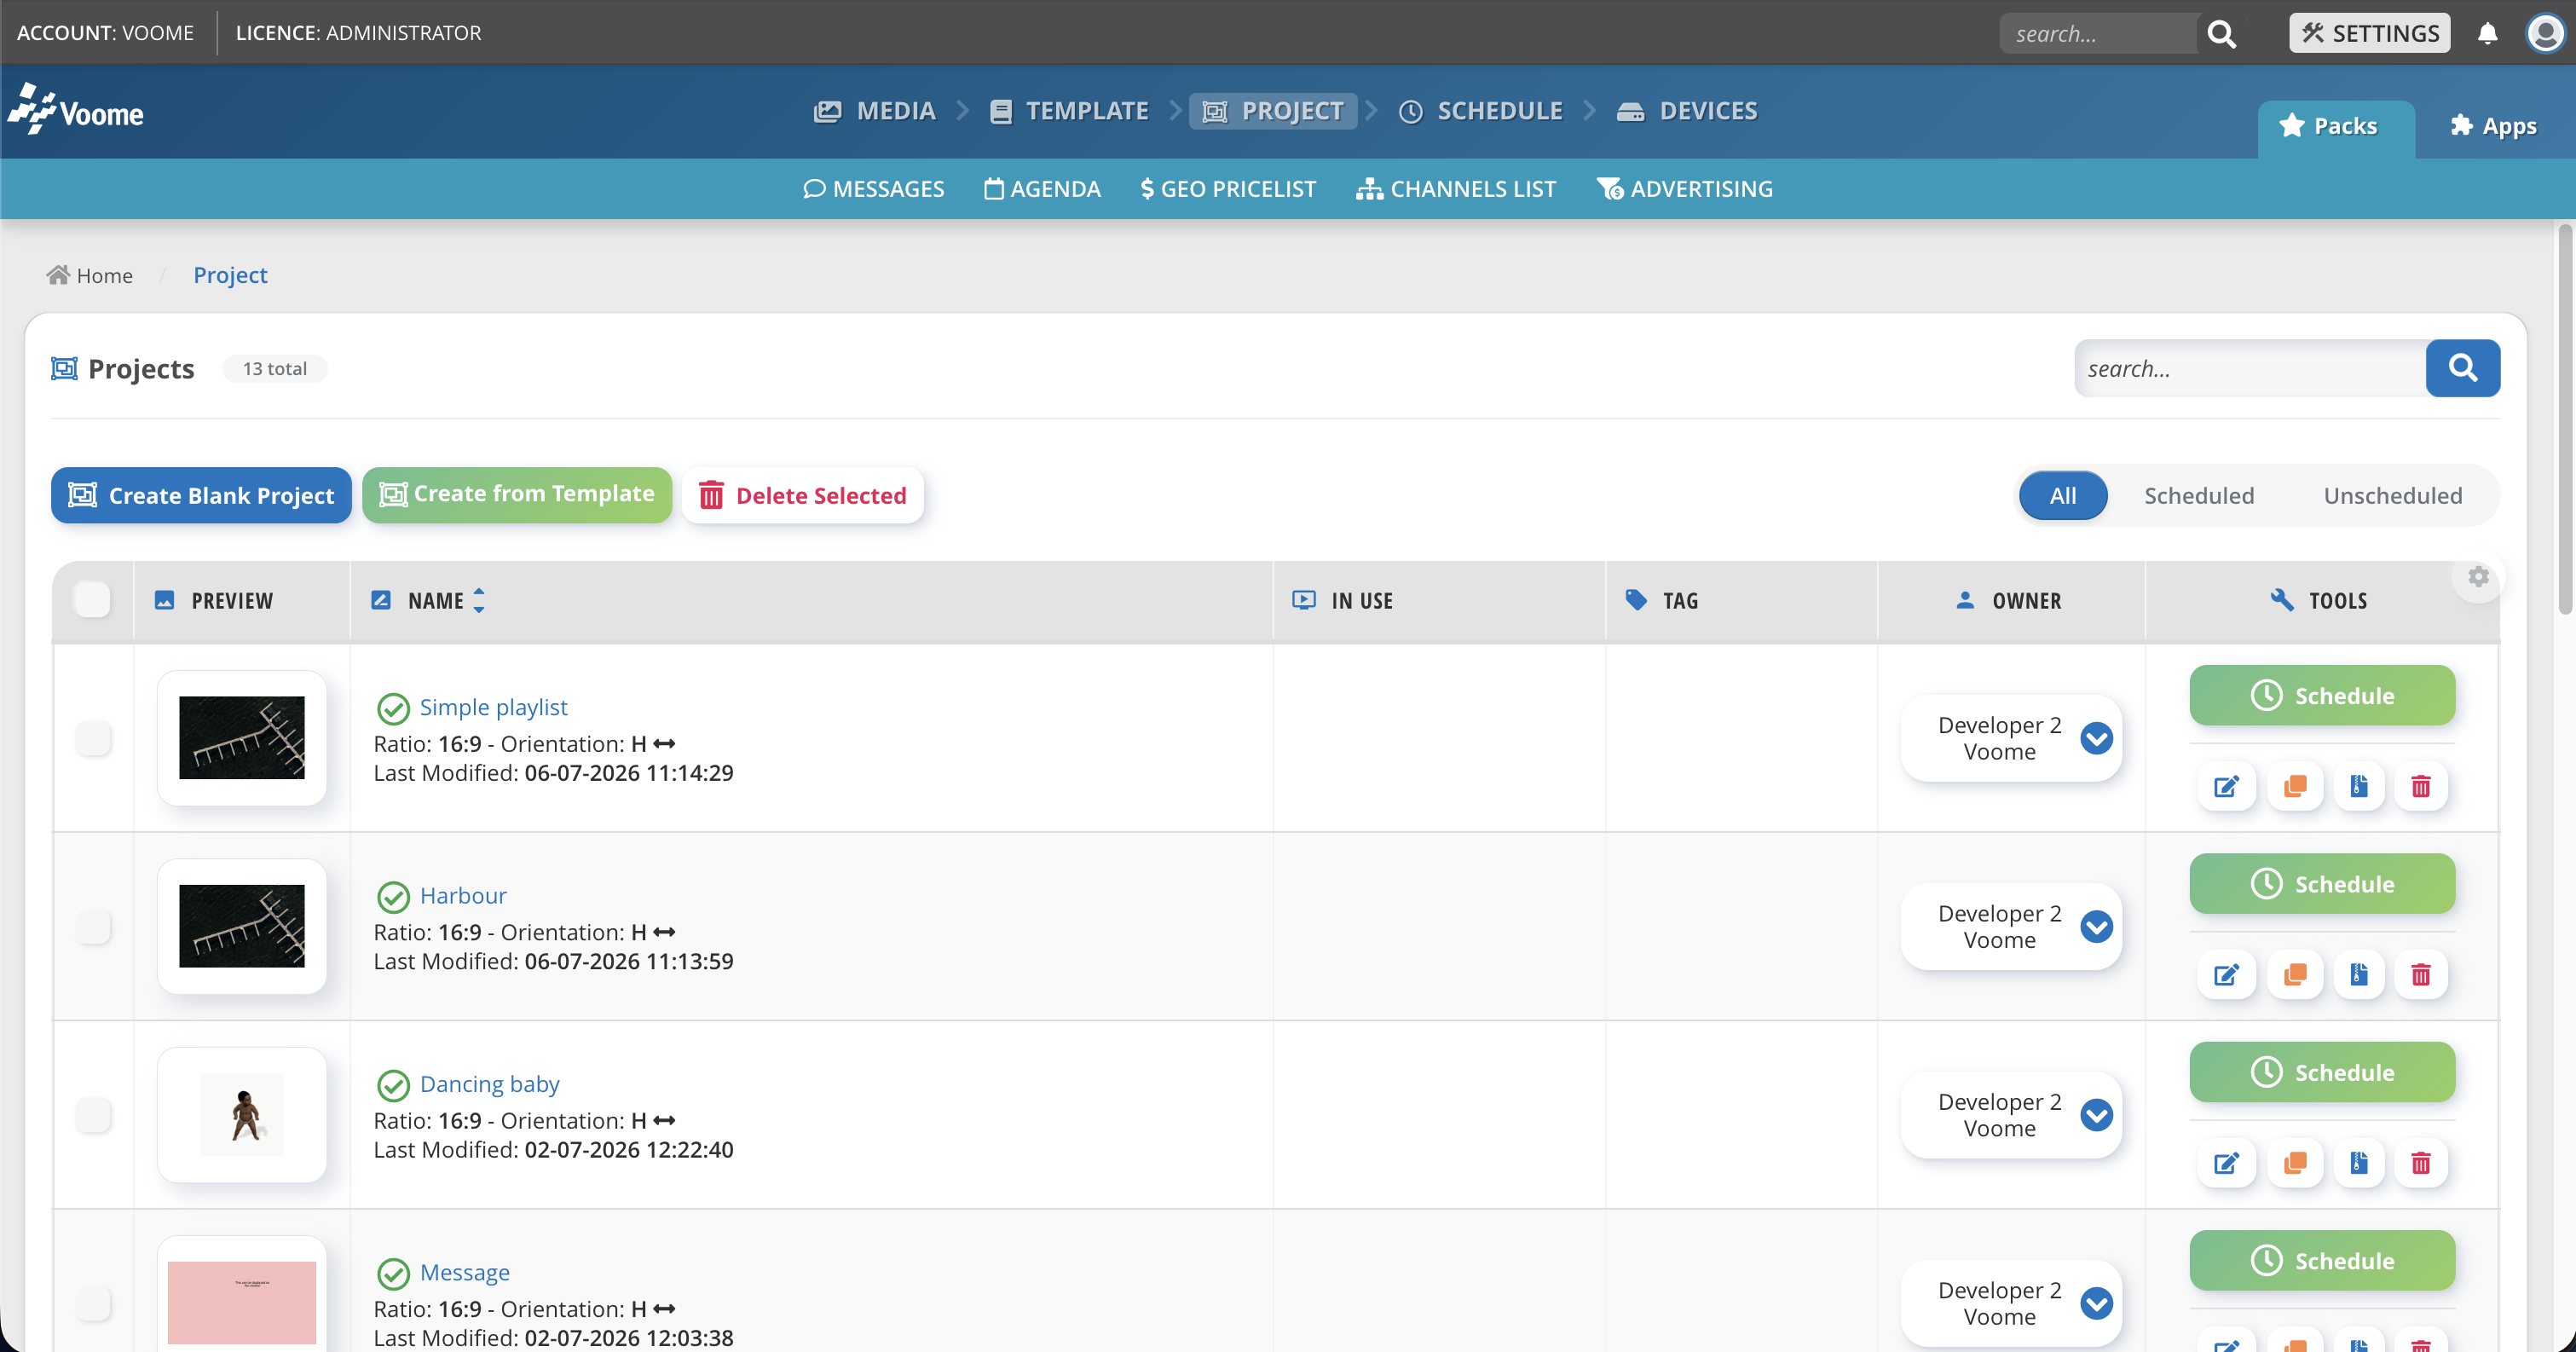
See Projects Full Guide for the full guide to the editor, layers, and project timing.
4. Schedule
A finished project does nothing until it's scheduled and published. Scheduling decides when your content plays and which screens it plays on.
- Press Schedule on a project, from the projects list or the project editor.
- Set when: the start/end dates and times, a preset (today, this week, this month, forever), and any custom time range.
- Set where: check the areas, branches, or zones that should display it (or select many at once by device tag).
- From the schedule timeline, Publish per zone to push the content to the physical devices in that zone.
Scheduling sets when and where a project should play, but nothing reaches the screens until you Publish the zone. Remember to press the ☁️ publish button when you are ready to play the schedule on the devices.
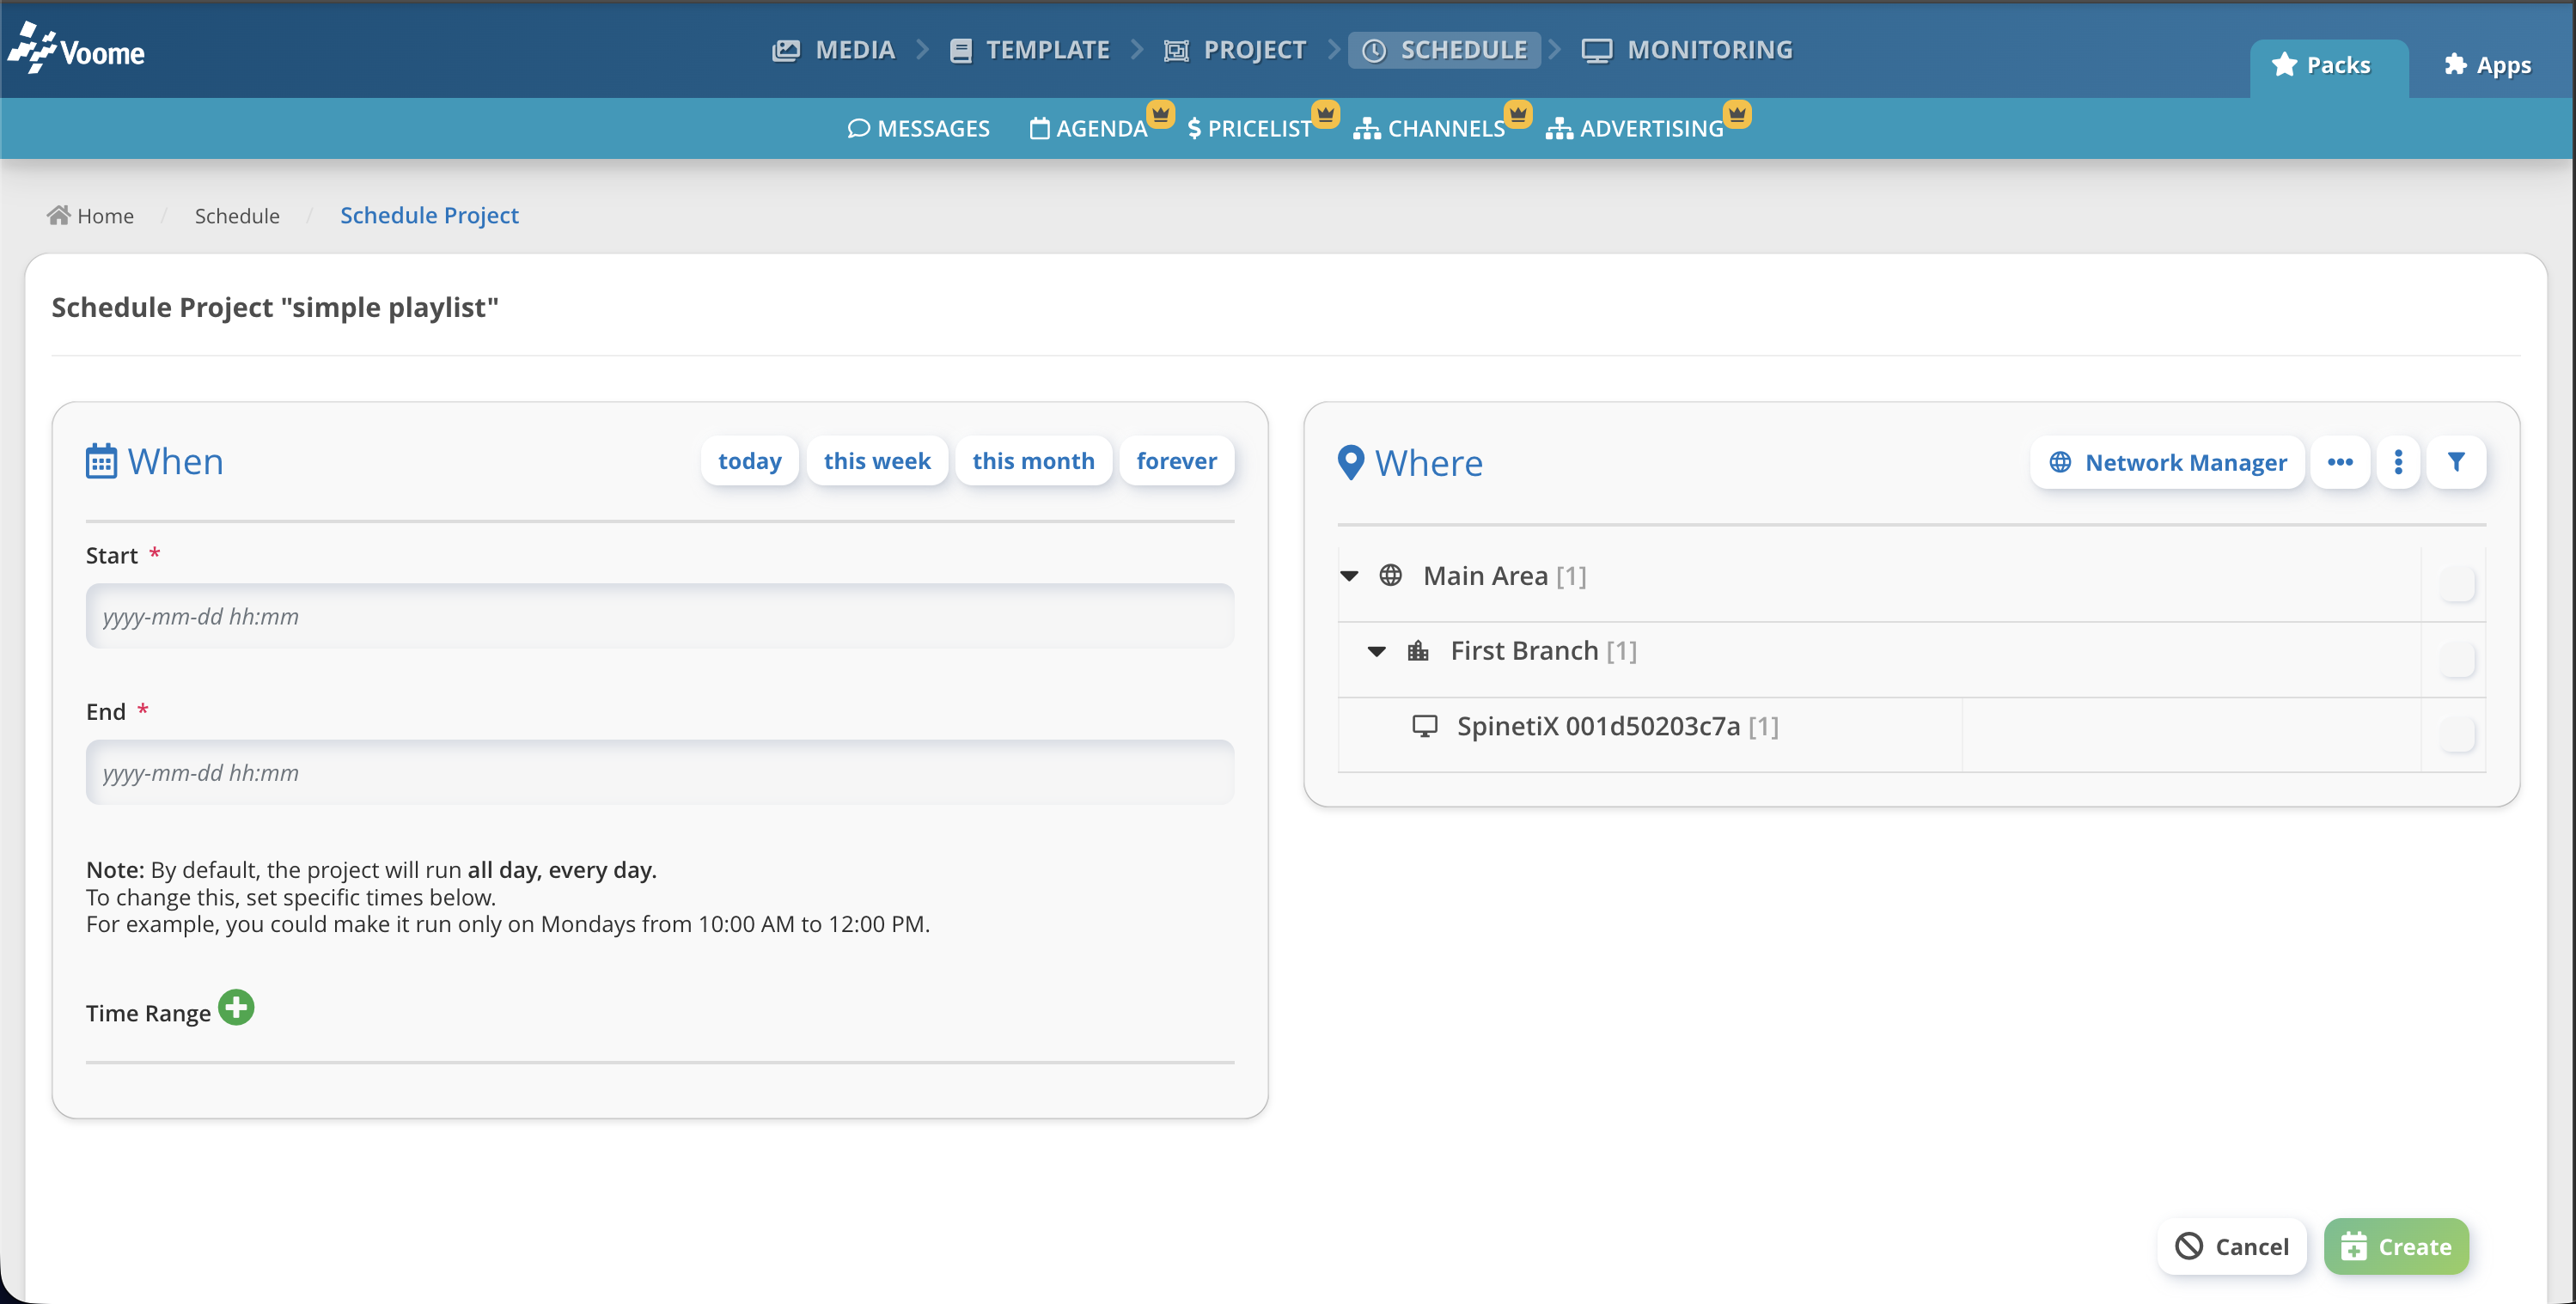 Decide when and where each project plays.
See Schedule Full Guide for the full guide, including the timeline, the play cycle, and looping.
5. Devices
Finally, devices (your players and screens) pull the published content and play it. This is where you confirm everything is live and healthy.
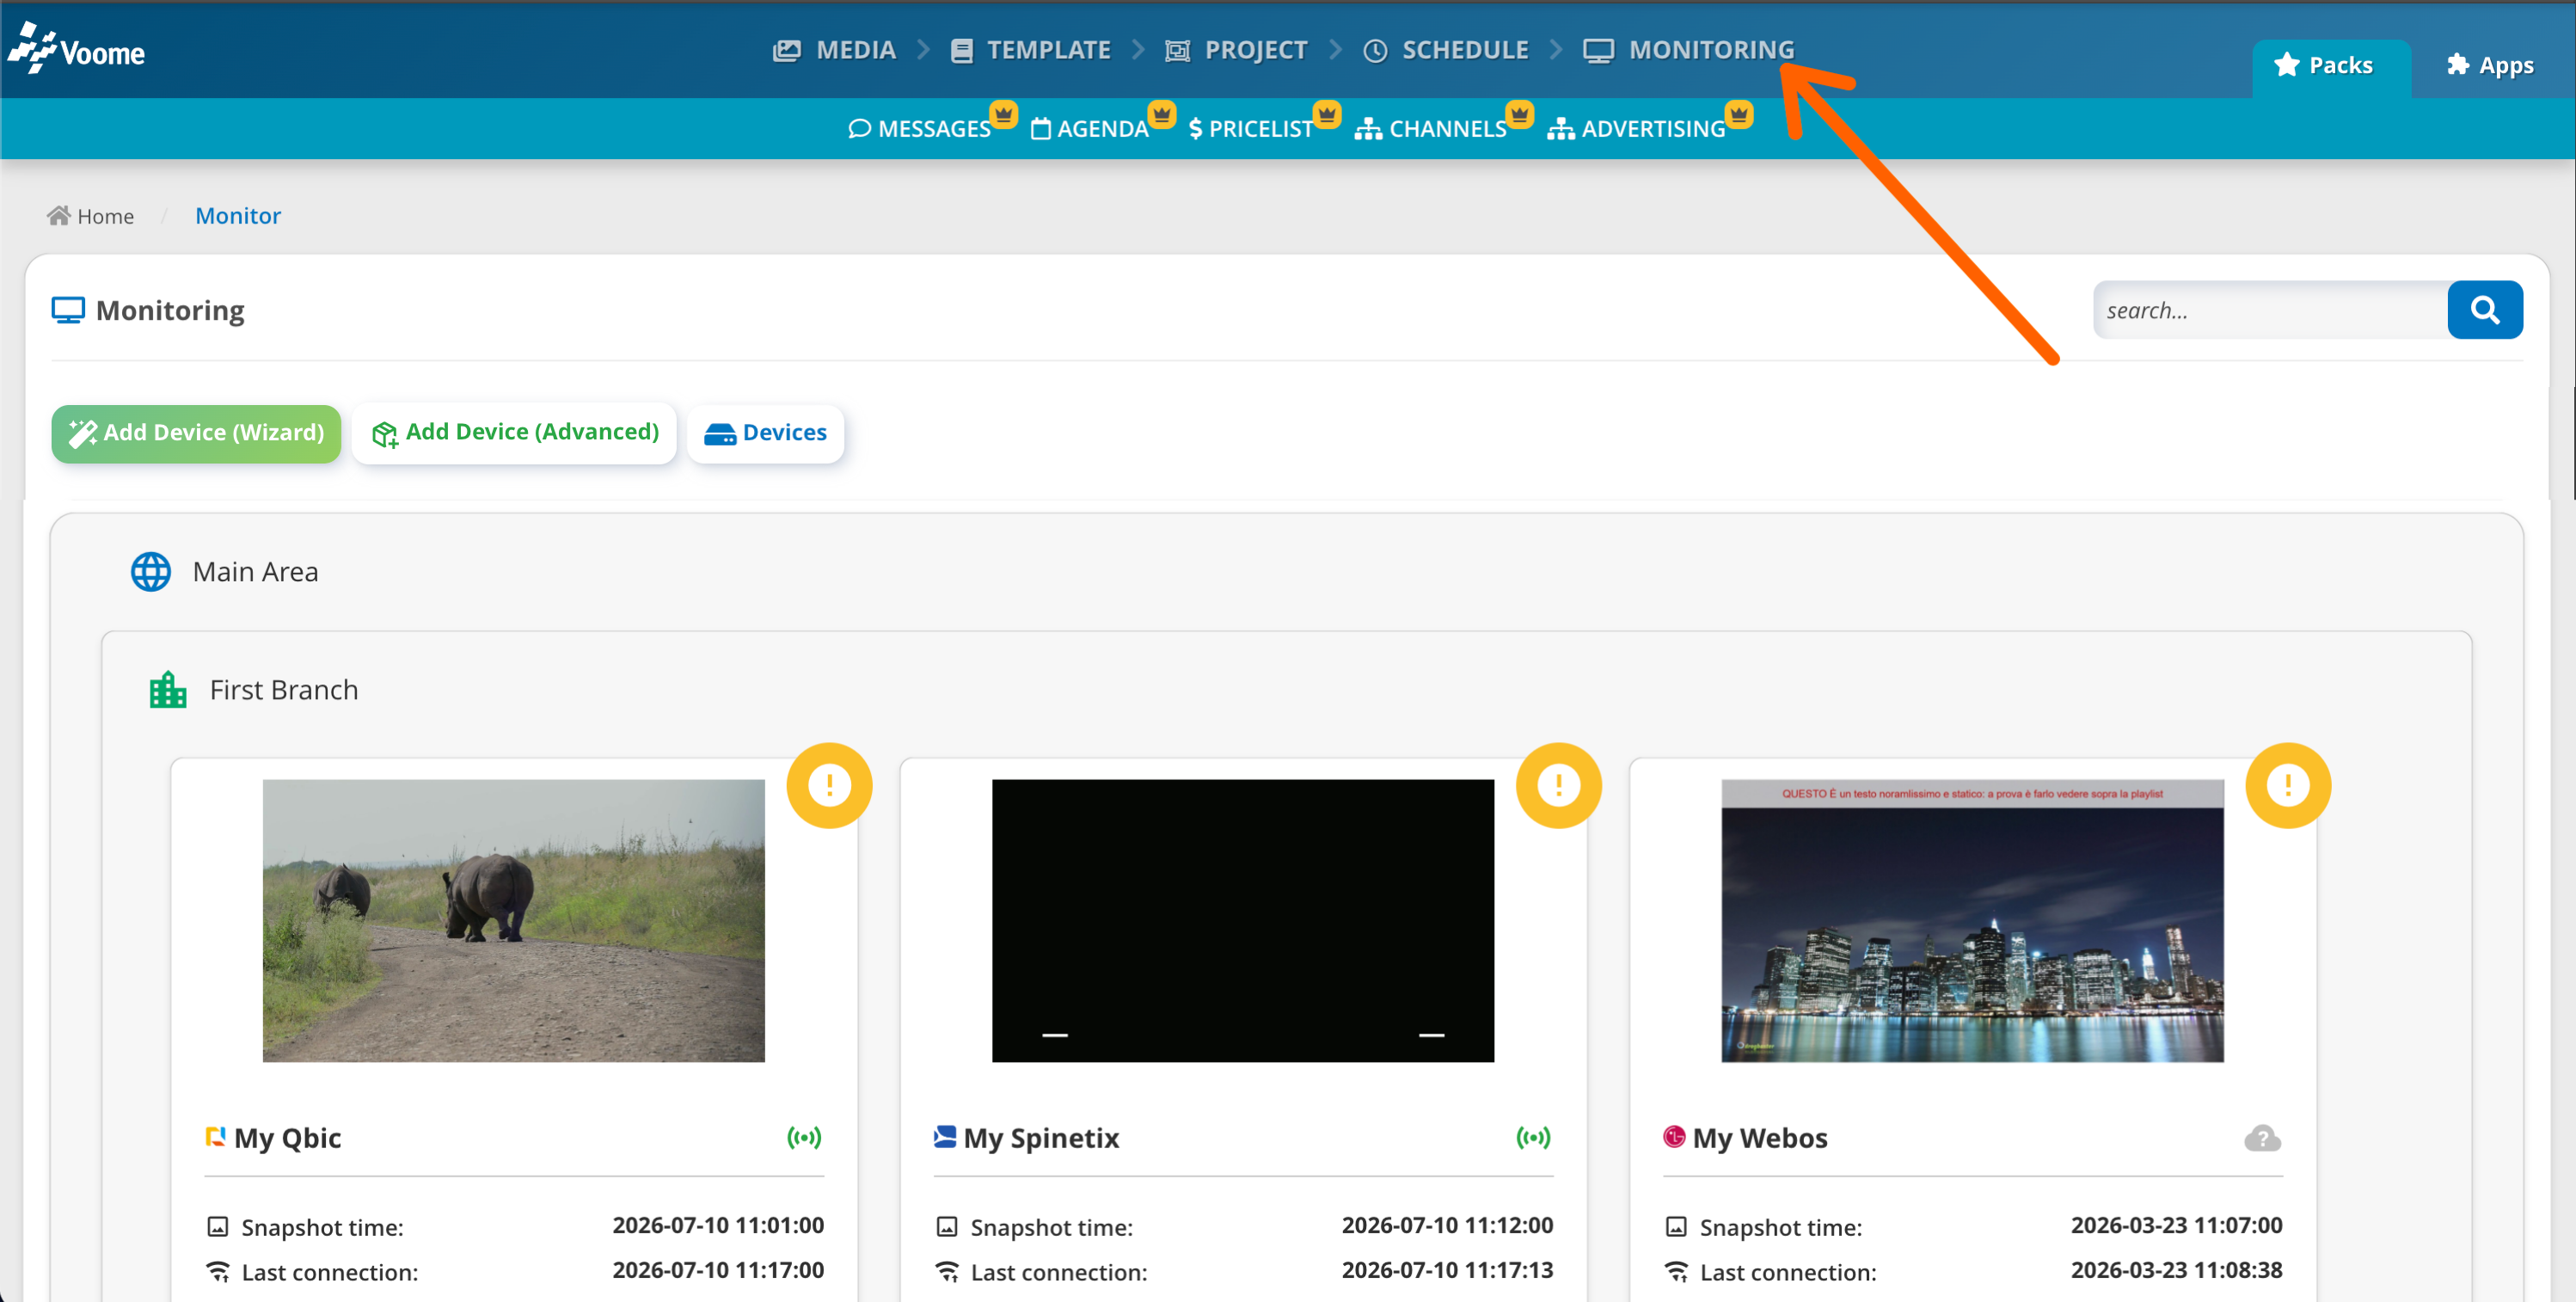
Depending on your account setup, this step appears as Devices or Monitoring:
-
Monitoring: a simple control room to check the live status of your players and screens, including what's online, what's playing, and what needs attention.
-
Devices: an advanced view to inspect each device in detail and run any operation on it (status, screenshots, actions, settings, and more).
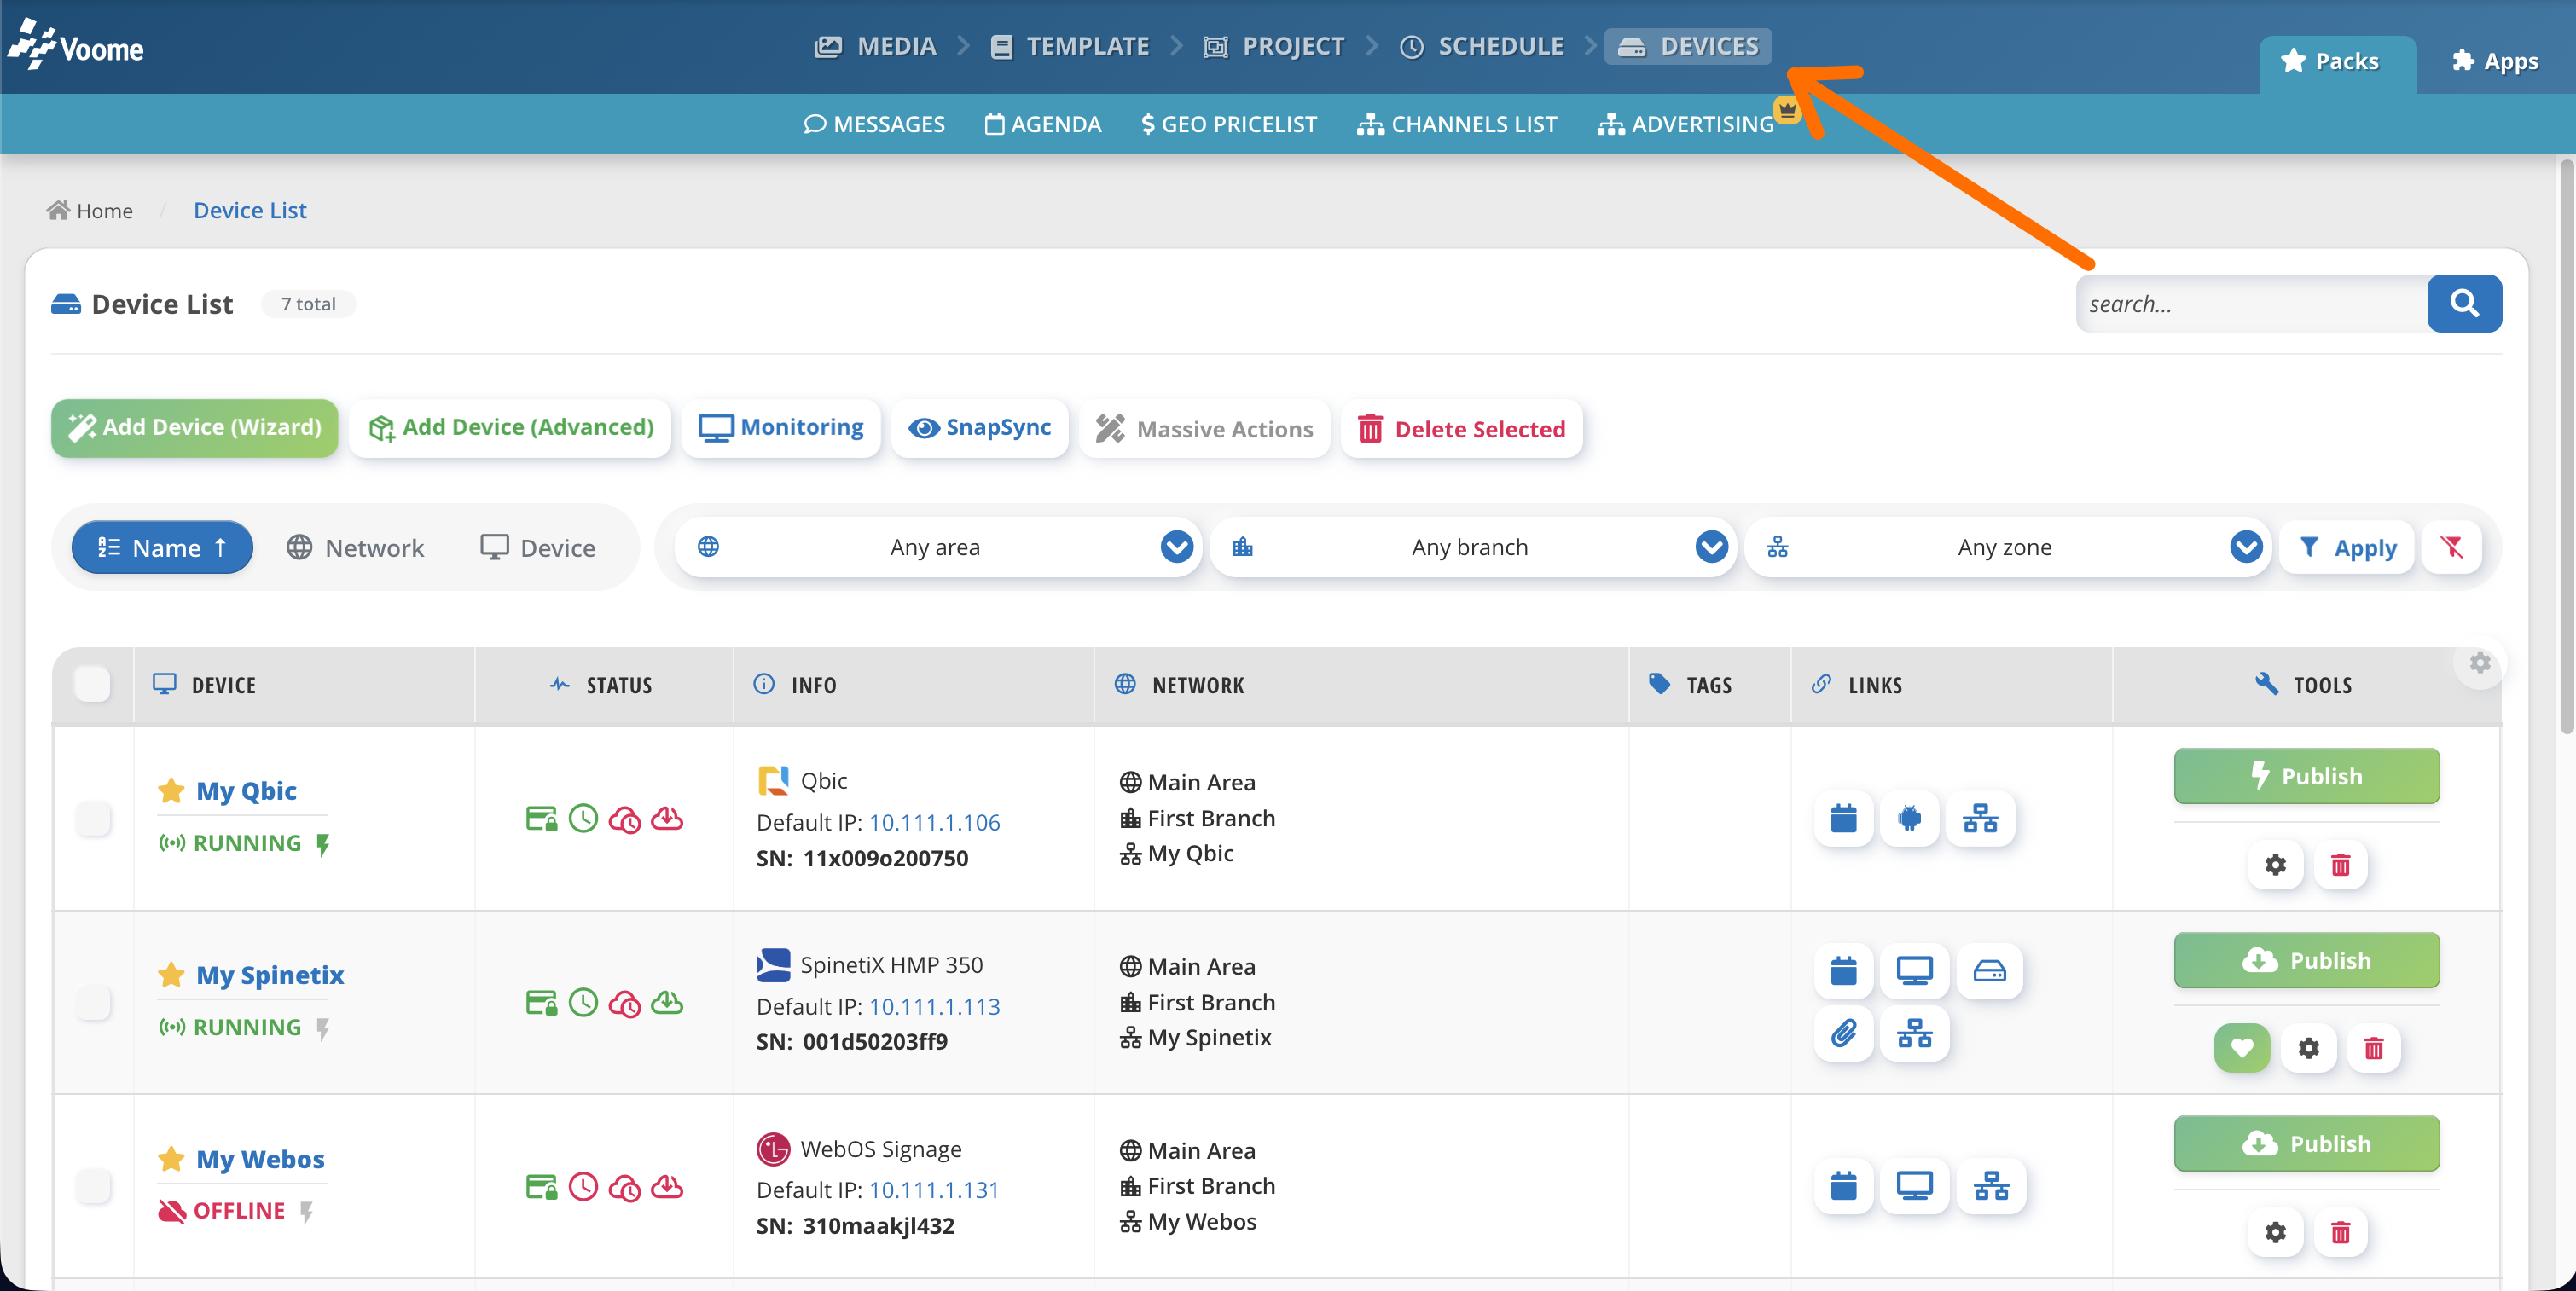 Monitor and manage the screens that play your content.
See the Devices Full Guide for the complete guide, or the Monitoring Full Guide.
Next steps
Now that you know the core flow, go deeper:
- 🧱 Layers: the full catalog of elements you can place in a project.
- ⚙️ Platform Settings: configure network, access, and integrations.